Posts in "Touring"

Bike touring is a massive part of my life, why have I not been touring this year?

Most of the content on this site is about bike touring, and that’s because it is pretty much my favourite aspect of bike riding.

I ride to work on week days, I ride every Saturday, I try to never have a week where I don’t ride a bike. But unless I am bike touring or planning a bike tour, something’s missing in my life.

2026 has been different. I had heart issues which started to make themselves known in November-December last year, and soon after New Year I went into hospital with atrial fibrillation and symptoms which suggested imminent heart failure.

And a week or so later I emerged after having a couple of arteries widened, and since then I have had a couple more cardio procedures, to ensure my continued living presence on this planet.

So that’s nice. I’m fine to commute to work on my lovely e-bike.

What does that mean for bike touring? Well, my riding at present is somewhat restricted, not directly by my heart health, but secondarily through the medication which makes sure my heart gets an easy ride.

Of all the medications that I am currently taking (and their name is legion), the one which affects bike riding is metoprolol. It’s a beta blocker, which works by “relaxing blood vessels and slowing heart rate to improve blood flow and decrease blood pressure”.

What that means is that your heart can barely get above a canter. For me, the maximum heartrate I’ve seen lately is about 115bpm.

And if you are a bike rider, you know that if you looked at your heart rate monitor and it says 115, you are just cruising along, barely raising a sweat.

So that’s me on the bike at the moment. Just cruising along.

But Andrew, why don’t you just try harder?

The answer is that when you try to go harder you just don’t. And about 15 seconds later you sit back on the saddle and say ‘where has all my power gone?’ And there’s a dull ache in your arms and legs that seems to be related to lack of circulation of blood.

So this might not rule out touring. It just means I need to adjust my expectations around how far and how hard I can ride each day.

I am in the middle of my own self-conducted tests around that right now, with the idea that maybe I can do one gentle tour before the year 2026 slips away entirely. And how are those self-conducted tests going? To be honest, not so great.

After this ride, which was not at all a difficult ride, I got home and needed quite some couch time before Annette and I could leave the house for a social appointment with a friend.

So, maybe watch this space, but probably don’t get your hopes up. It might be a while before a “proper” tour is back on my agenda. Sorry Emma, sorry Fi, sorry to all my other touring companions.

Review: Beeline Velo is an excellent bike computer for me

Bike computers are crazy expensive. Garmin’s cheapest current model on their website is listed at $500, and Wahoo Element Bolt is even pricier ($530). And these are the market-leading brands.

There are budget brands, such as Bryton and IGP Sport which come in around $100-200 for the entry level device. But for some mystery reason, many bike riders seem to be OK with paying more than $500 for their bike computers. I suppose if you spent $10,000 on your bike this makes sense?

Every rider has a slightly different use case for their computer. I wear an Apple Watch, and the main thing I want a bike computer to do is record stats for my rides. So I don’t bother with a computer on the handlebars for the majority of my rides. It’s recorded by the Strava app on my watch.

A computer on the handlebars, therefore, is not very important to me. I am not interested in how fast I am going. If I am riding with the bunch and I am not dropped, then I am going fast enough. If I am riding by myself, who cares what speed I’m going?

But there is a time when a bike computer that you can view on the handlebars is indispensable. That is when you need to navigate to your destination. For me this is when I am bike touring, but also for exploratory rides around the paths and back streets of Queensland cities and towns.

I am a super-user of the website ‘Ride With GPS’, and I have literally hundreds of routes planned there, going back to 2014.

And my experience of the Garmin Edge 530 is that following GPX tracks on a Garmin absolutely sucks.

The Garmin has a habit of telling me that I am off trail, and that I should take a U-turn to return to my course. This will happen when the road or trail I am following is outside the margin of error of the GPS device or the RideWithGPS plot, but still actually following the correct trail. And this is very common.

There are lots of tricks you can try to stop the Garmin doing this as you prepare the GPS file. None of them work all the time.

I have ridden for kilometres at a time with my Garmin device telling me to make a U-turn, when I know I am still on the right trail. This is, of course, infuriating.

The display of the Garmin 530 is also configurable to the nth degree. I am a person who fiddles with their gear, so have I ever gone through and optimised the 530 to show the data fields and display items that I want? No, I tried a couple of times and it was so complicated that I gave up.

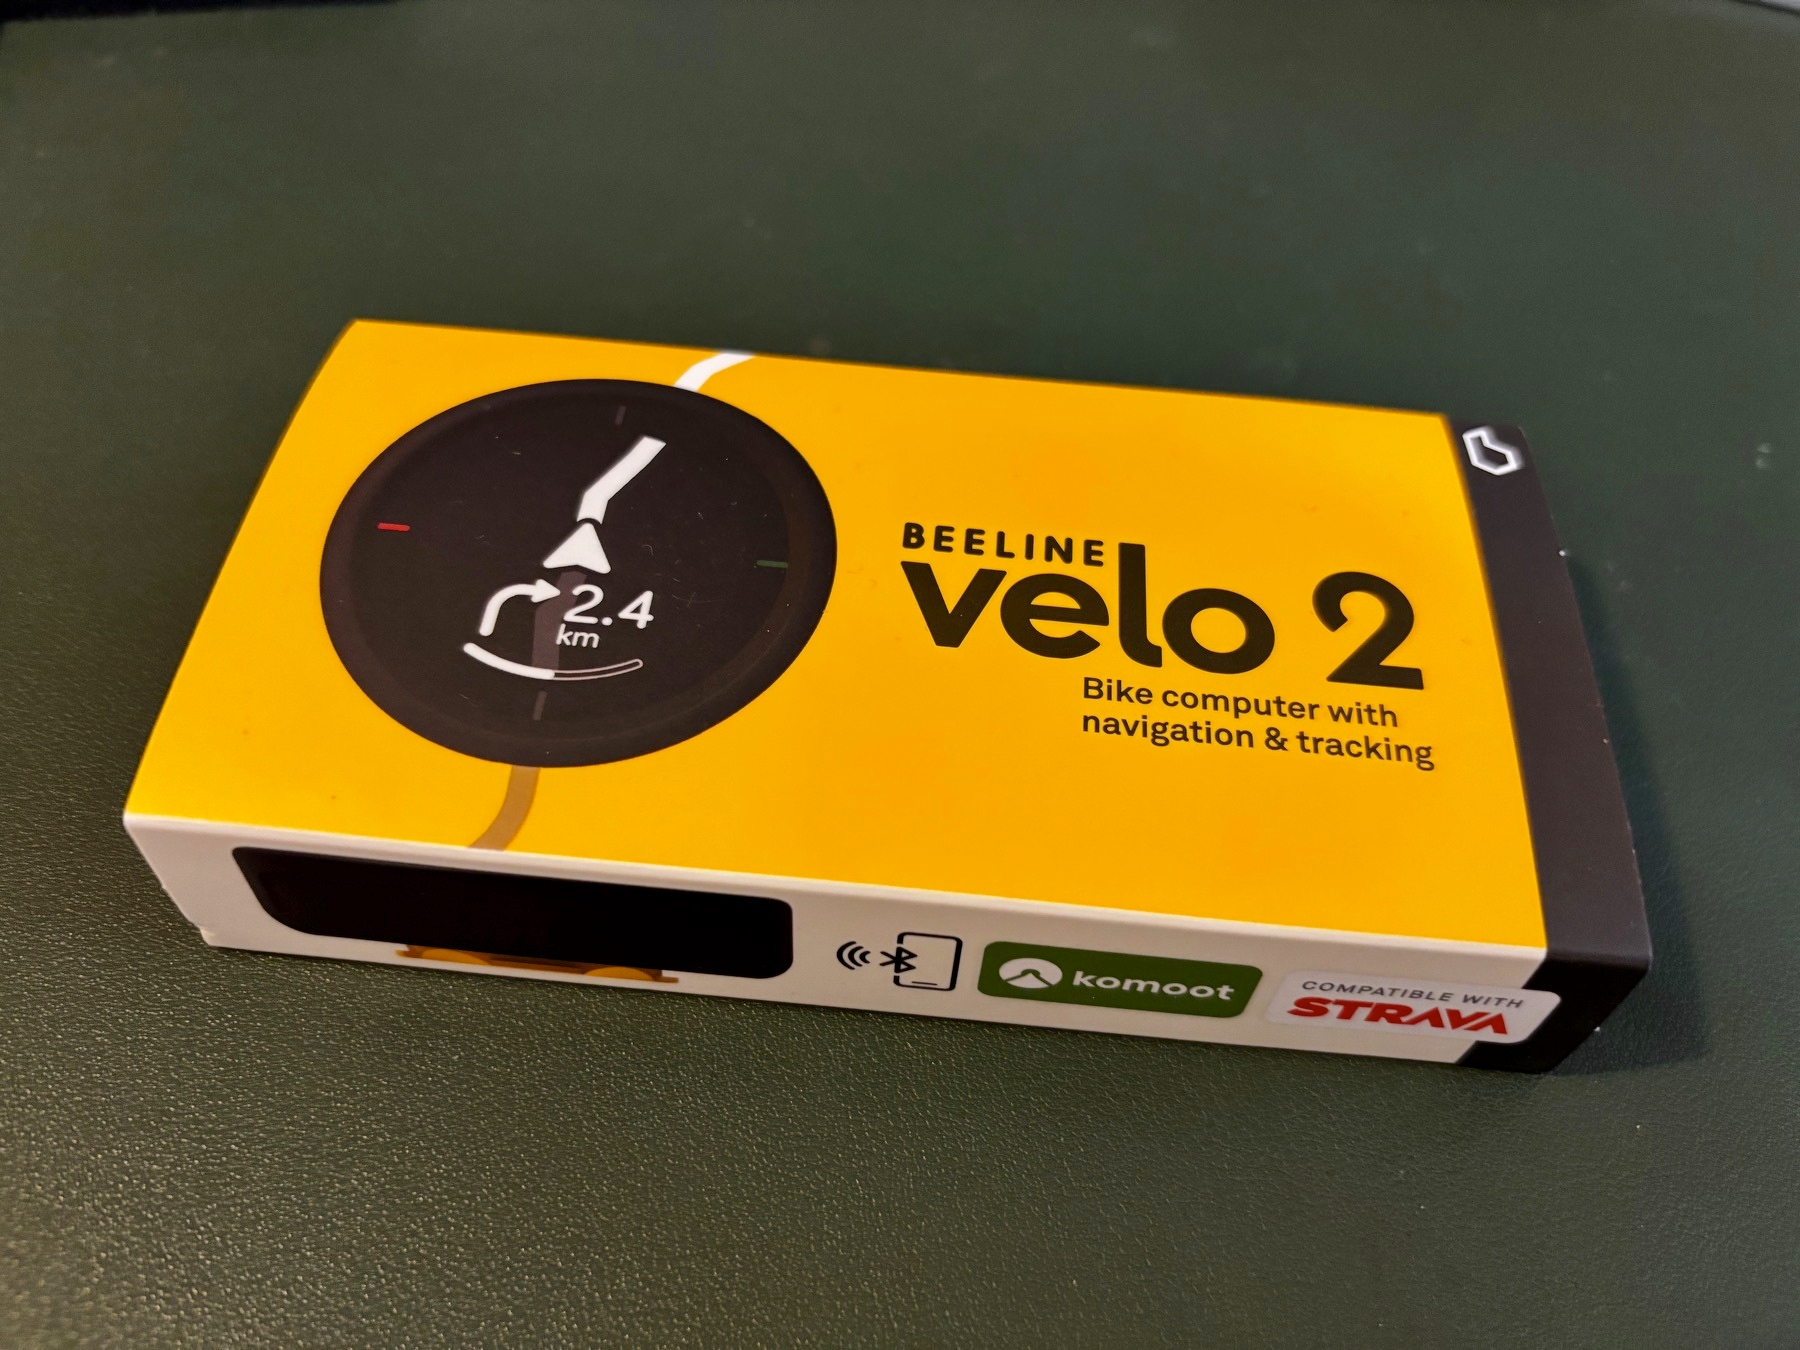
But here’s what I’ve been doing for the last couple of years. I have left my Garmin 530 in the bedside drawer, and instead I use a Beeline Velo 2.

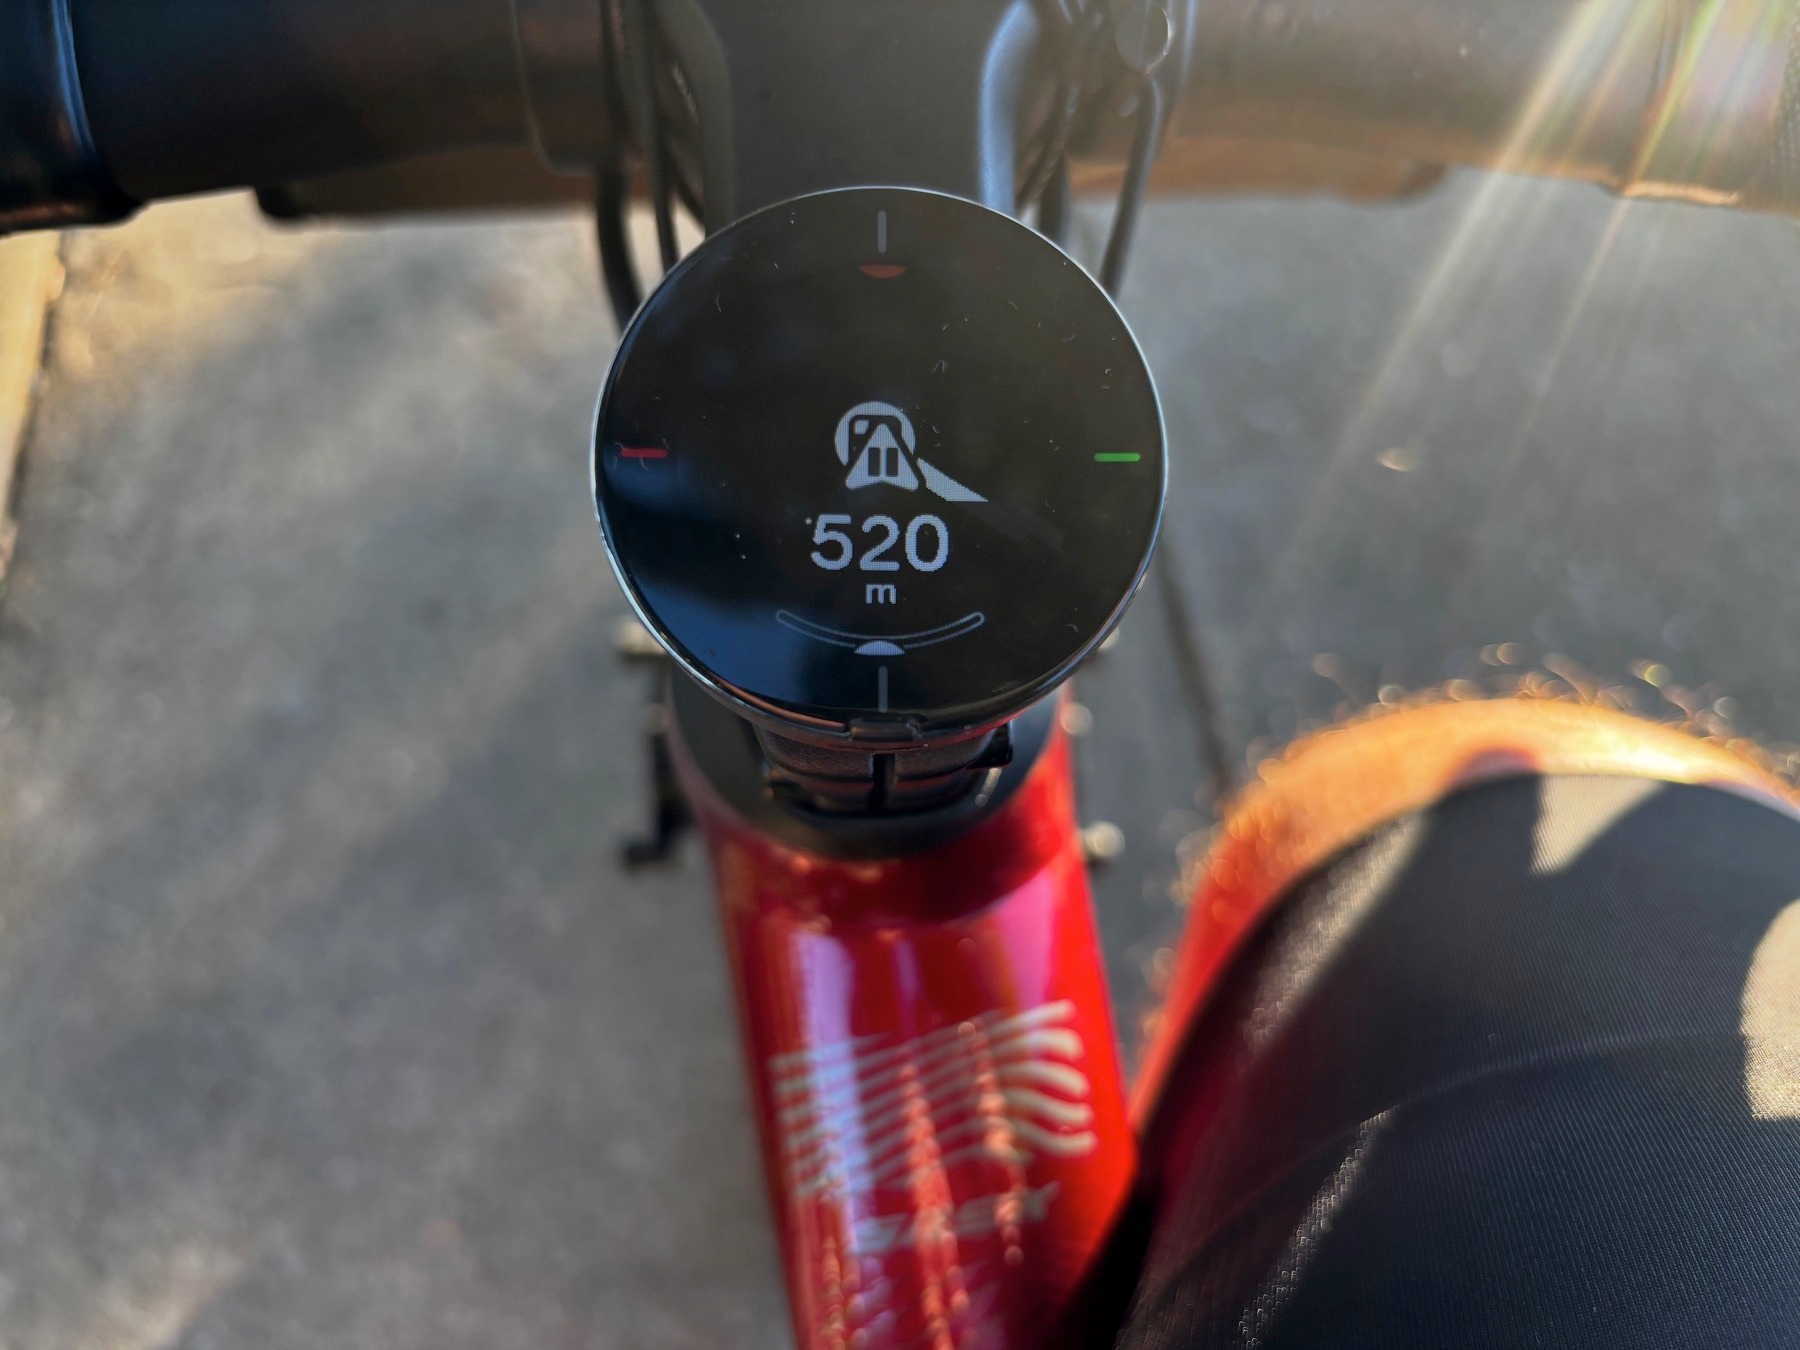
The Beeline Velo is a smaller device, which is made by a company in the UK. It’s round, and sits unobtrusively on handlebars or stem cap. Diameter is about 45mm, roughly the size of many sports watches, even though you mount it to bars or stem, you don’t wear it as a watch.

It does not have “buttons”, instead the body of the device and the base of the device have a defined click between them, which can be done on any of the four cardinal points of the compass. The click selects a menu item or navigates to another menu item.

And the main thing the Velo does better than any other device that I have tried, is provide clear navigation.

The device has a simple but cheerful aesthetic, all curves and bright colours. It is the most visible bike computer I have ever used. Often when navigating with the Garmin I would have to come to a stop to peer at the screen to understand what the map is saying. The on-screen map of the Garmin is usually at an attempt at accuracy, which fails by being too low-res.

That is never a problem with the Beeline. The device does not attempt a real on-screen map. Instead the Beeline shows you a stylised version of the upcoming intersection, and clearly highlights the way your route is indicating that you should go. It is much simpler and less detailed way to operate, but I find the Beeline a delight to navigate with, and the Garmin was simply painful.

OK, so the Beeline is much cheaper than the Garmin 530, and you like it better for navigation. There must be some downsides surely?

Yes, there are a couple of little quirks about the Beeline.

The first is that it does not have its own GPS chip. So it needs to be linked to your phone whenever it is operating, so that it can know where it is. And that creates a drain on your phone’s battery. If your iPhone (just as an example!) is getting to an age where the battery life is already problematic, then asking your phone to also do GPS navigation duties on behalf of the Beeline will not be a good thing.

The second downside is that the Beeline mount is not compatible with Garmin or Wahoo mounts. This is I think the only major drawback to the Beeline. I think the reason the designers have not simply used the Garmin mount is that the body-base click system used for menu selection means that the base has to be shaped accordingly. But it is still the only thing about the Beeline that I would change if given the chance.

The upside to no GPS chip is that the device is low cost (relatively). And I don’t have any occasion where I am deliberately leaving my phone at home. If I am out on a bike ride, my phone comes along too. My current iPhone is doing OK on the battery front at present.

The upside of the Beeline is just the delight of using the device, especially when compared with the frustrations of navigating on the Garmin. Battery life is adequate, not stellar. It charges via USB C. The mounting system works fine, but you need the Beeline mounts for both handlebar and stem cap mounts. Of course the 3D printing nerds are onto this.

I sold my Garmin 530 at a bargain price, because I had no further use for it.

NB: I’ve owned a Beeline Velo for a couple of years, but as of a month ago I am now an ambassador for Beeline. Upshot of that is we’ve got a Beeline Velo to give away to the Bicycle Queensland members soon. What did I get out of this deal? A second Beeline stem cap mount, so I now have one on my gravel bike and one on my bike-packing bike.

State of the stable 2024

This is a regular ‘feature’ on the Internet BOB. So having prepared this on my Craft writing space, I thought I would share it here also.

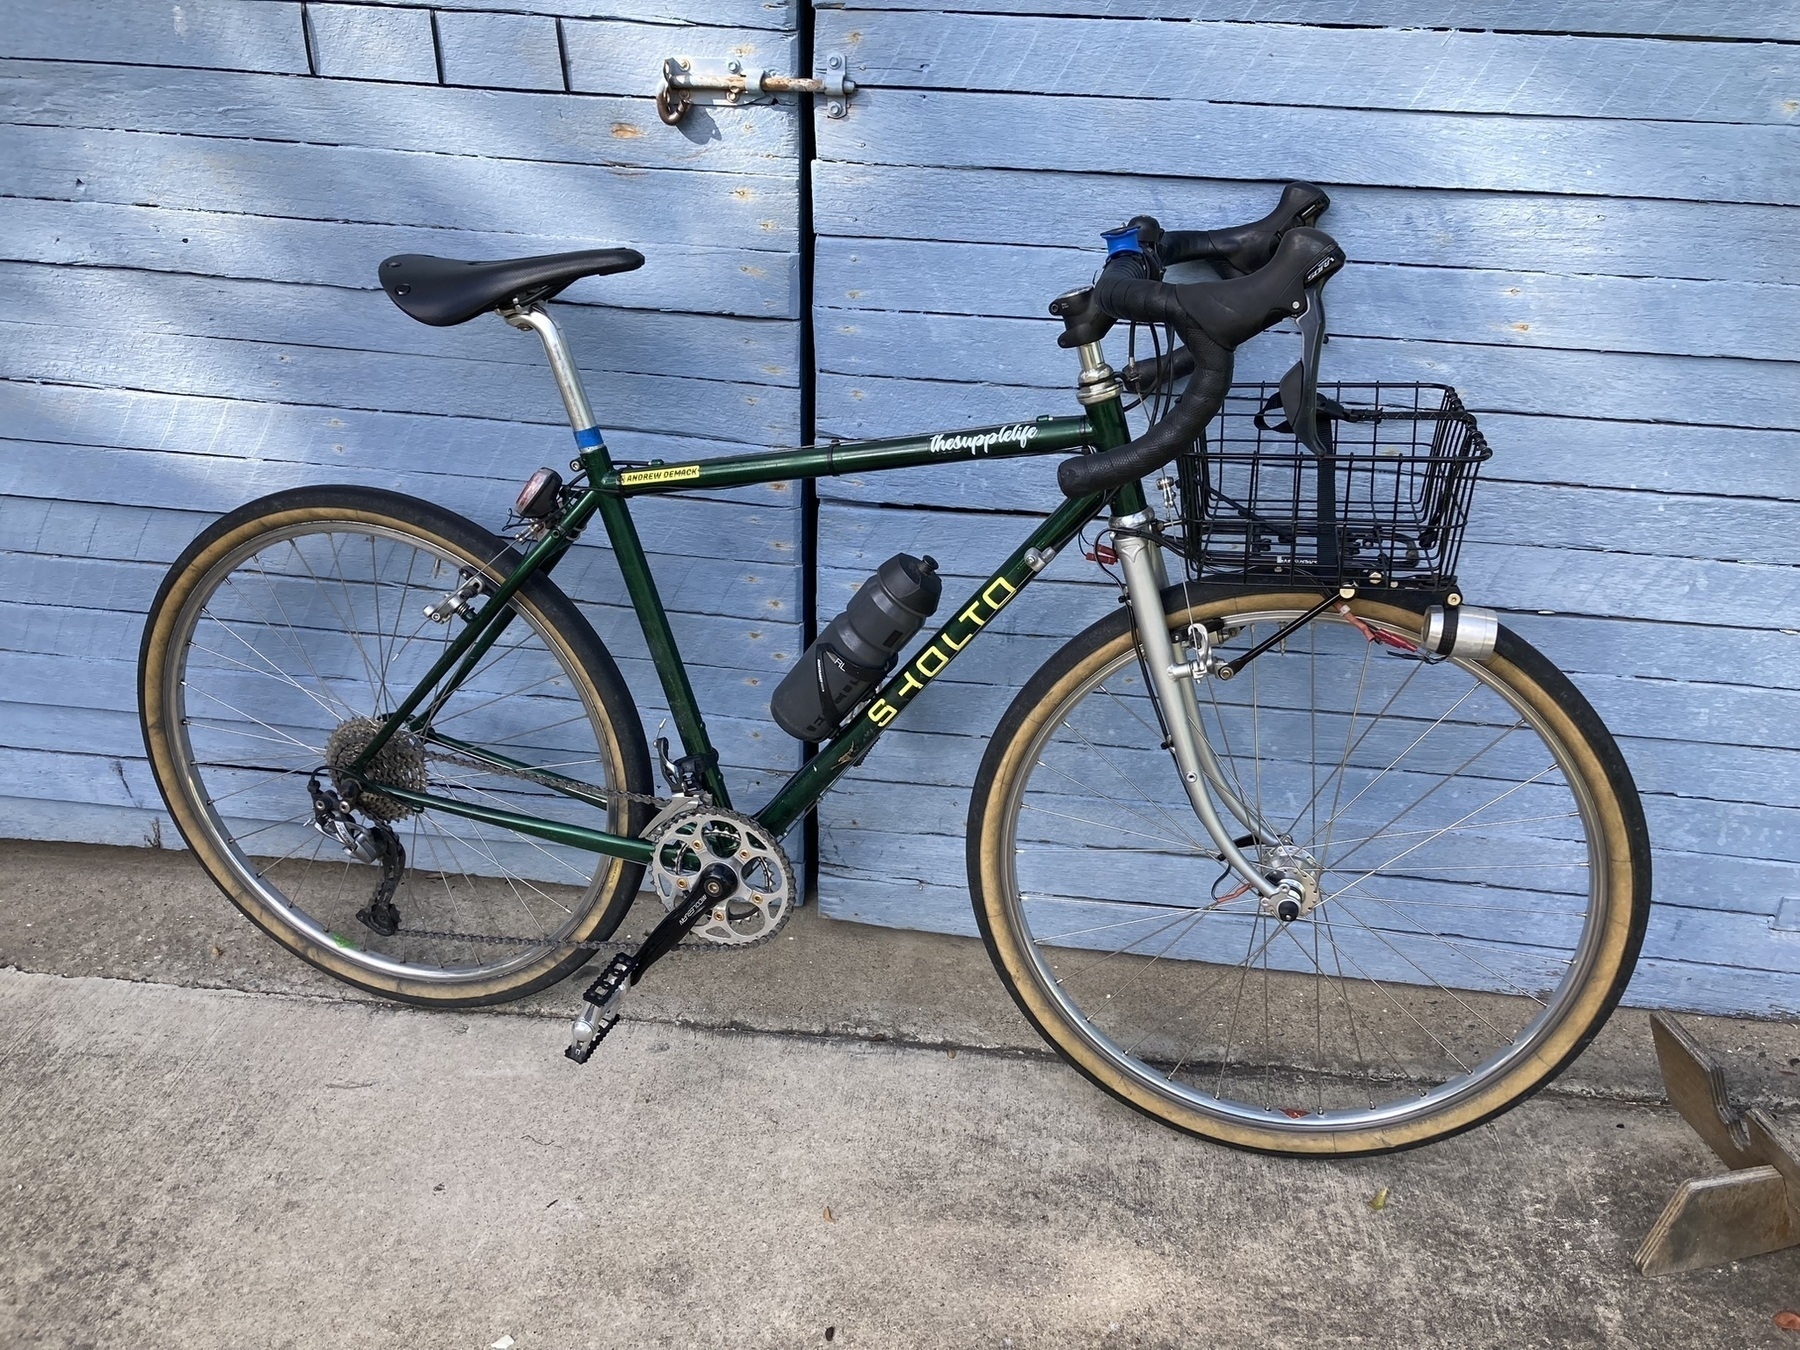
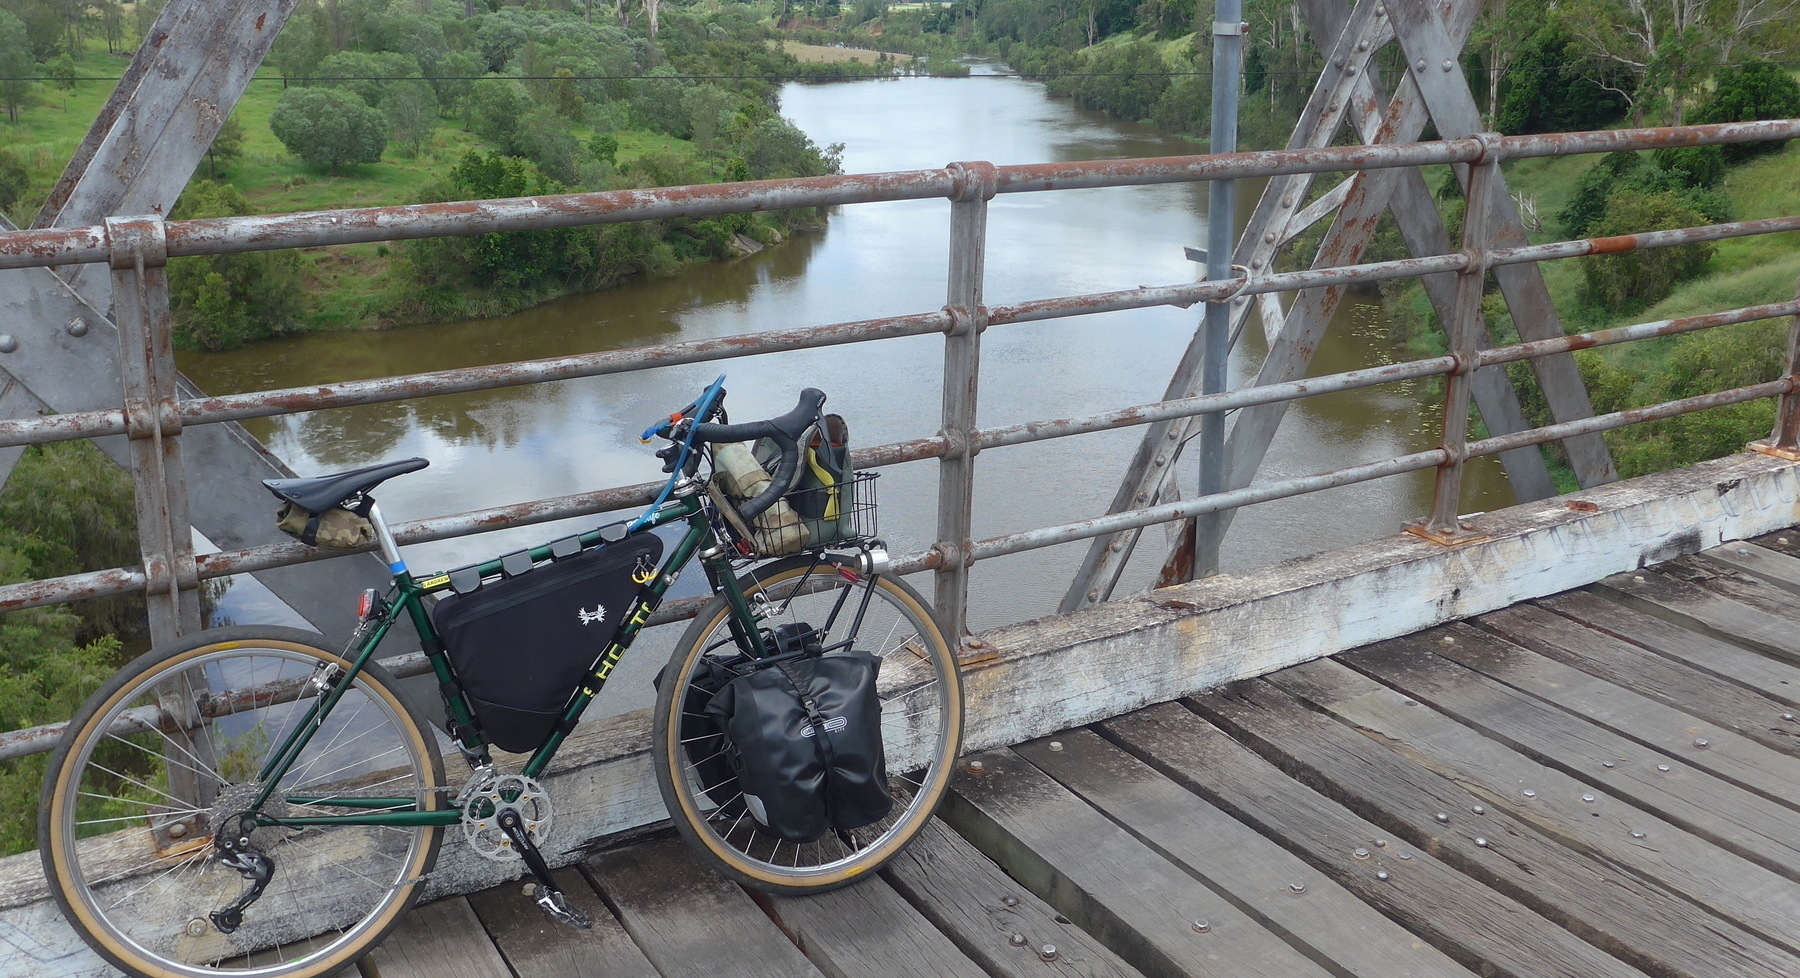
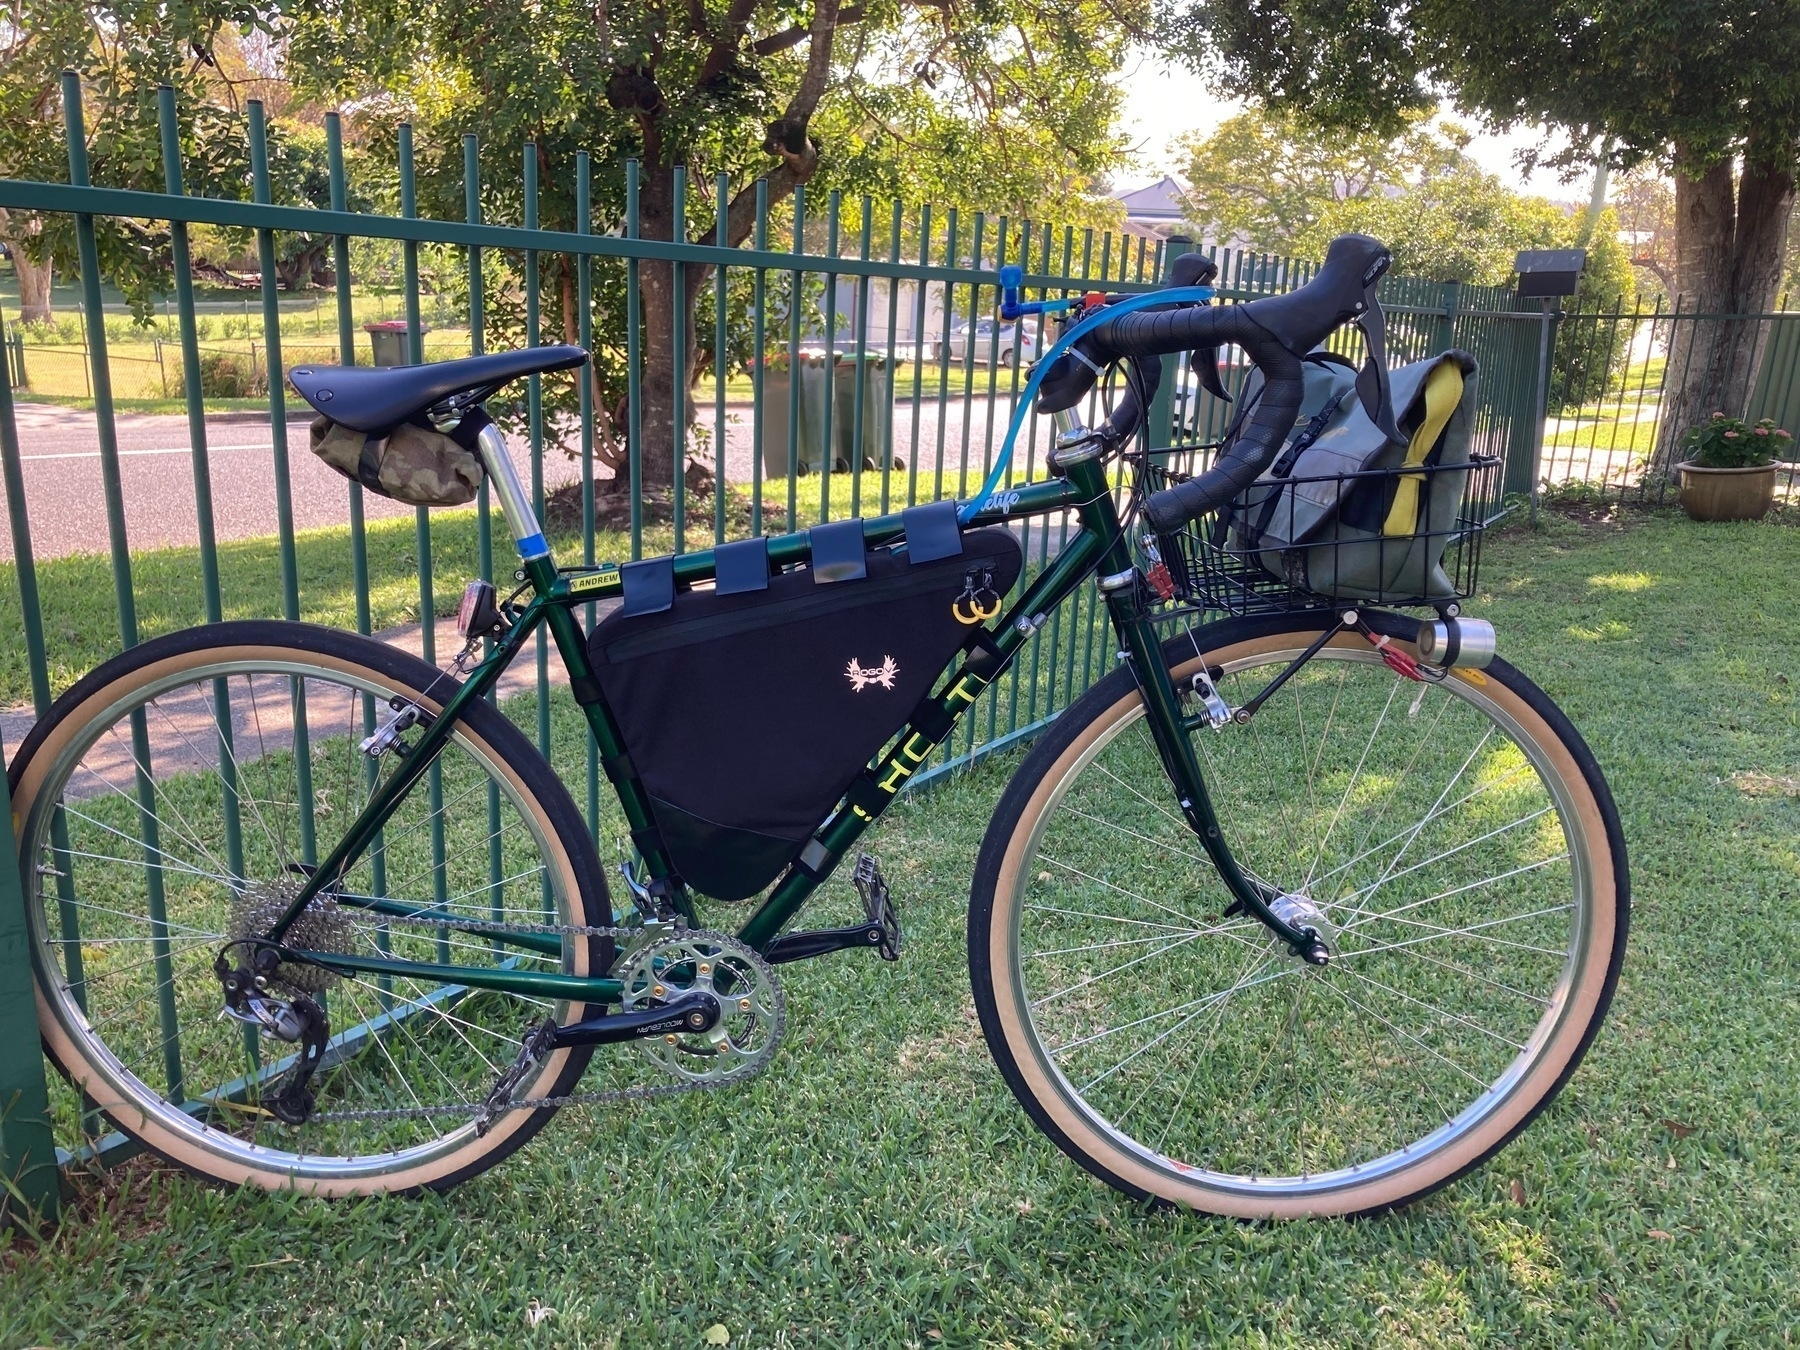
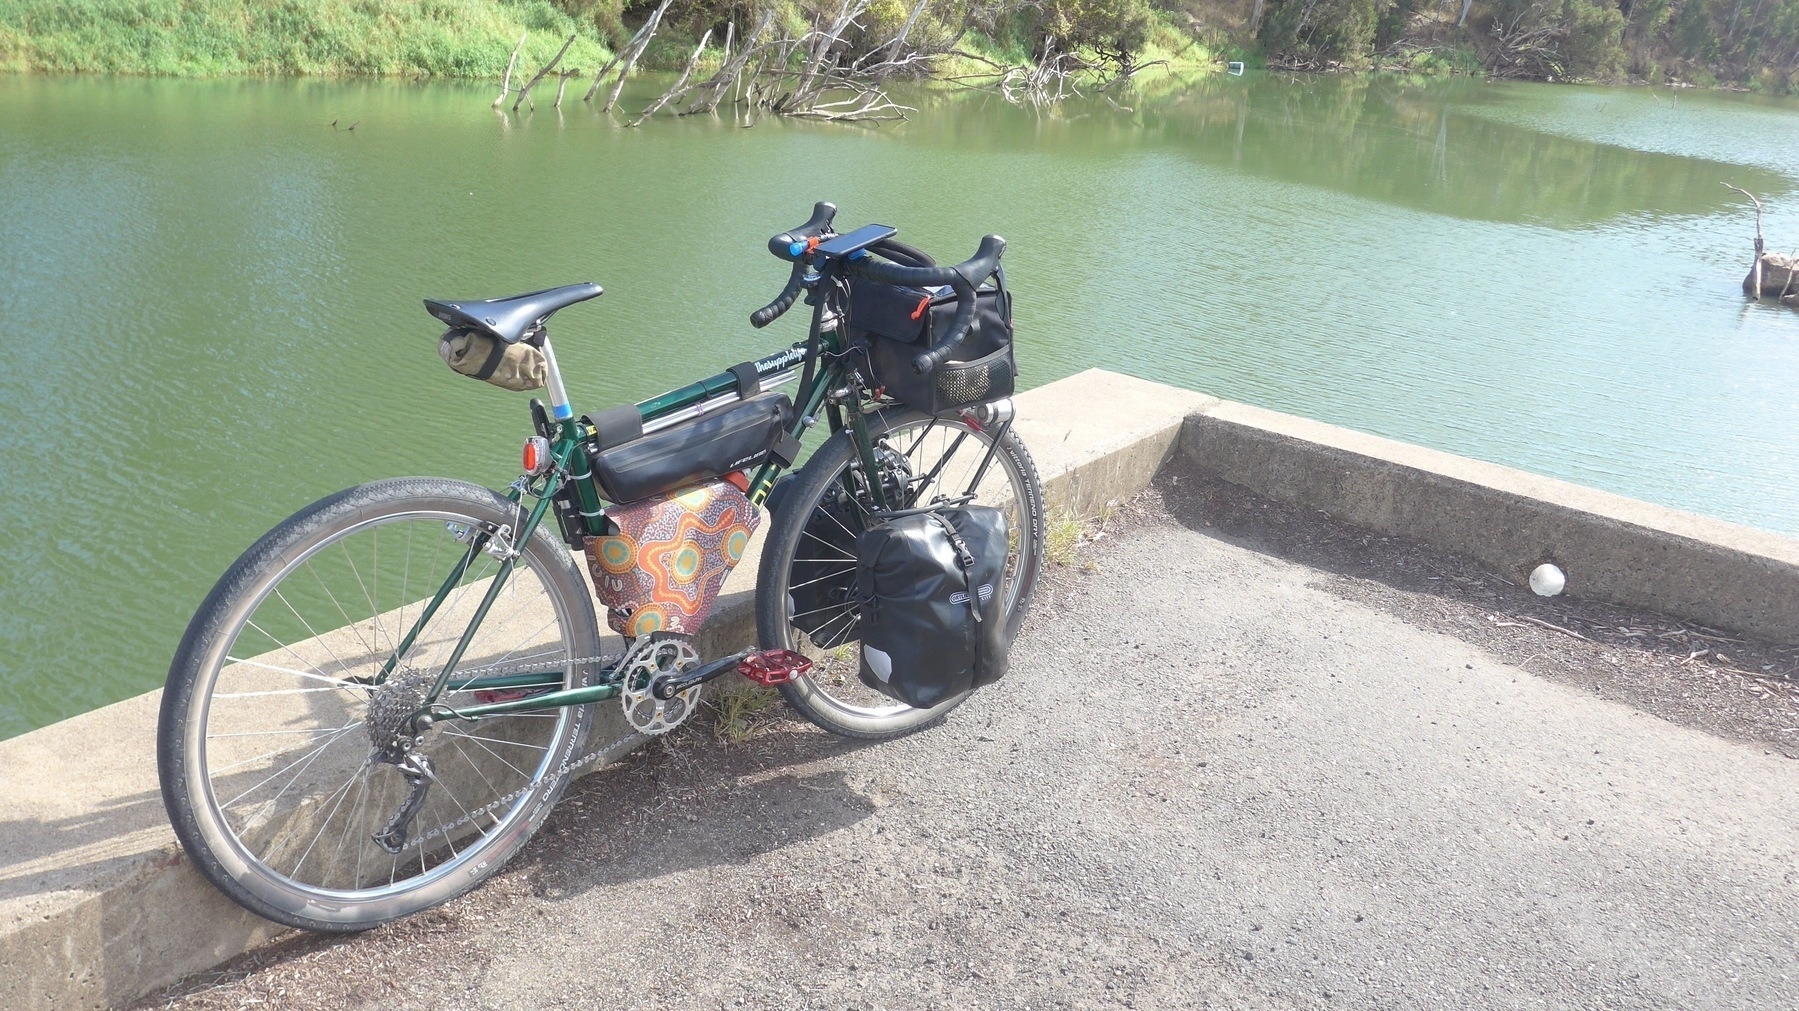
Commuter/tourer. Main ride to work, also main machine for light or credit-card touring. 1994 Shogun Alpine GT, converted to 650B. Fork by Joe Cosgrove. Downtube logo says ‘Sholto’ in memory of a friend. Love this bike and ride it just about every work day.

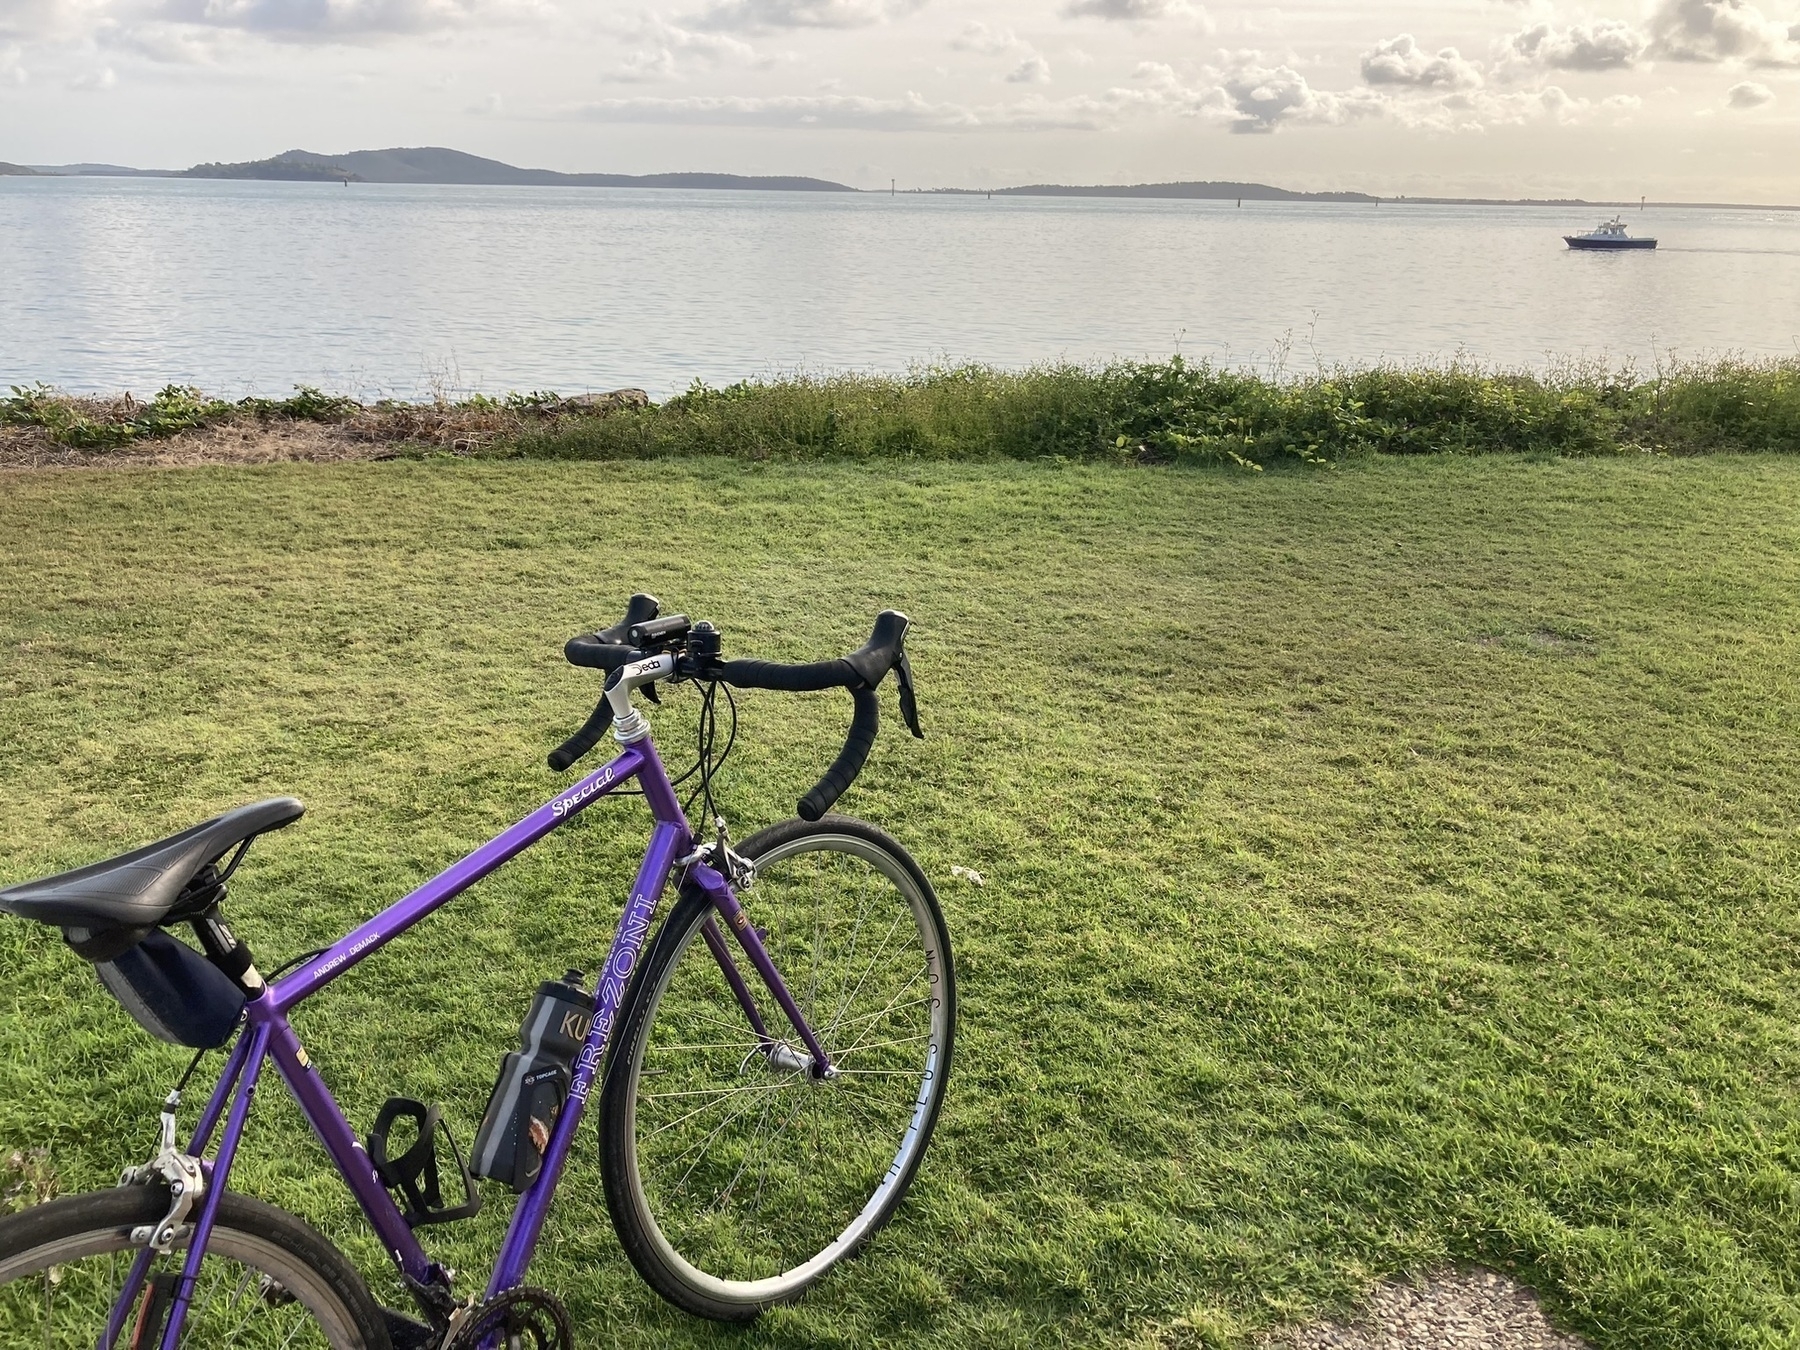
Road bike. Frezoni made by Joe Cosgrove, a framebuilder who lives about 2 km from me in Brisbane Australia. Joe’s primarily known for doing the paintwork on Llewellyn bikes.

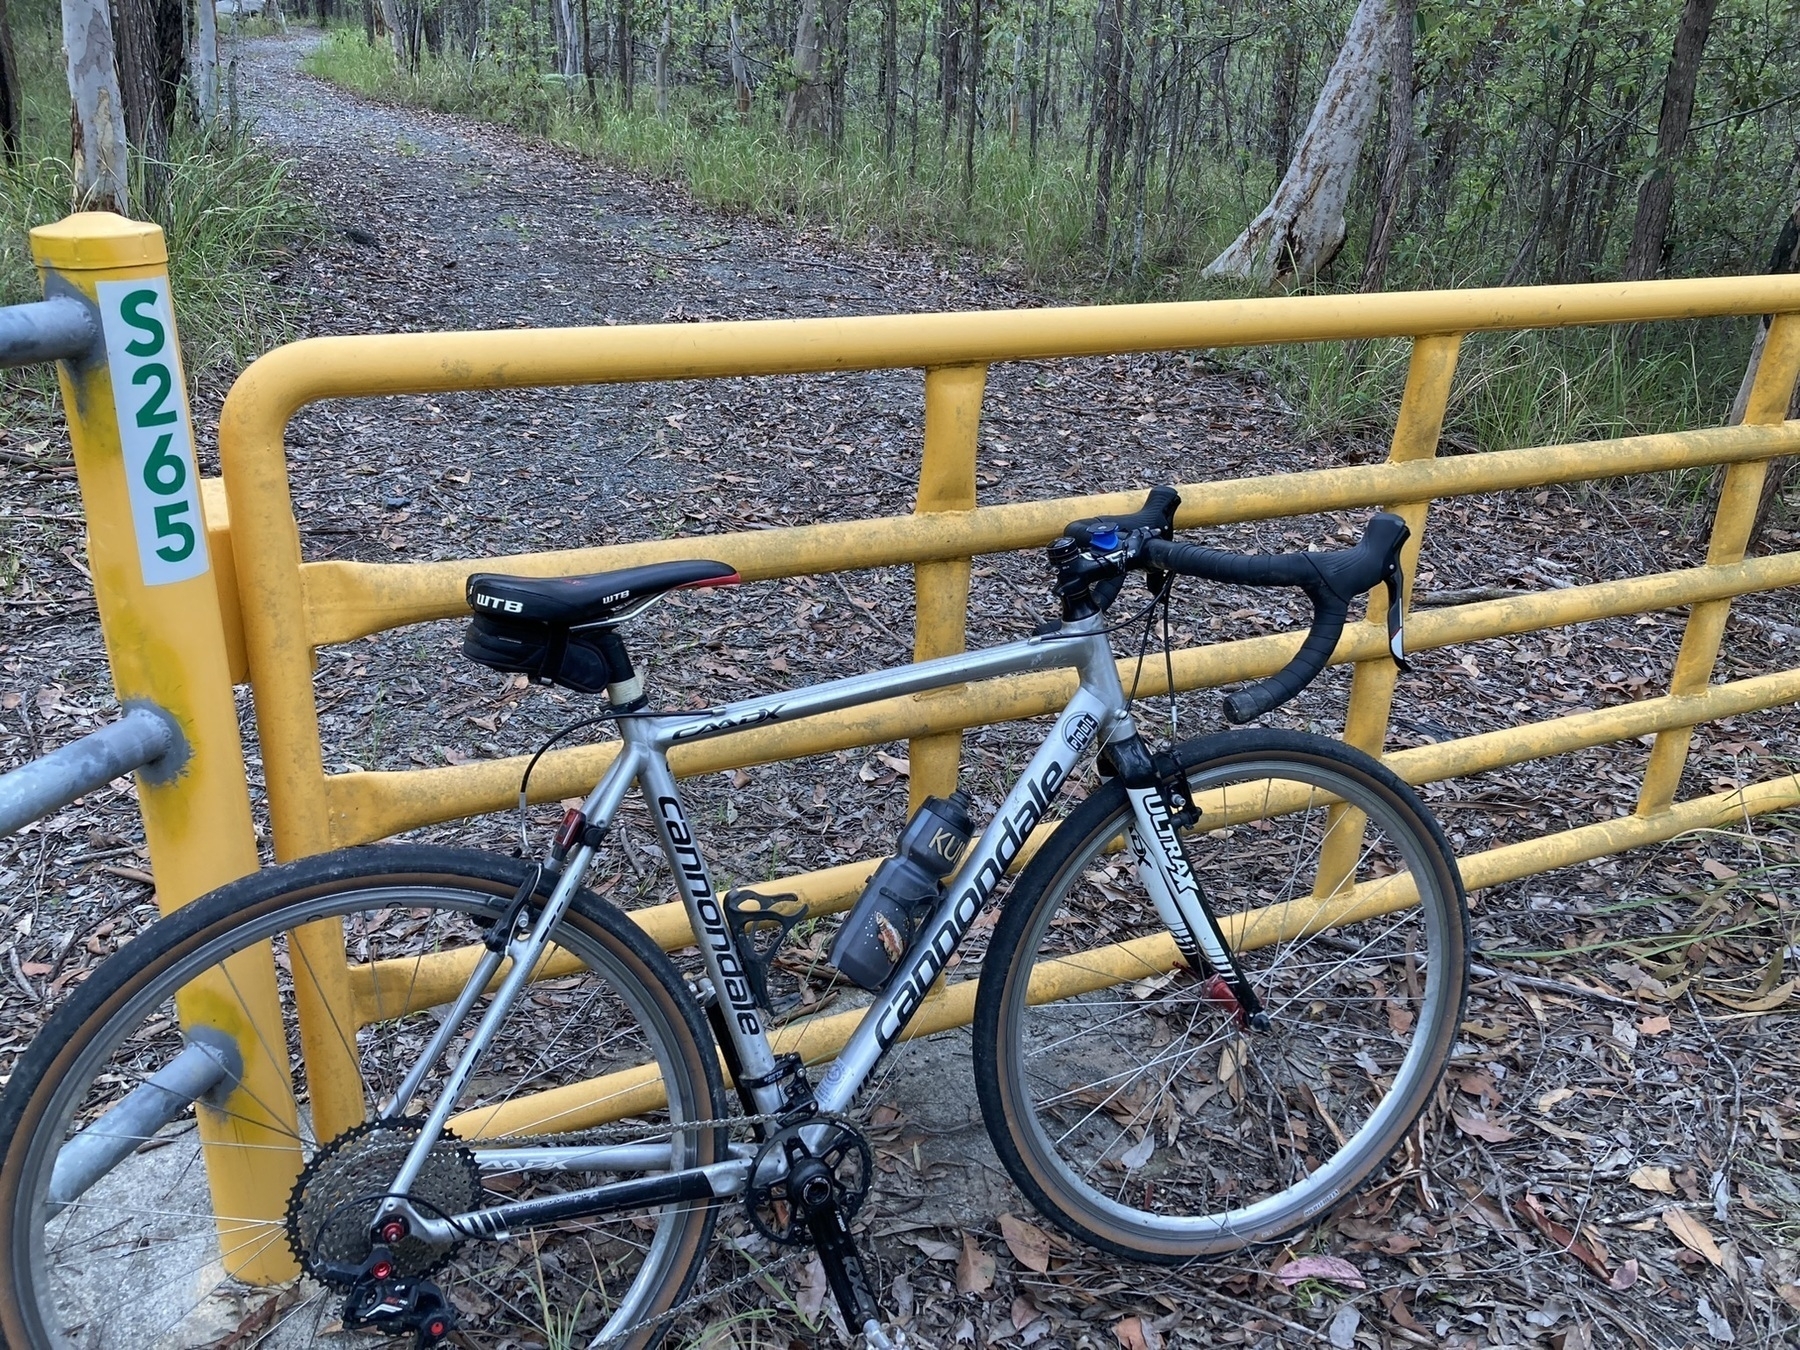
Cyclocross/gravel bike. 2011 Cannondale CAAD-X. Just a couple of years before cyclocross bikes switched to discs. I now run a 1x setup, and it has mini-V brakes rather than cantis.

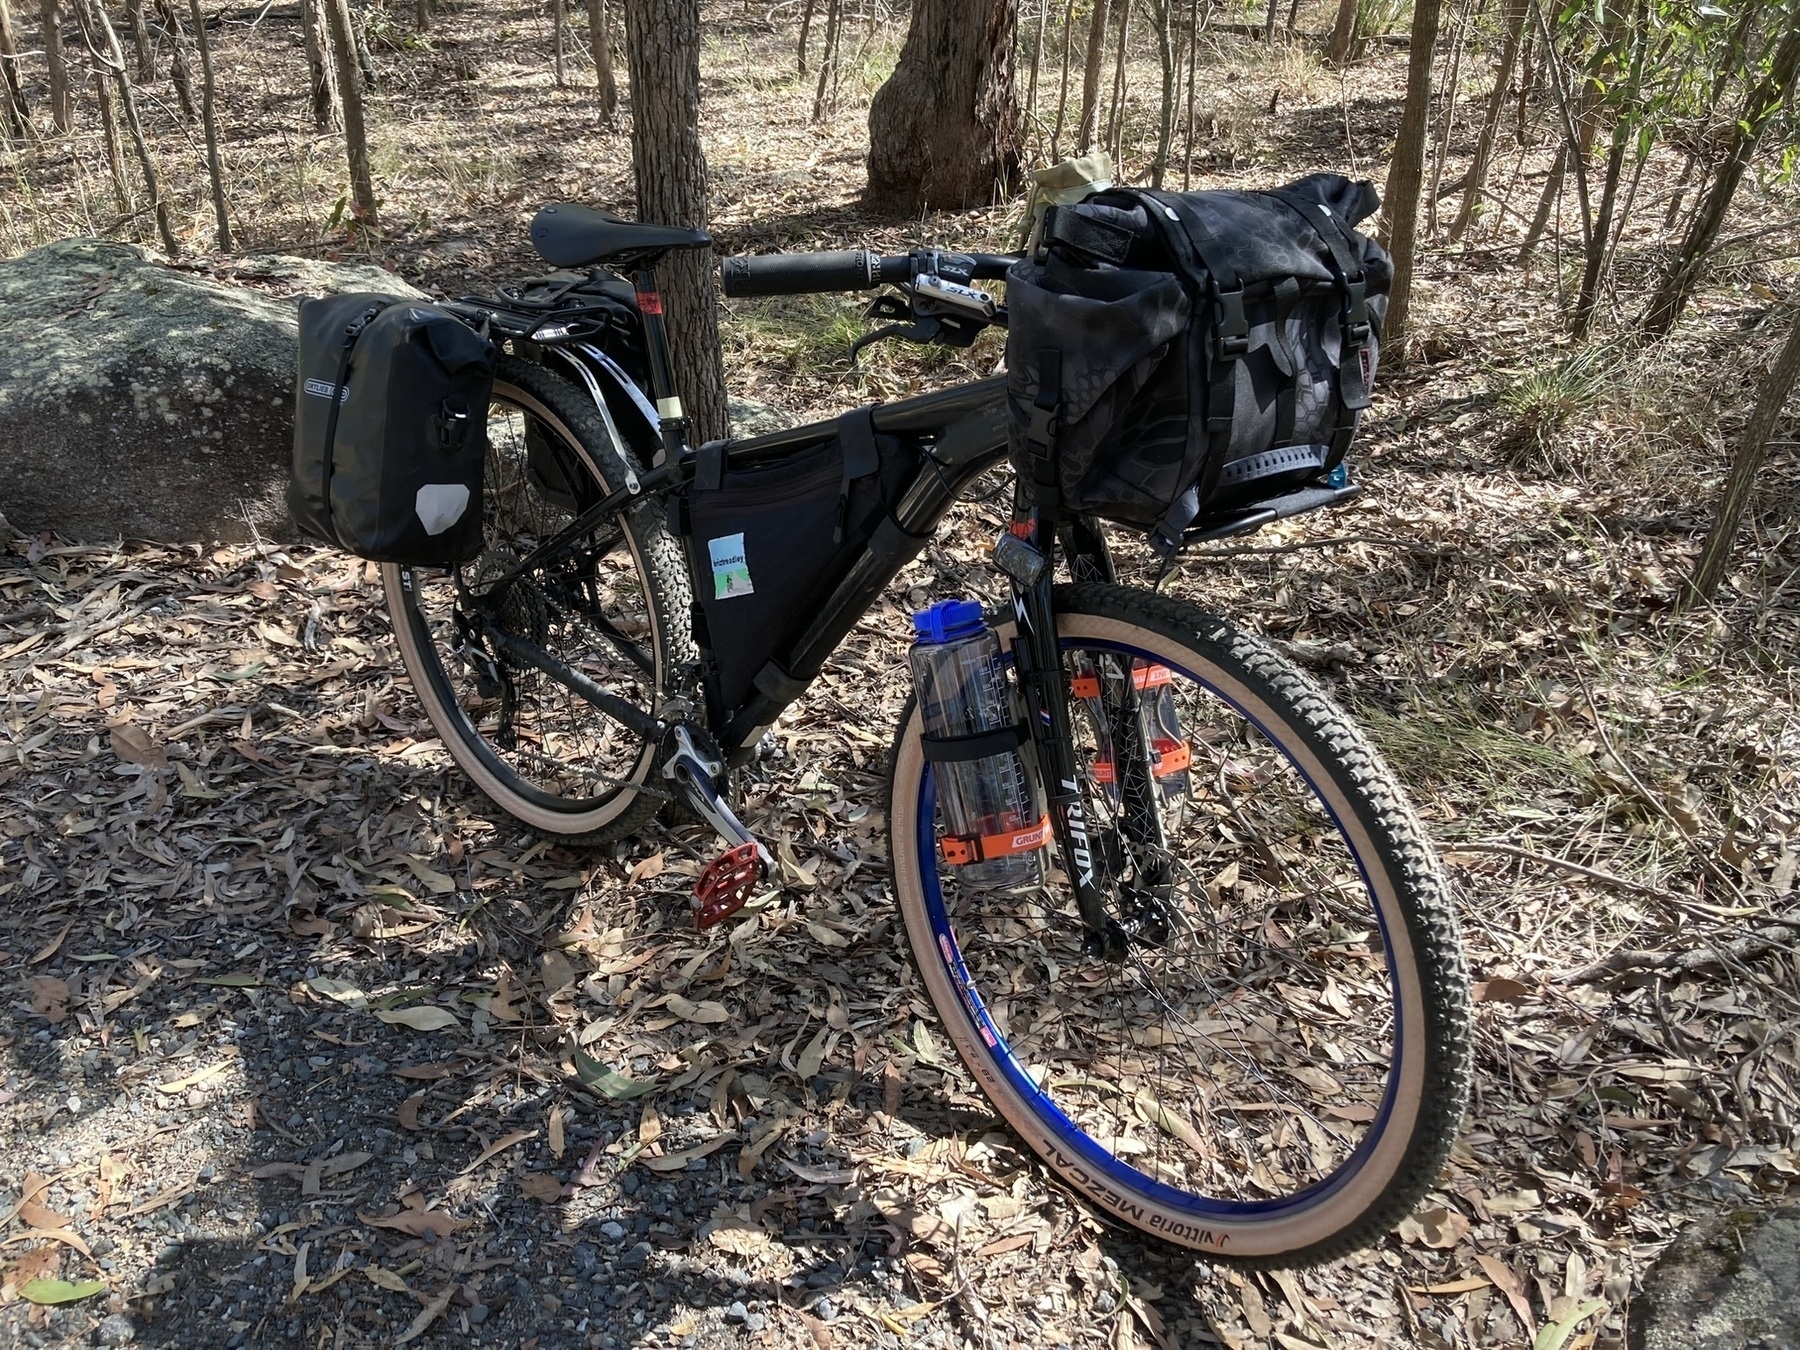
Bikepacking bike. Based on a 2011 Specialized Carve aluminium frame. Currently has a Trifox carbon fork. Fantastic device for long steady days on a rail trail or a back road through the bush.

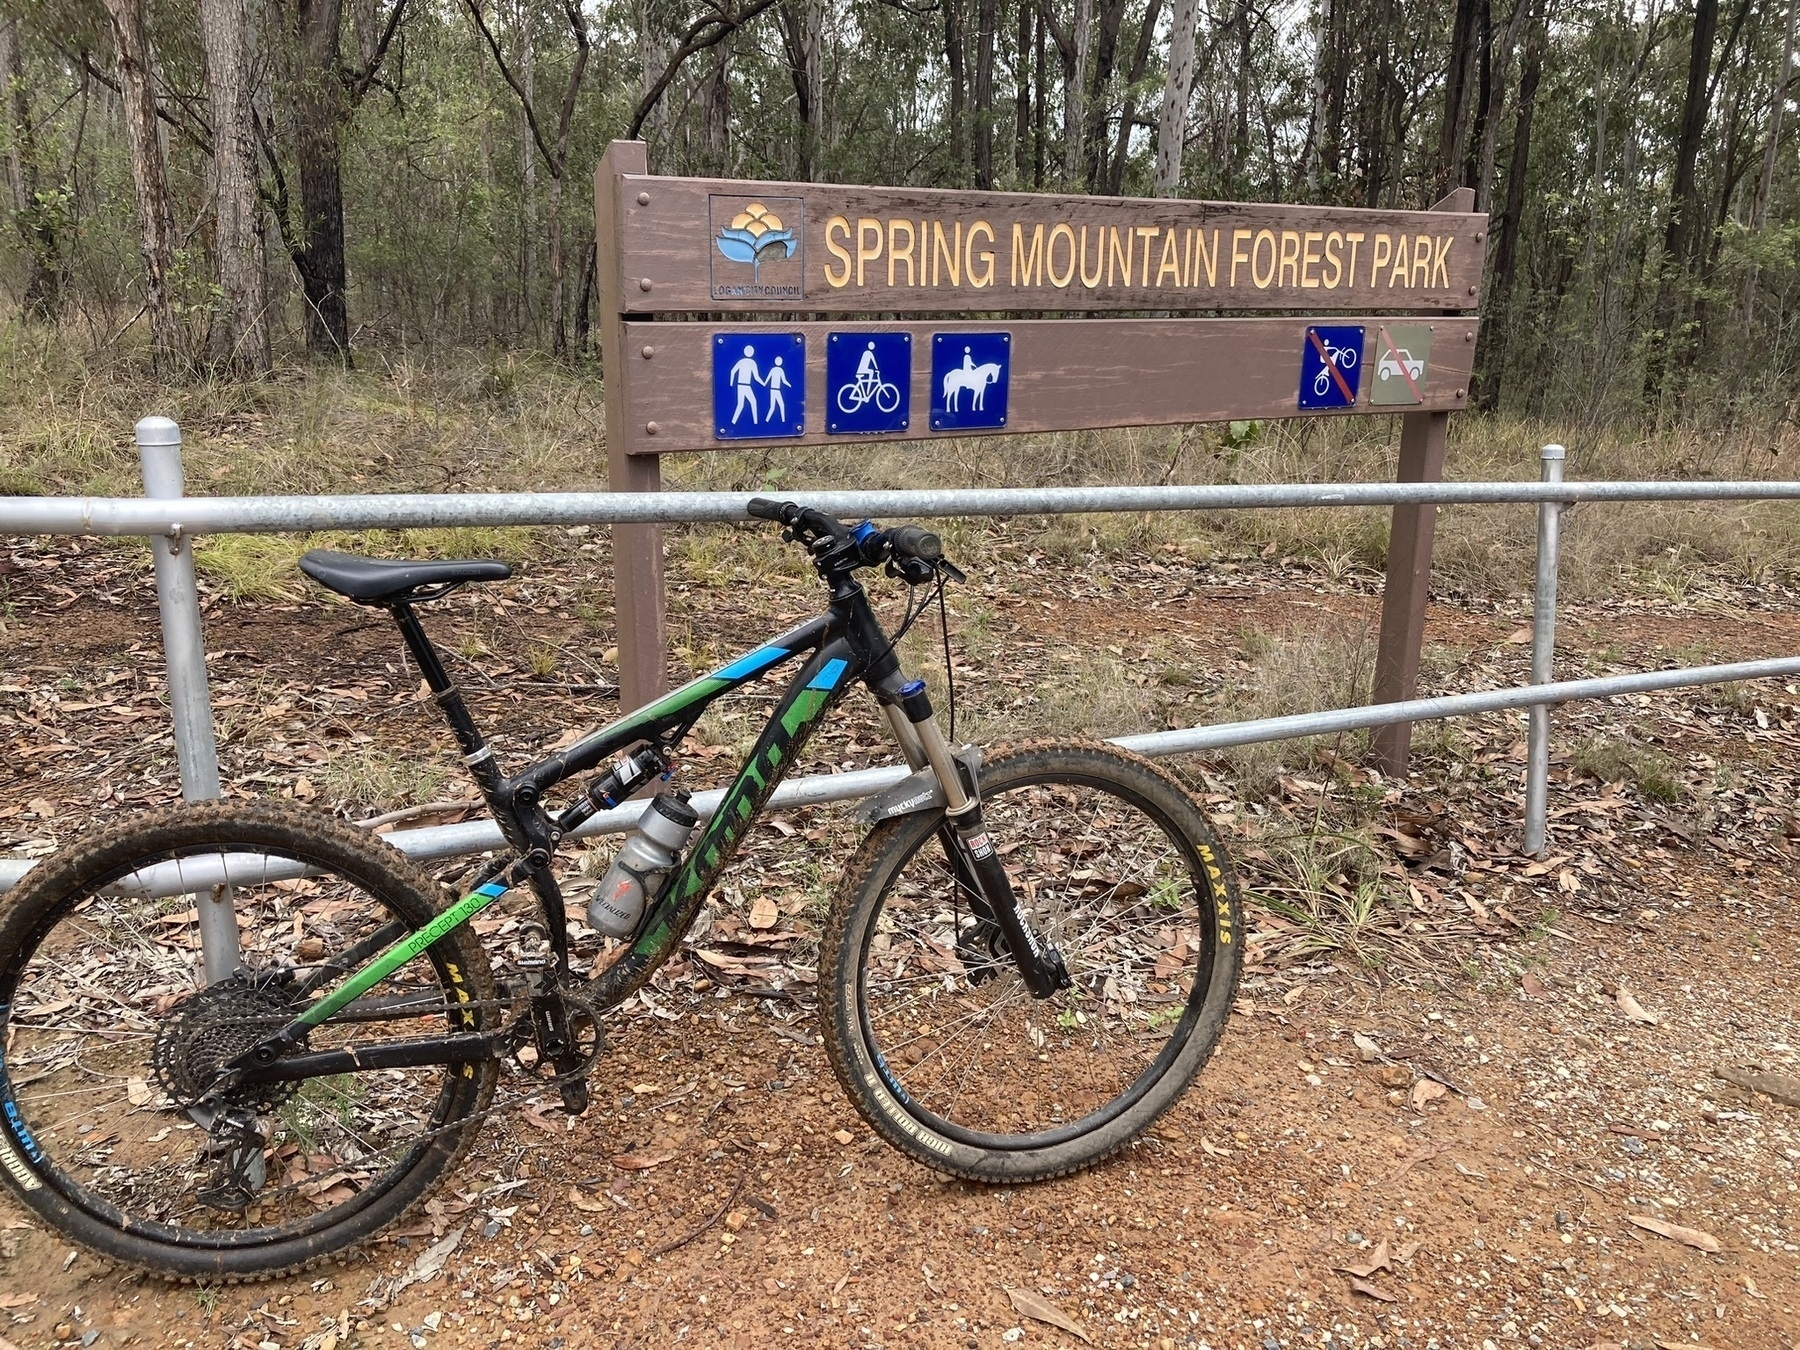
Mountain bike. 2016 Kona Precept. 27.5 wheels, dual suspension. Cos singletrack is the best fun.

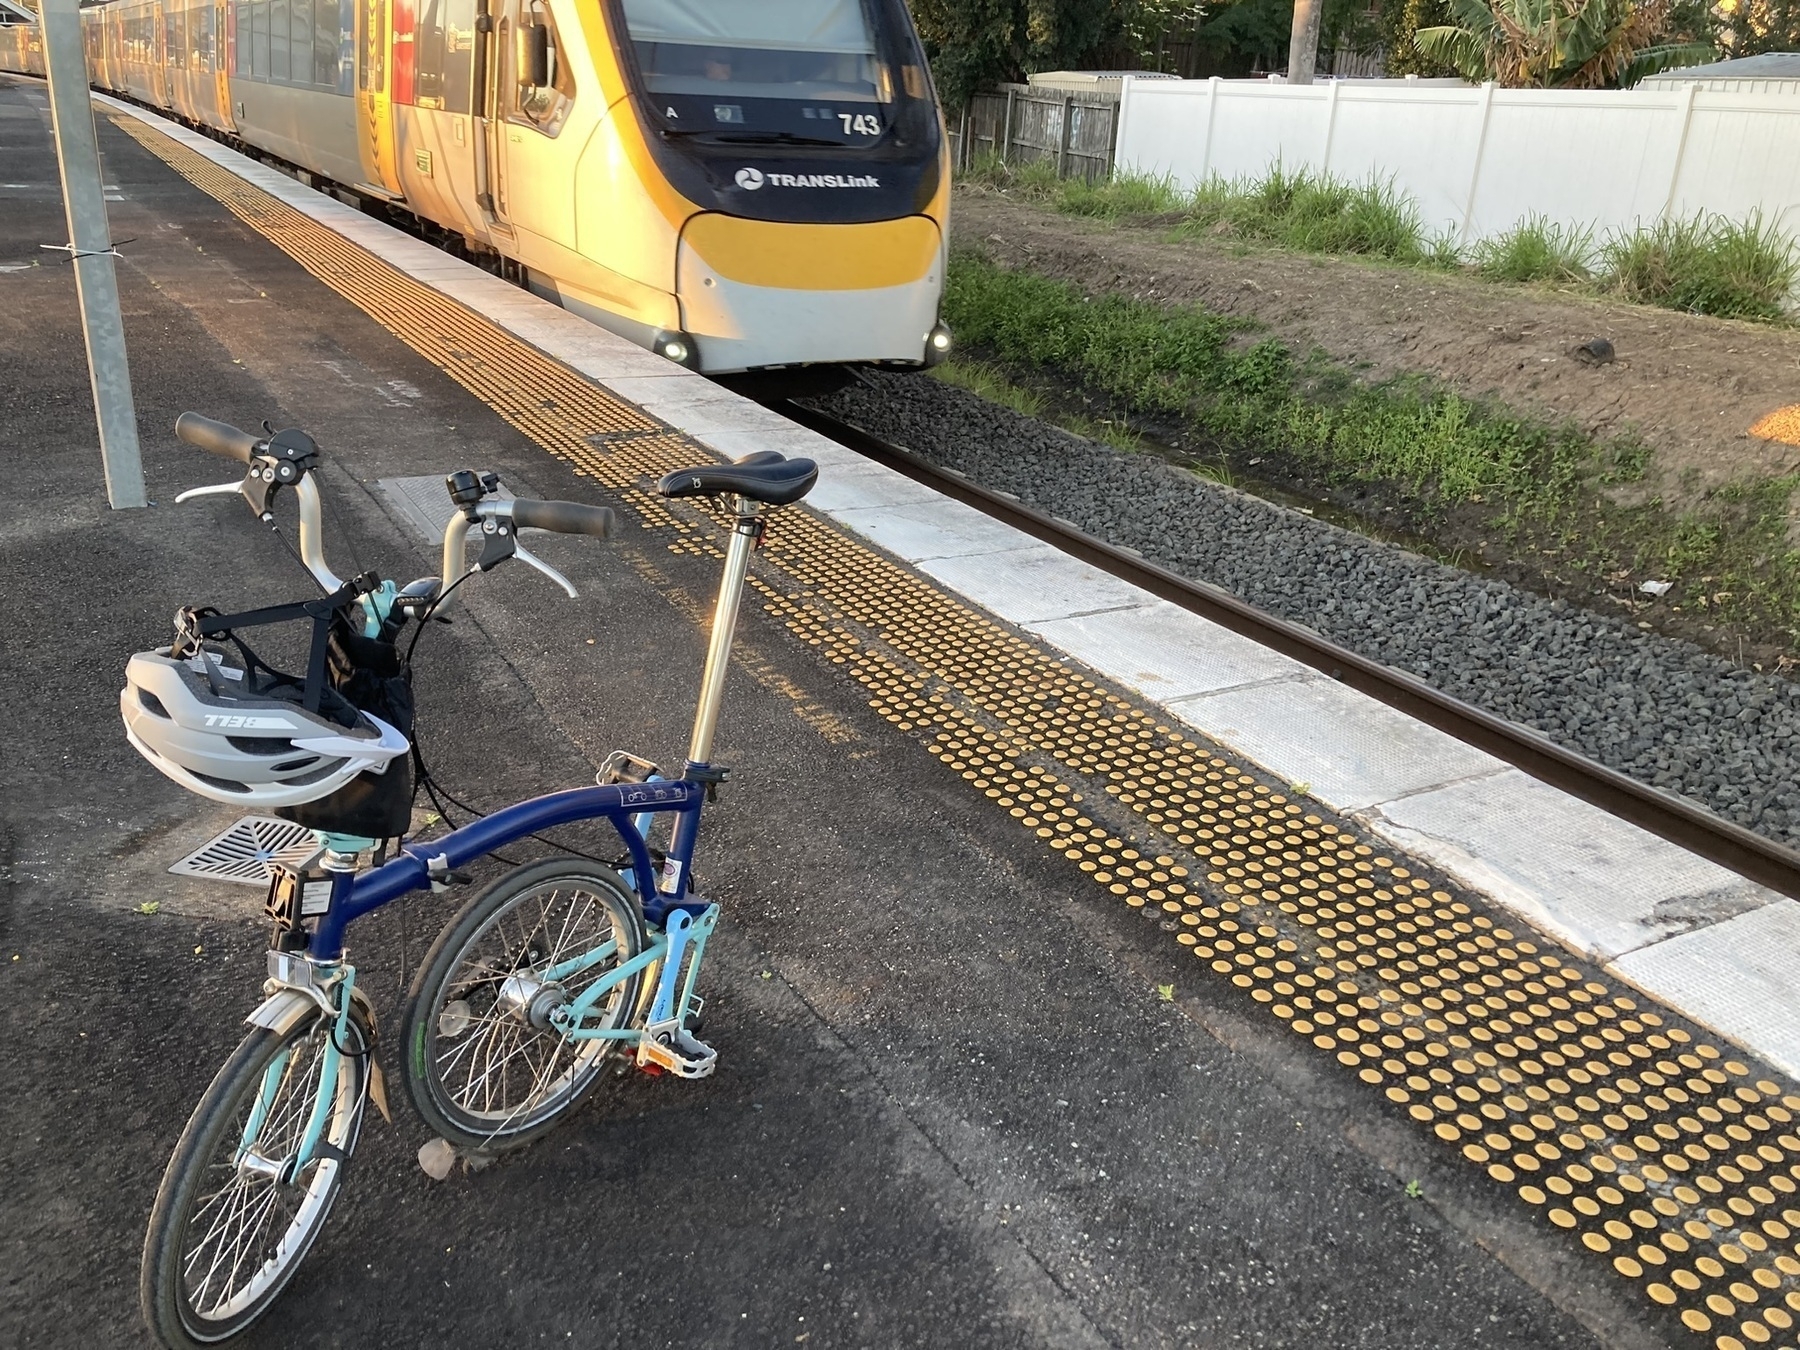
Folding bike. Brompton. Cos every home needs a Brompton.

Trip notes from New England Cycle Trail (South)

Day 1. Armidale to Uralla, 35km

NECT day 1: Armidale to Uralla - Andrew D.’s 35.1 km bike ride

Our group of four assembled in Armidale after taking various driving options to get there. I drove down from Brisbane with a 6 am start from Salisbury giving us plenty of time for coffee stops and lunch at Armidale before the short ride to Uralla in the afternoon.

The Day 1 route into Uralla was all back roads, and stayed entirely off the New England Highway. Big tick.

Just a couple of km on gravel roads to get us across to Thunderbolts Way for the last three km into town. Good route.

I picked some poorly positioned motels for this trip, managed to select those well away from town centres, through not paying sufficient attention to the size of the towns and the positioning of likely dinner venues (i.e. pubs).

Uralla had a great cafe: the Alternate Root. And we enjoyed our dinner at the Top Pub.

Day 2. Uralla to Walcha. 62km

NECT day 1: Armidale to Uralla - Andrew D.’s 35.1 km bike ride

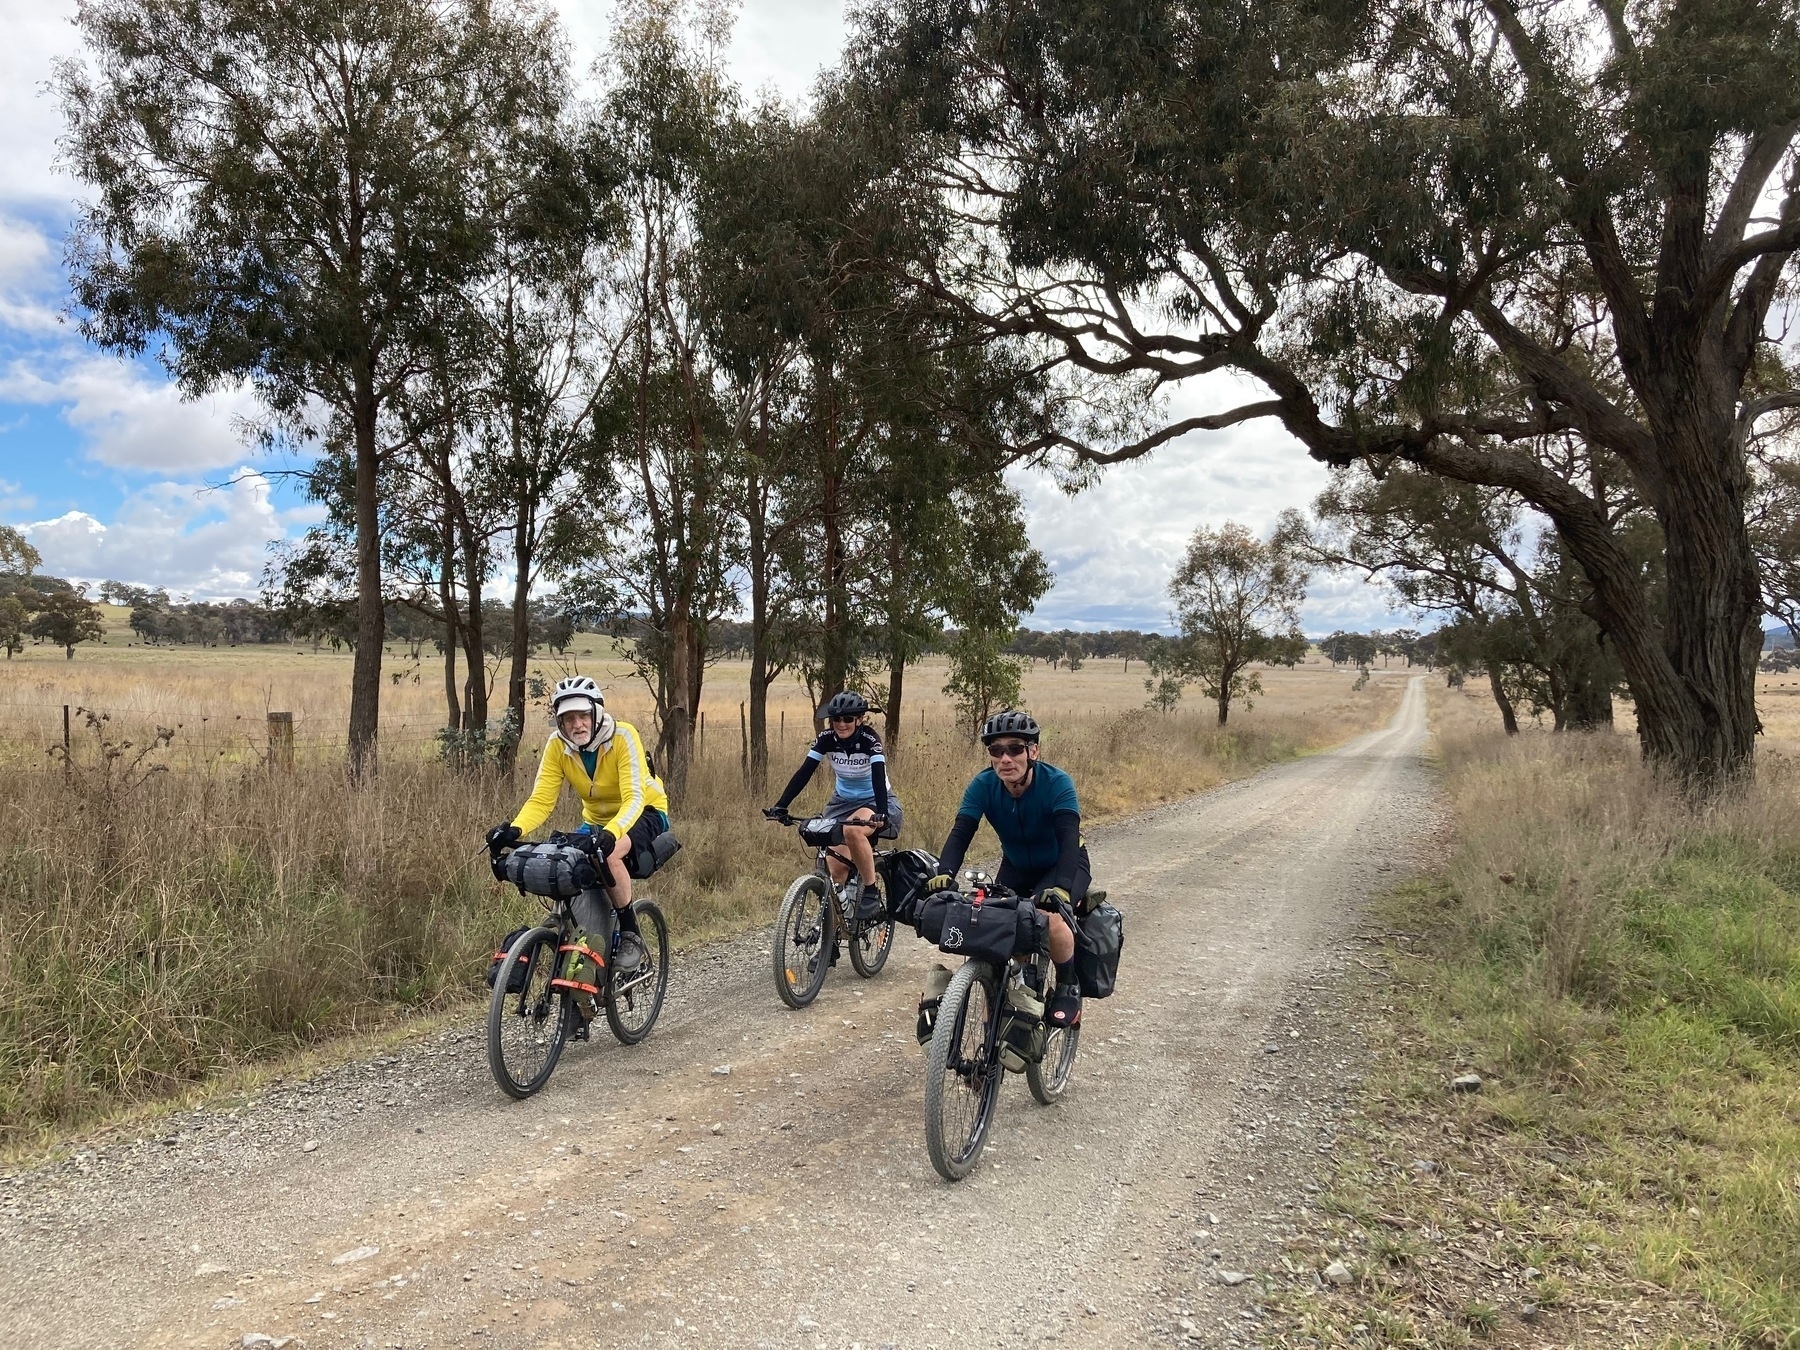
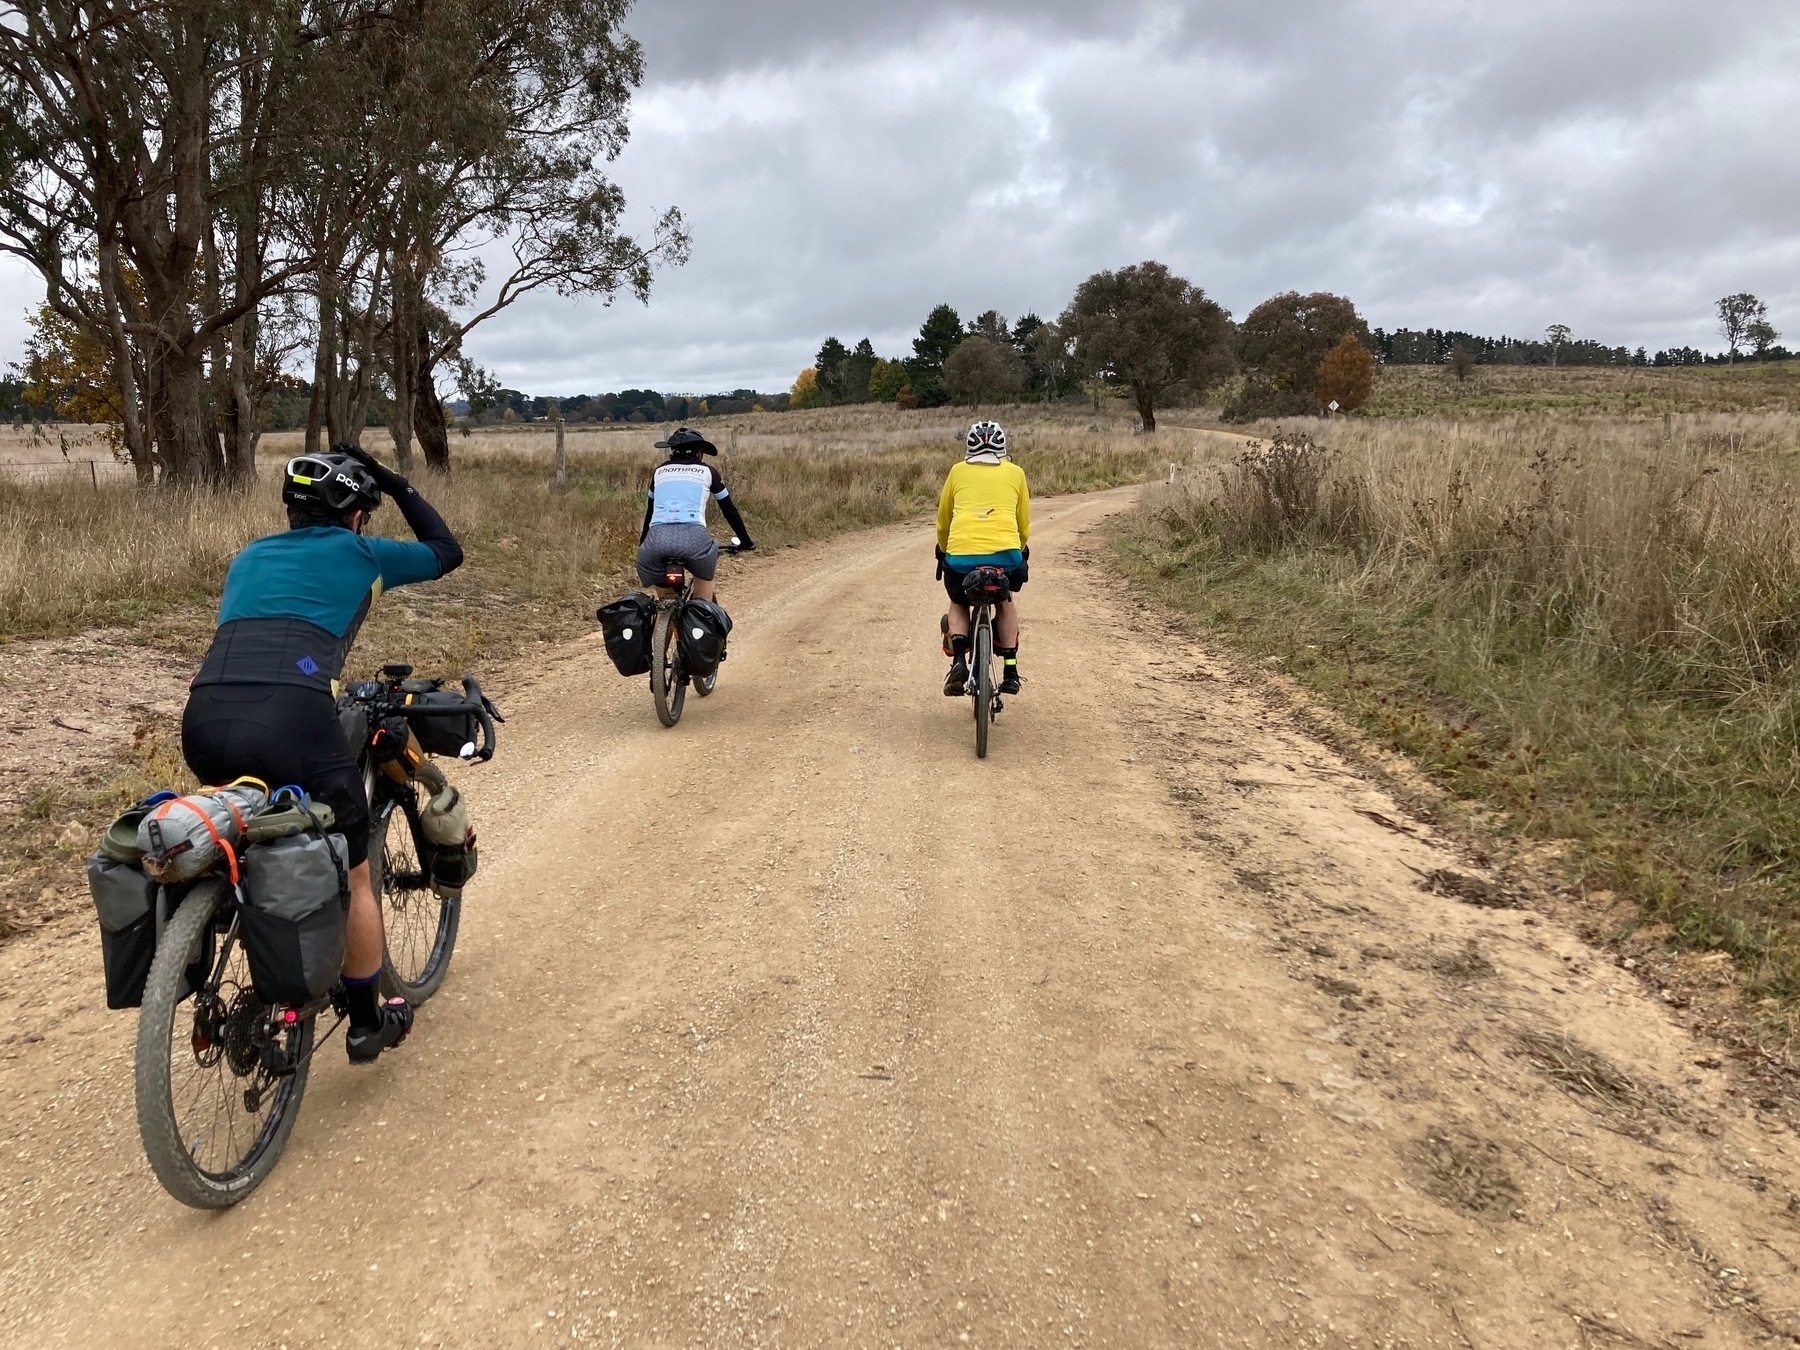
And this is where the story really starts. As I look back on this week of cycling, my strongest memories are of rolling countryside and smooth gravel roads. This day was cold and overcast, averaging 10 degrees Celsius for the day, but my abiding memory is of the colours of the leaves and the gentle rolling hills.

After a short climb out of Uralla, we left on Gostwyck Rd, past some roadworks which made a clay road quite sticky. All of us got chunky bits of gravel sprayed over the lower parts of our bikes. But once through the roadworks, the roads dried out and conditions were cool but near perfect.

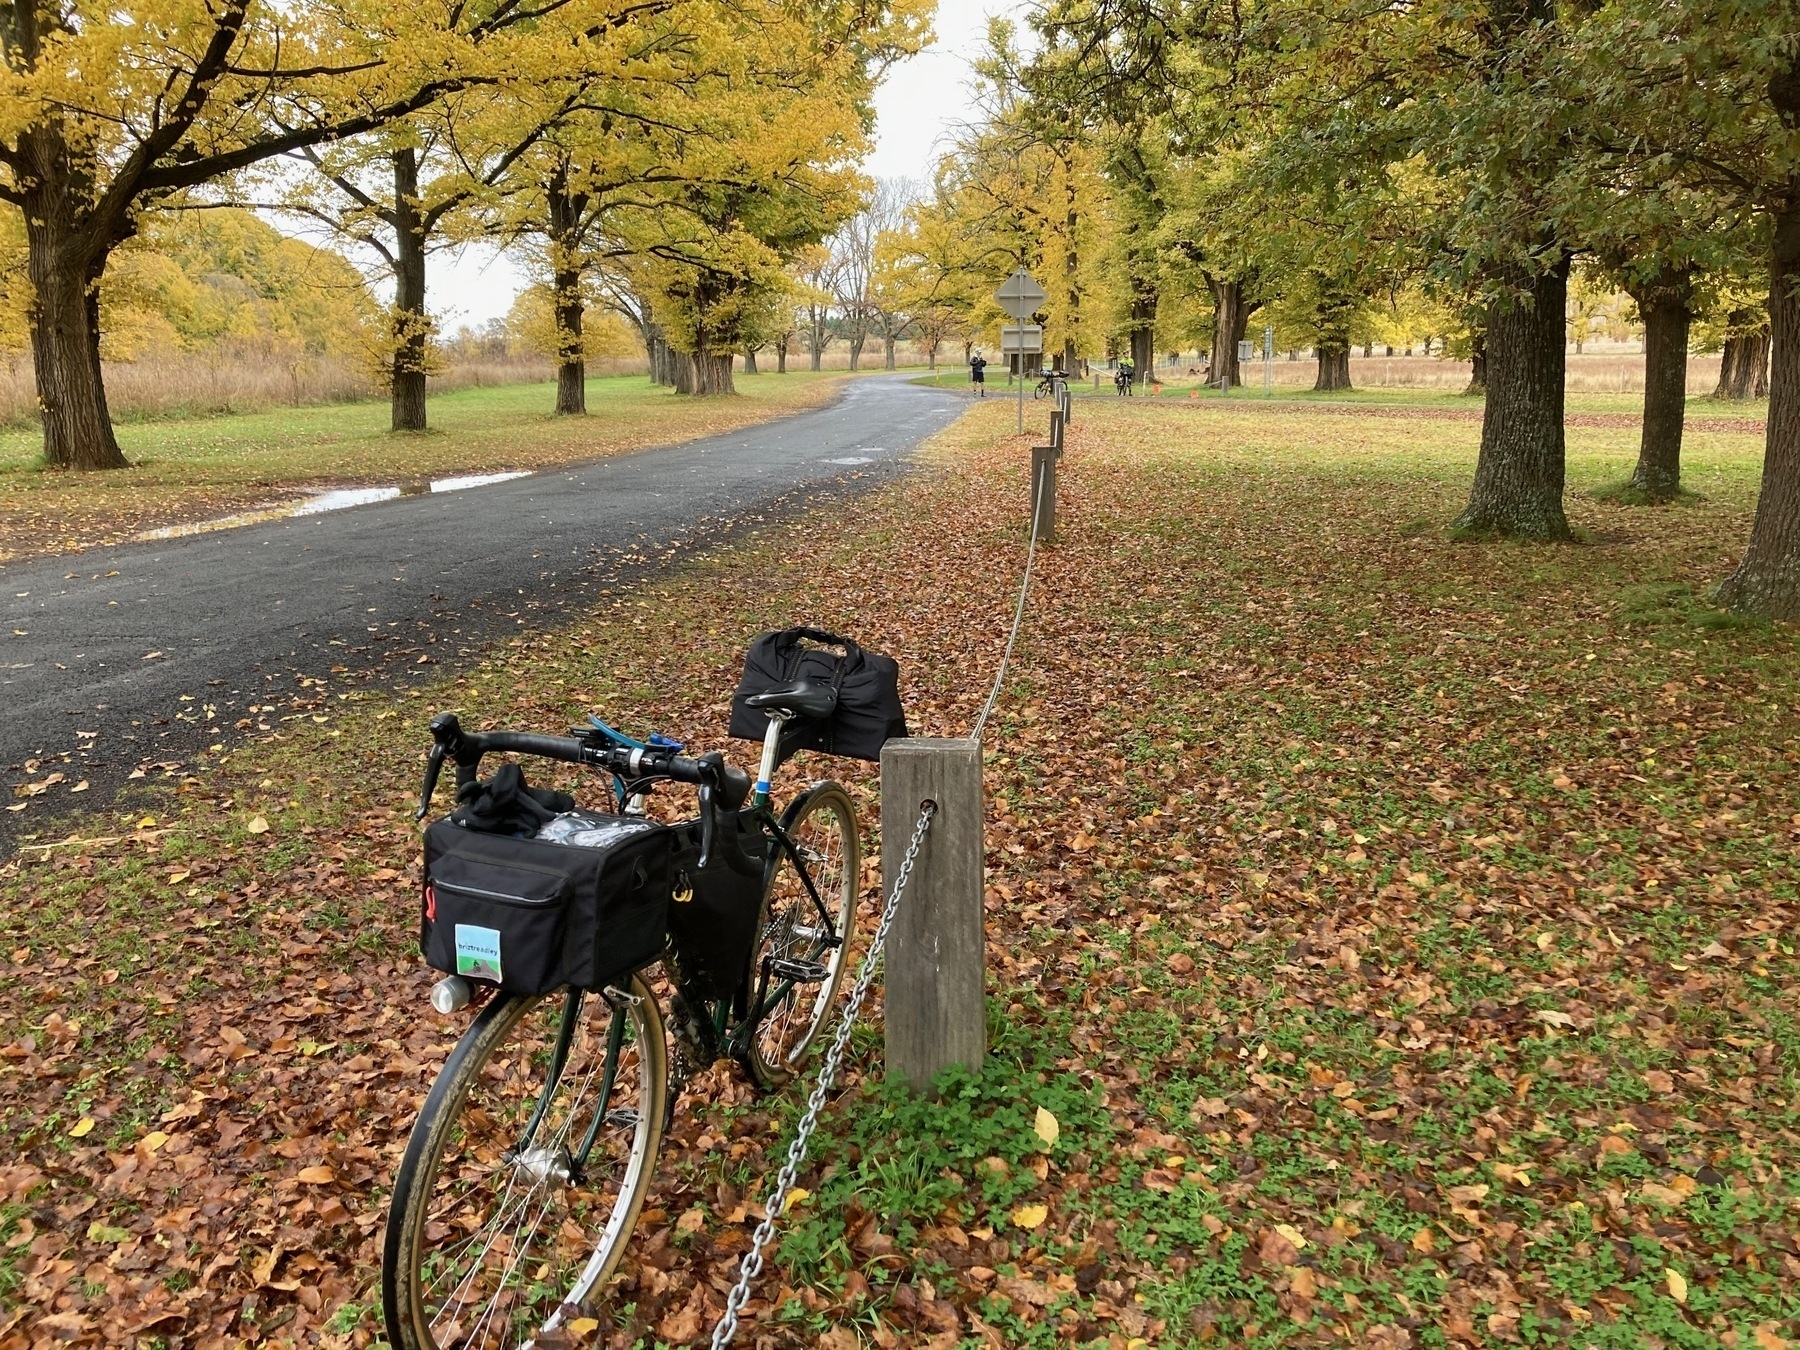
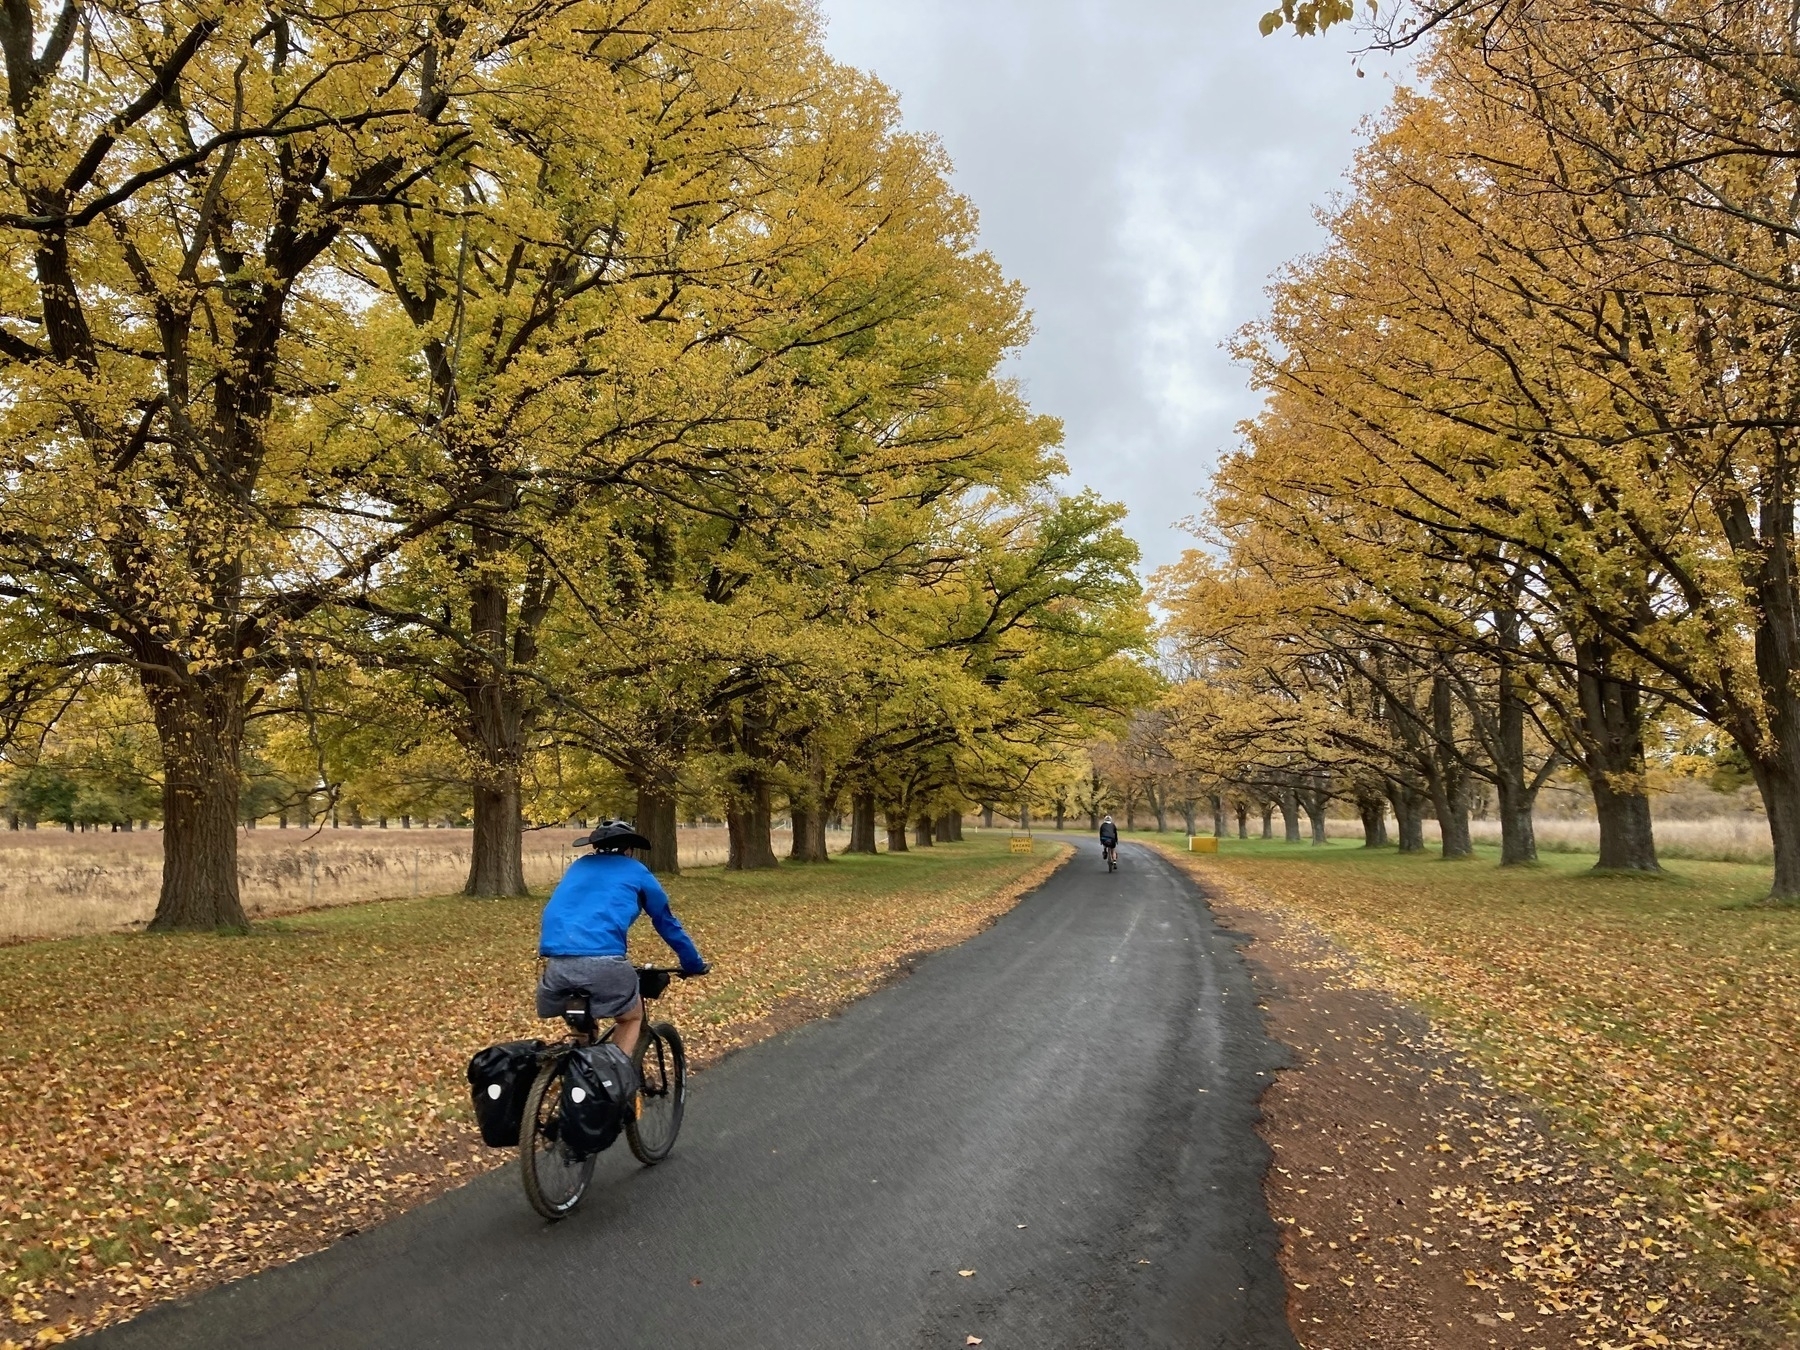
At Gostwyck we were entranced by the avenues of elms leading to All Saints Chapel, a picture-perfect place for a wedding I’m sure. We rolled south, climbing and descending throughout the morning.

Closer to Walcha we got back on some bitumen for a nice roll into town, and some lunch at Cafe Graze. This was a great morning’s ride, with enough challenge in climbing to make us hungry for lunch, enough rolling downhill to enjoy after any climb, and plenty of amazing autumn colours of reds and yellows in the New England foliage. Lots of oaks, elms and liquid amber trees, showing off their decidousness.

Day 3. Walcha to Tamworth. 93km

NECT day 3 Walcha to Tamworth - Andrew D.’s 92.8 km bike ride

This was a highly memorable day on the bike, with a descent nearly 30km, and a loss of 600m of altitude over the whole day’s ride.

The first third of the ride was up and down out of Walcha, with a turn off onto Scrubby Gully Rd. Even early on there was a magnificent descent down to the MacDonald River. The route then climbed away, and then back down to the river a second time.

This was where we got our feet wet. The route crosses the river on Surveyors Creek Rd, just before getting to Woolbrook. Belinda lost one of her croc sandals in the river, which certainly was a tragic moment in fashion.

After Woolbrook, we cruised and hollered and grinned on our way down the valleys created by Jamiesons Creek and then the Cockburn River, all the way to a late lunch at Kootingal (72km)

My route assessments let us down at this point I think. Instead of pulling up at Kootingal, we braved the weekday afternoon traffic into Tamworth, a busy city with many trucks and buses. Our motel was on the New England Highway, which was also hard to get too.

Day 4. Tamworth to Quirindi. 115km.

NECT day 4: Tamworth to Quirindi - Andrew D.’s 115.6 km bike ride

This was the “Queen Stage” of our trip. I was a little concerned about my ability to ride the whole route and still finish in daylight, because there was a substantial amount of climbing, and because the previous day a ride just short of 100km saw us get into town with only an hour of sunlight to spare.

So we set off from Tamworth and rode a normal pace through to lunch at Nundle. On the way we rode through an historic goldmining era place with the charming name of Bowling Alley Point.

The steady climb up the Pool River valley, past Chaffey Dam, was one thing. We gained 200m of elevation.

But straight out of lunch (at the charming small town of Nundle) it was a false flat bitumen road leading to the only sustained climbing section of the whole week (for me).

Fortunately the climb on Old Wallabadah Rd was steady and pretty scenic, distracting me from the pain in my legs.

Eventually we reached Wallabadah, after a short but stimulating ride along the New England Highway. The last bitumen section riding west to Quirindi was ridden at breakneck pace, as we chased the sun going down before our eyes.

Day 5. Quirindi to Tamworth.

Route planned

NECT day 5 Quirindi to Tamworth - A bike ride in Quirindi, NSW

Our route as ridden

NECT Day 5: Quirindi to Tamworth - Andrew D.’s 67.4 km bike ride

Our day started with a little adventure. Just leaving Quirindi we turned right onto Bells Gate Rd, which our GPX route showed as a minor road which would link up to Black Gully Rd as a back roads route into Werris Creek, keeping us off the major through routes.

However, as we crossed the railway line after 7.5km of the day’s ride, we lost the trail. The road we were on became a farm driveway, and the GPX track was telling us to ride where there didn’t seem to be any road. Eventually Derek looked further along and saw a farm track which disappeared over a small rise. So we gulped hard and found a way across a small gully to link up with the double track.

It was only a couple of km later that the double track became a proper gravel road again, but for all that time I had a gnawing feeling in the pit of my stomach.

The wisdom of this route at keeping us away from the main road (Werris Creek Road) was made clear to us all, after our morning tea stop in Werris Creek.

We had 26km on the main road, and it was not a nice ride. Big trucks going at 100km/h only a couple of metres from you is never fun.

We got to Duri and thankfully our route planners had found another quiet road to get us all the way into Tamworth. A bit of bike path work saw us all the way into Tamworth’s very busy CBD.

The New England Cycle Trail (south) is a great ride. If I was doing it again I would stay in Kootingal rather than Tamworth on our way south, and I would look extra hard for any connecting back roads between Werris Creek and Duri, cos that road was no fun at all.

For me, the train trip from Tamworth back up to Armidale was a delight, although the bike box supplied by NSW TrainLink was one of the smallest I’ve ever used, and required A LOT of bike disassembly.

A bike is more than the sum of its parts: my Carve 29er

_2025 Update: _ Some of the minutae about bags and loading the bike up for a trip have changed over time. See the latest version, at the end of the article.

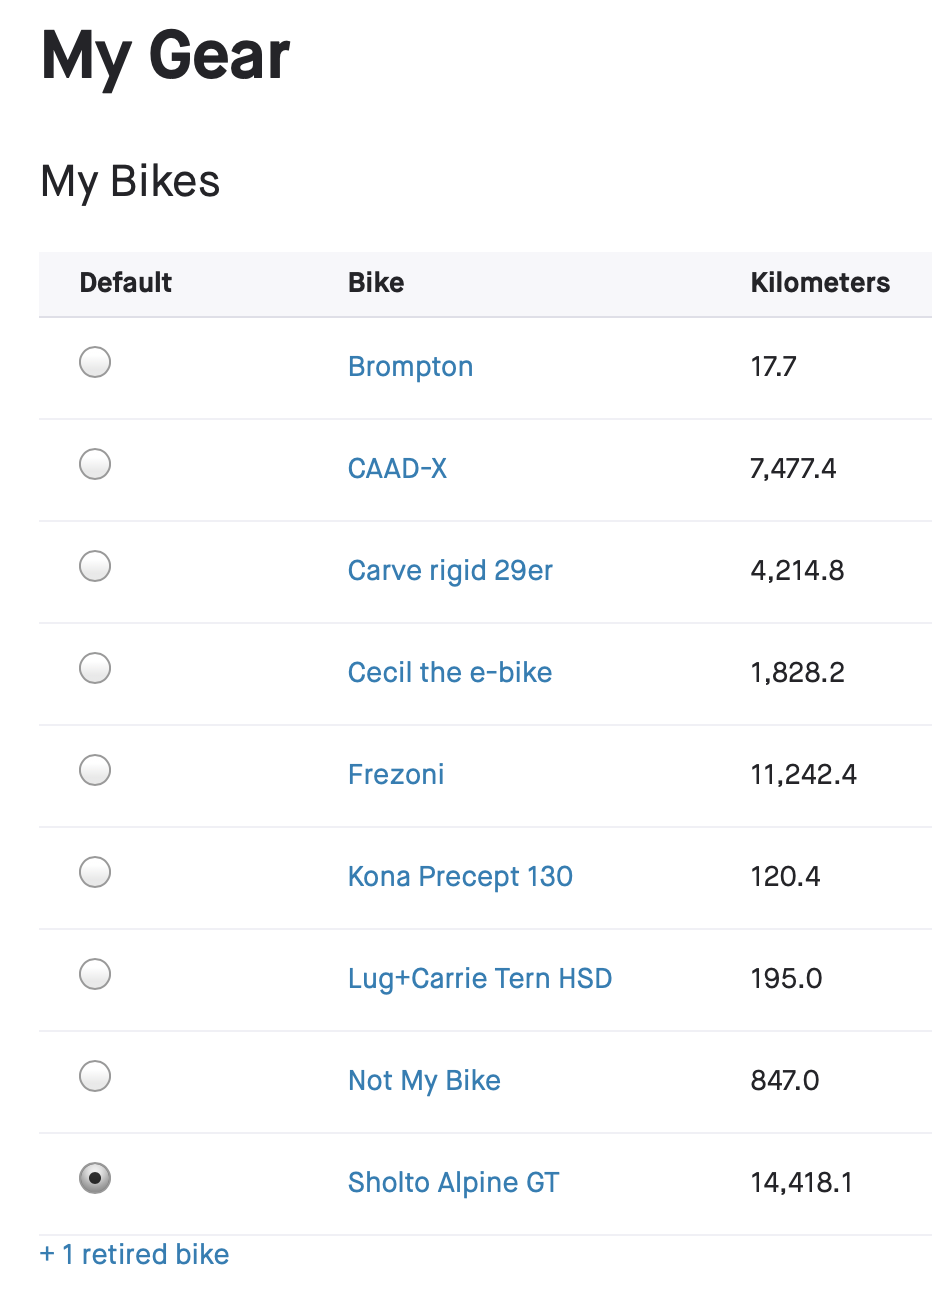
If I look at my stable of bikes, and how much each one gets used (available on Strava), you might get the feeling that my Carve 29er isn’t one that I really like.

It languishes down in fourth place with ‘only’ 4000-ish km, trailing the Sholto bike, the Frezoni, and my cyclocross/gravel bike, the CAAD-X.

But the Carve 29er occupies a very special place in my memories. It’s the bike on which I have bikepacking adventures.

Ten years ago when I started getting into this new style of cycle touring, it was only natural to fit some bags to my hardtail 29er and get rolling.

My Carve has an origin story that I’m going to suggest is unlike most other bikes, and it’s going to sound weird when I tell it.

In 2011 I had bought a Cannondale RZ OneTwenty dual-suspension mountain bike. And I really enjoyed that bike, it was great fun on all the trails around Brisbane and SEQ. And the bestest best bit of that excellent bike was its Lefty fork.

The Lefty is a strange beast, and unless you have ridden a bike with a Lefty, I don’t expect you to understand. But a well-tuned Lefty on a trail or XC-style mtb is a total joy. Super responsive, lightweight, laterally stiff, just a really cool thing to have on the front of your dually.

And one day I am idly being idle and I noticed a secondhand Lefty for sale on eBay. I put a bid on it, not really expecting that my offer would win the bid. Which it did. At this remove I don’t remember what I paid for the Lefty, but I think less than $200. And those things were very spendy back in the day.

Ok, so I’ve got a Lefty.

And it sits in my bike shed, mocking me, for about six months.

Next thing my friend JD has a Specialized Carve 29er frame for sale. JD had bought the Carve as a complete bike from Epic Cycles only a few months before, but then had been seduced by a gorgeous Ritchey P29 steel frame in red, white and blue. So JD swapped all the components off the Carve onto his new Ritchey.

And the Carve frame in basic black was left behind. It’s an aluminium 29er frame from 2011-12. The geometry of the time is very dated now (70 degree head angle anyone?) but it still works great on dirt back roads and most point-to-point style trails.

So I thought: that’s a low cost way to get the Lefty onto a bike, and perhaps get into bikepacking. Even though there are easily foreseeable downsides to having a Lefty on a bikepacking steed.

I bought a Shimano SLX groupset (drivetrain, shifters and brakes), hunted around for bits and pieces, and snagged a pair of wheels from Aiden Lefman when I approached him for help in servicing and fitting the Lefty (Aido runs a mtb suspension specialist firm, Cyclinic).

And there it was: a matte black medium sized 29er hardtail, with out-of-place Cannondale Lefty fork.

I did a few micro-adventures on it, but its first starring role was in 2014 when I rode the Munda Biddi Trail.

And ever since then, most every big adventure I’ve been on (except for two) has been on the Carve.

And as a hardtail mtb for having adventures on, it has been just about flawless.

Over time, the Lefty became slightly troublesome. Lefty forks have an issue known as ‘bearing migration’.

When the bearings migrate on your Lefty, you can go from 110mm of travel to 50mm of travel in hardly any time. Or worse.

Many Lefty owners get used to fixing this issue while out on the trail. I never got used to fixing it all, regardless of on the trail or in my shed.

Before a bike packing trip I would take the Carve to my mechanic, and ensure (among other things) that the Lefty had full travel, and off I would go. Sometimes it would lose a little bit of travel over a couple of weeks, but it never became a major concern.

But when I took the Carve to Dave (my mechanic) on my return from the Mawson Trail, he called ‘time’ on the Lefty. Too much trouble with the bearing migration, and performance in absorbing bumps had also got worse over time.

“Just find a carbon fork for this bike, you only use it for bikepacking so it doesn’t really need suspension. A carbon fork will make the bike feel lighter and more lively,” Dave said.

I agreed. He was right.

Carbon forks for 29er mountain bikes are pretty easy to find, but also can be somewhat expensive. I’m pretty wary of over-capitalising any of my bikes, and this one in particular would not gain one dollar of resale value by being shod with a fancy Whisky or Salsa fork.

So after a cautious search on AliExpress, I purchased a Trifox brand carbon fork, and Dave installed it.

So far (several quite taxing day rides, and one overnighter along the BVRT and South Burnett back roads) so good. The bike does feel lighter, although I should qualify that statement cos it has not yet had a full camping load on board.

The Trifox fork didn’t have adventure mounts, so thanks to BarYak for producing the Mule, a system for attaching mounting points. I’ve got the Blackburn Outpost cargo cages, and on a recent overnighter the BarYak - Blackburn combo worked well.

Over the years I have used a variety of bags on the Carve to carry the gear you need for travelling around by bike. I have setup routines for pub overnighters, for full-on two-week-long camping trips, and everything in-between. See the photo at the top of this post as one example.

My favourite bags for the Carve have been the two frame bags I’ve used.

My original frame bag was made for me by my friend Dean. We used two existing nylon bag, of the giveaway type. One side was a Brisbane City Council City Cycle bag, and the other was a Griffith Unversity bag. The resulting frame bag had a real ‘rasta’ flavour with green edging, yellow one side and red the other.

After a couple of years the CityCycle side gave way … it was made from a very cheap nylon. So I asked my friend Brad to make me another bag, this time from cordura, and I have been using that one ever since. It fits a water bladder with about 2.5 litres of water quite comfortably, along with a pump and a few tools.

The rest of the kit varies. I mostly use a rear rack with bags hanging off it, rather than a large seat bag, cos my short legs (I have Duck’s Disease) don’t give me all that much clearance from the seat down to the tyre. And upfront I often use a Azur handlebar roll that came my way to review for Australian MTB mag.

I like the way the Carve rides when loaded. Without a load it was a bit twitchy on singletrack in its Lefty days. These days it doesn’t have a suspension fork, so the dampening effect on the handling of all the extra load won’t be there in quite the same way.

The Carve is also I think the epitome of the idea that a bikepacking bike doesn’t need to be flashy to be good. The Carve’s aluminium frame was literally a castoff from a friend who didn’t want it.

But in the intervening 10 years it has been a brilliant machine to own and ride. We’re still on the original drivetrain (more or less), original brakes, original handlebar (a SQ Labs trekking bar). And with one tiny exception (when I buckled a rear wheel one day) the Carve has always got me where I wanted or need to go each day that I’ve set out on it.

So that’s a pretty good endorsement. I’m hoping for another 10 years of bikepacking adventures on it.
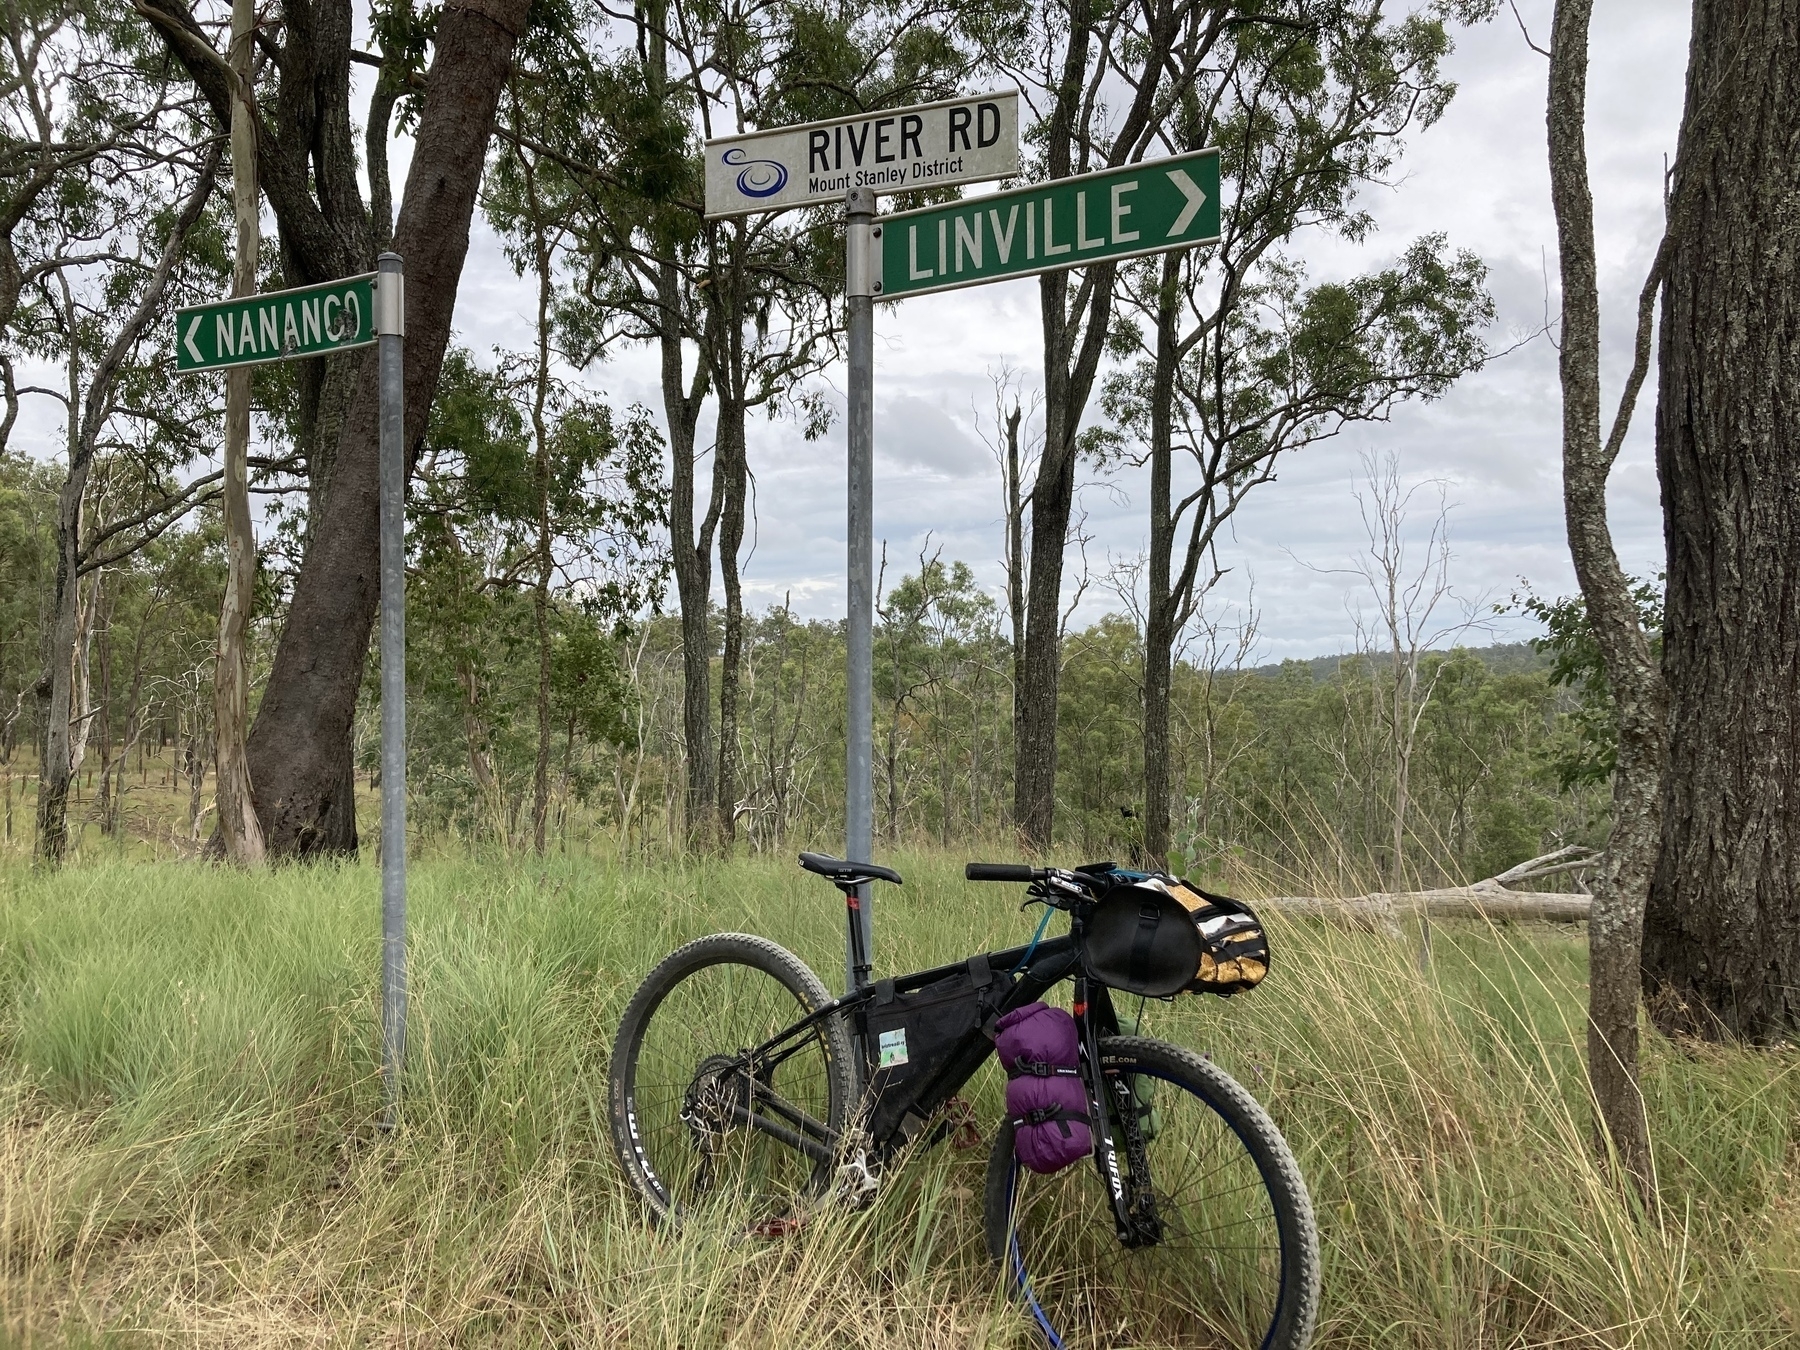
**What’s different at the start of 2025: ** I rode the Carve with Trifox fork on a rail trail tour from Ipswich to Marybrough in August 2023, and on the Munda Biddi Trail in September/October 2024. The main change from previous setups was at the front of the bike. I bought a Jack the Rack in the Kickstarter, and it gives a great platform for a front bag. My bag is from Buffalo Bags in Thailand … it is called a Big Buffalo, but mine is the smallest size. I run a couple of 1.5 Litre water bottles on the Blackburn Outpost cages on the forks, which gives me room in the frame bag for weighty stuff such as my travel CPAP machine and its battery.

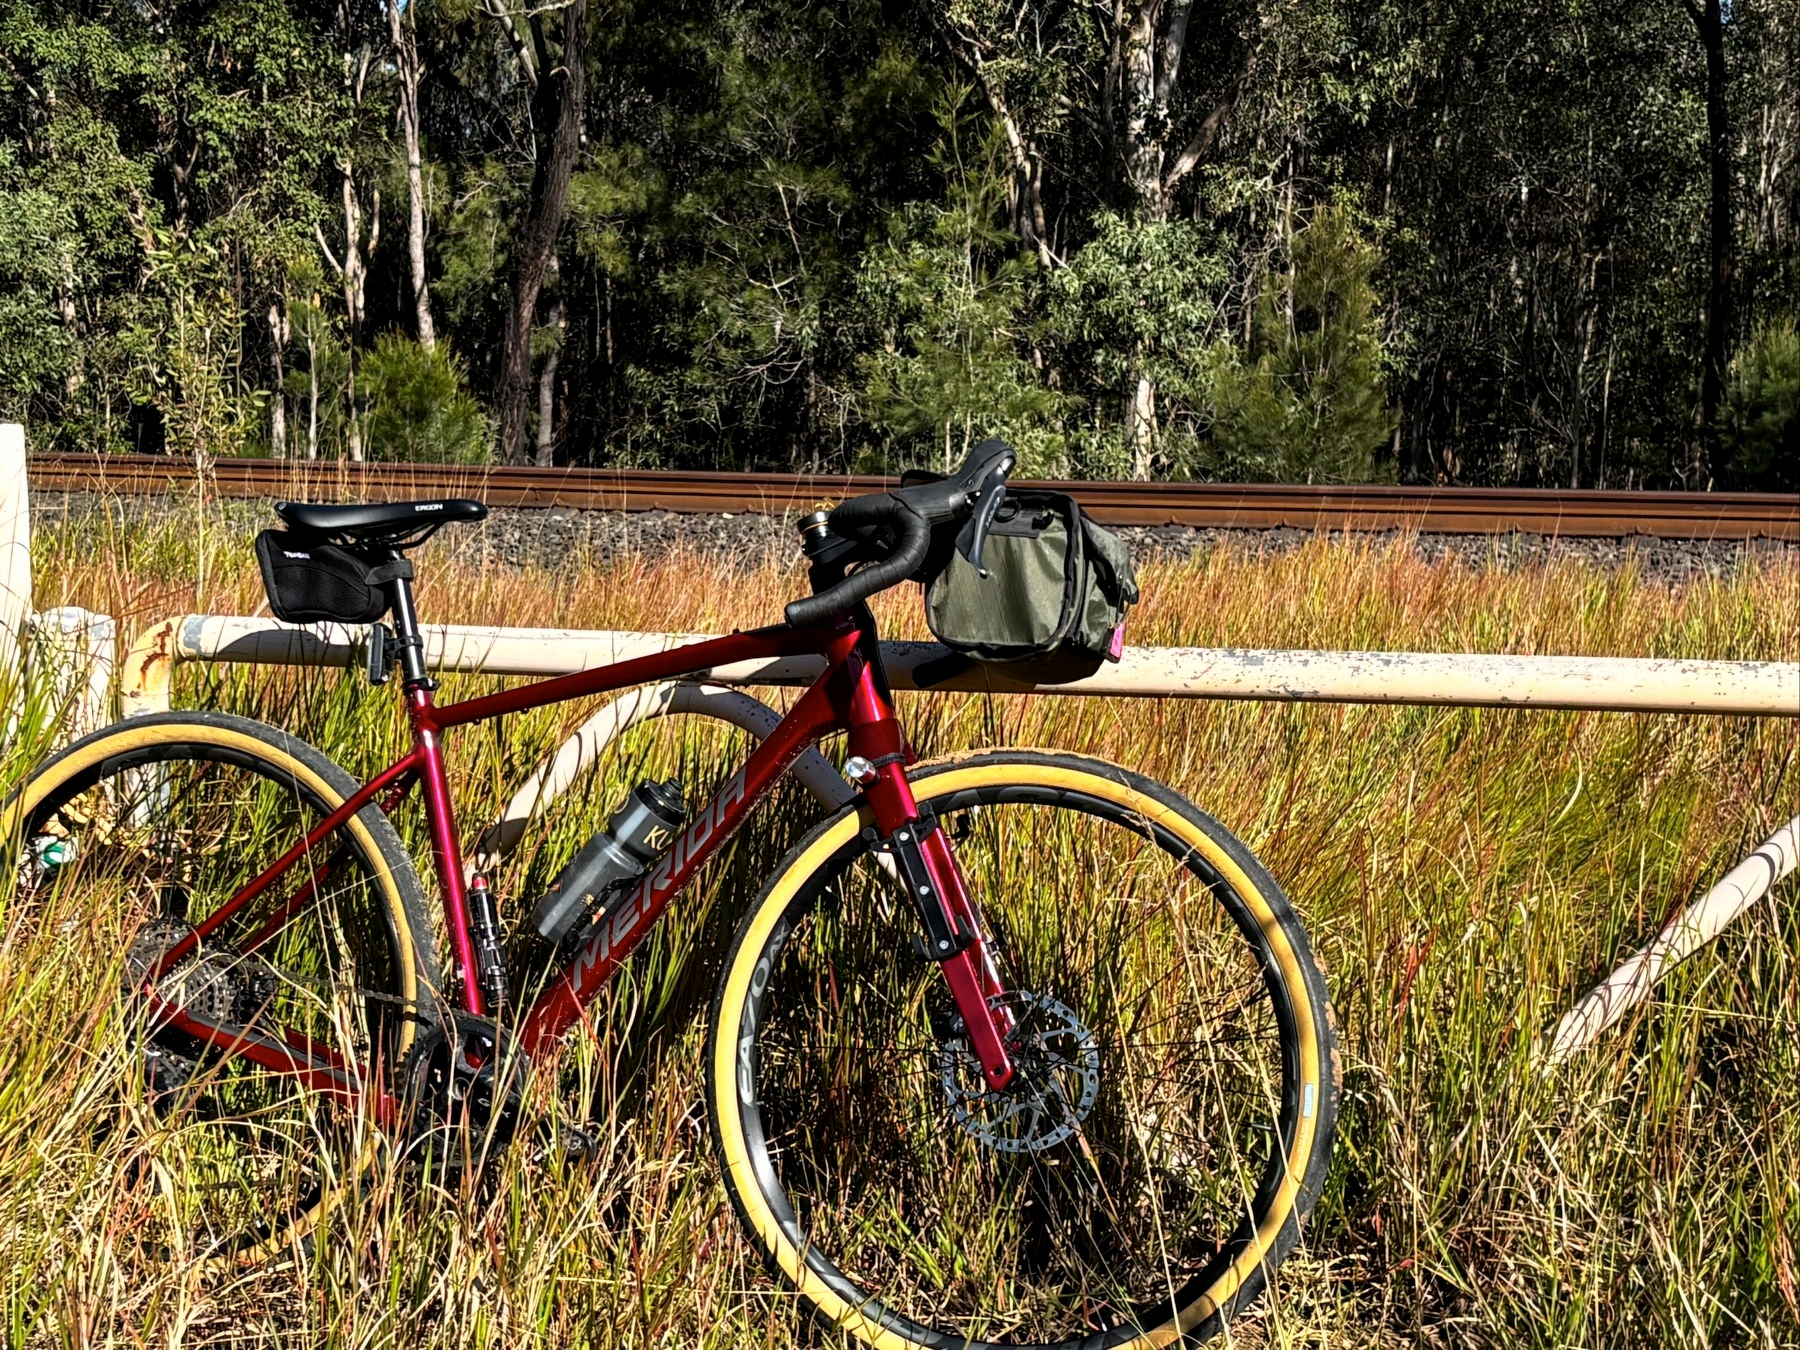
Arrows in my quiver, horses in my stable

A little while ago on this very website, I answered the question that everybody wants to know: “How many bikes do I need?”

I’ve just added a new bike to my shed, so I thought it might be fun to look at the principle stated in that earlier article and see how it applies to the bikes I currently own.

Controversially, my thesis discards N+1 as a guide for working out how many bikes you need, and replaces it with the idea that the right number of bikes is one.

So if you want to go road riding, you need one bike, a road bike.

If you want go mountain biking, you need one bike, a mountain bike.

If you want to race cyclocross / go touring or bikepacking / travel with a bike, you get the point.

At the moment, the number of one bikes I have is seven.

A road bike, a cyclocross bike, a dual-suspension mountain bike, a touring/commuting bike, a bikepacking bike, a folding bike, and an e-bike for shopping and commuting.

And the reason that this method holds up to the vicissitudes of life is that even though I have bikes for specific purposes, each of those bikes are actually quite versatile, and can easily fill the roles adjacent to their purpose.

So here we go. A complete rundown of the Briztreadley stable of bicycles, where they came from, and how long I have owned them, and what each one means to me.

I’m going to do this as a series of posts, probably over a few weeks. I probably won’t “announce” it until its all finished.

In defence of aluminium

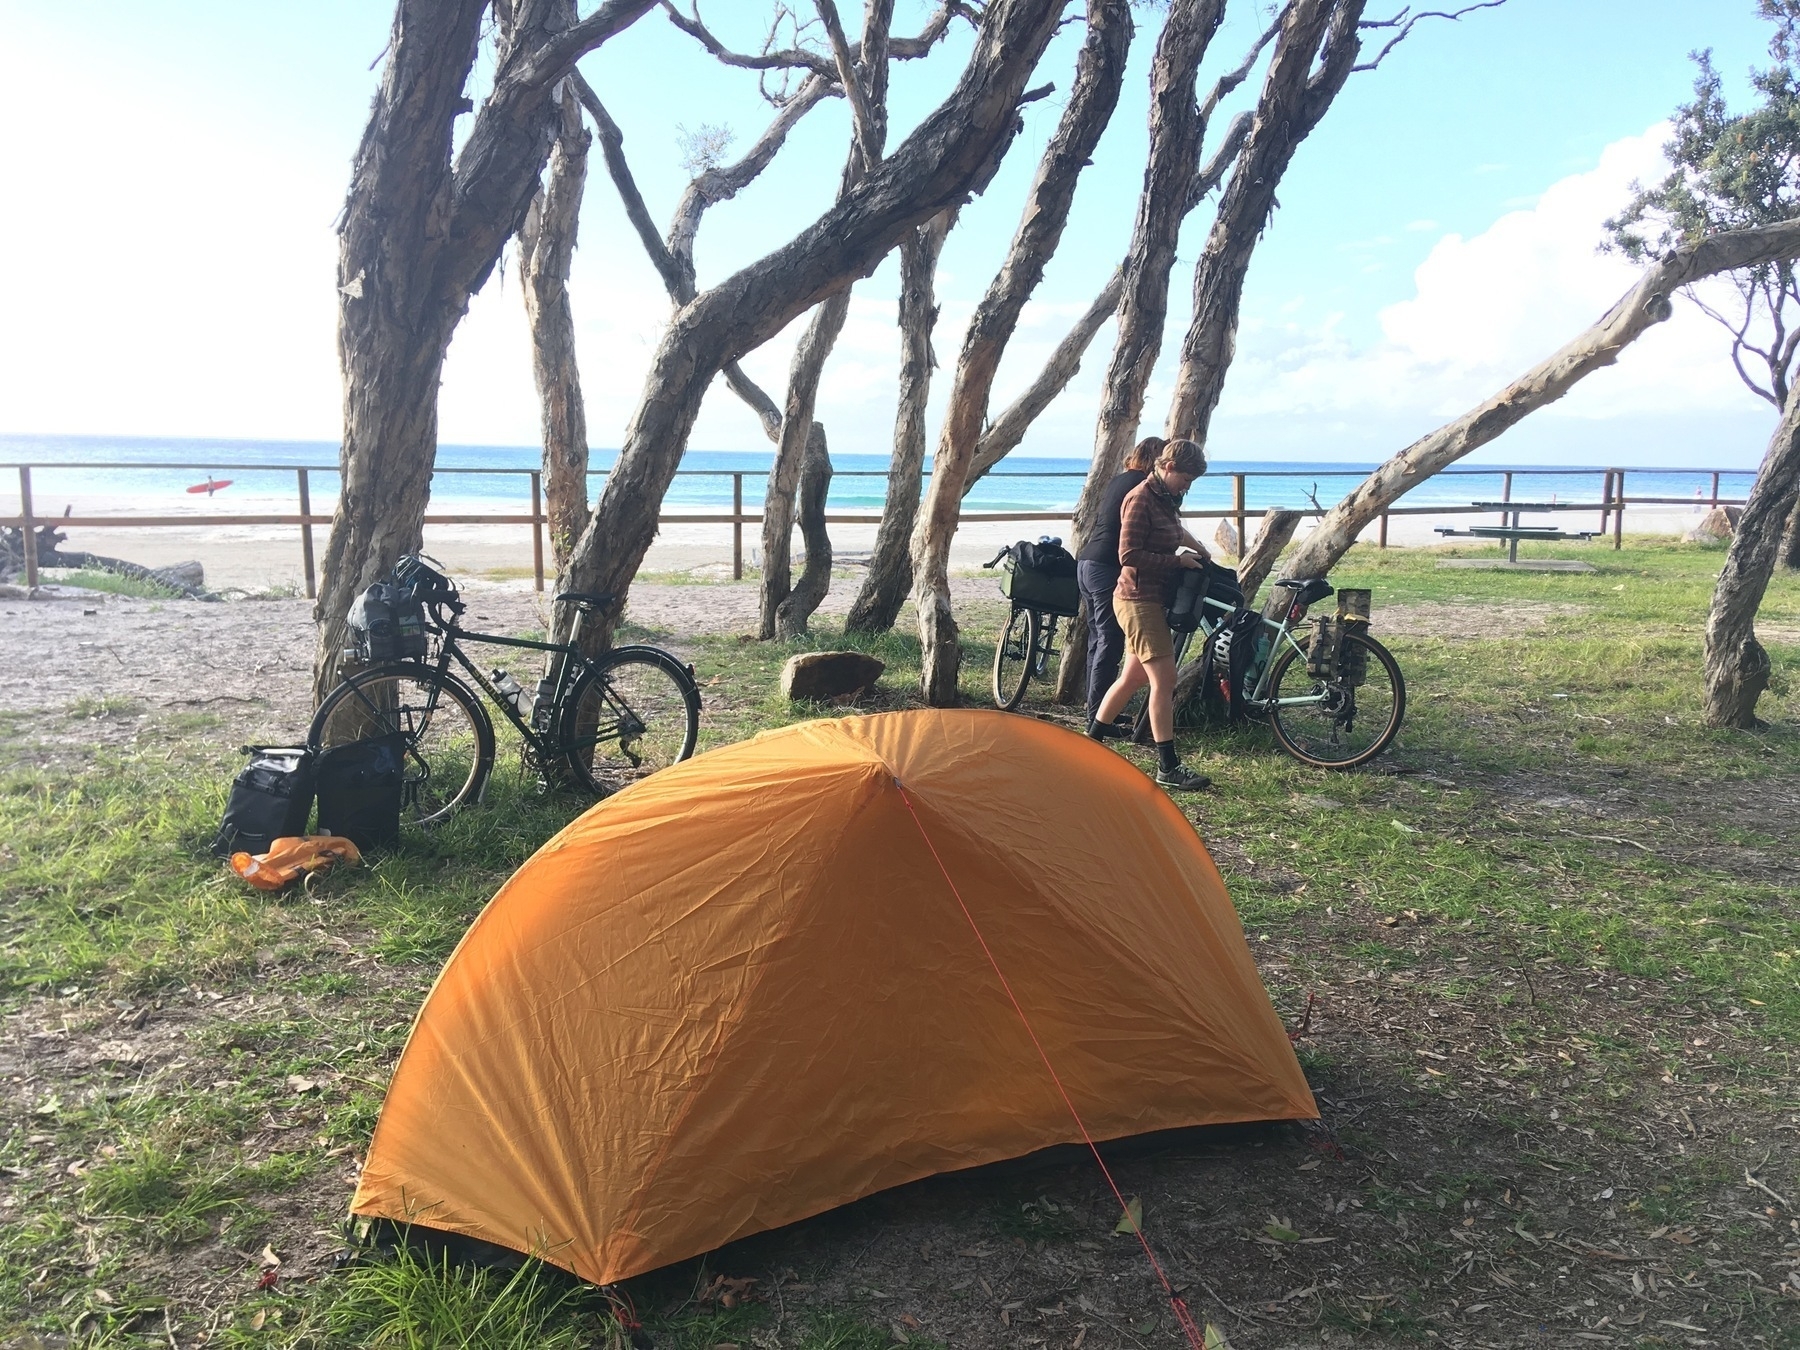
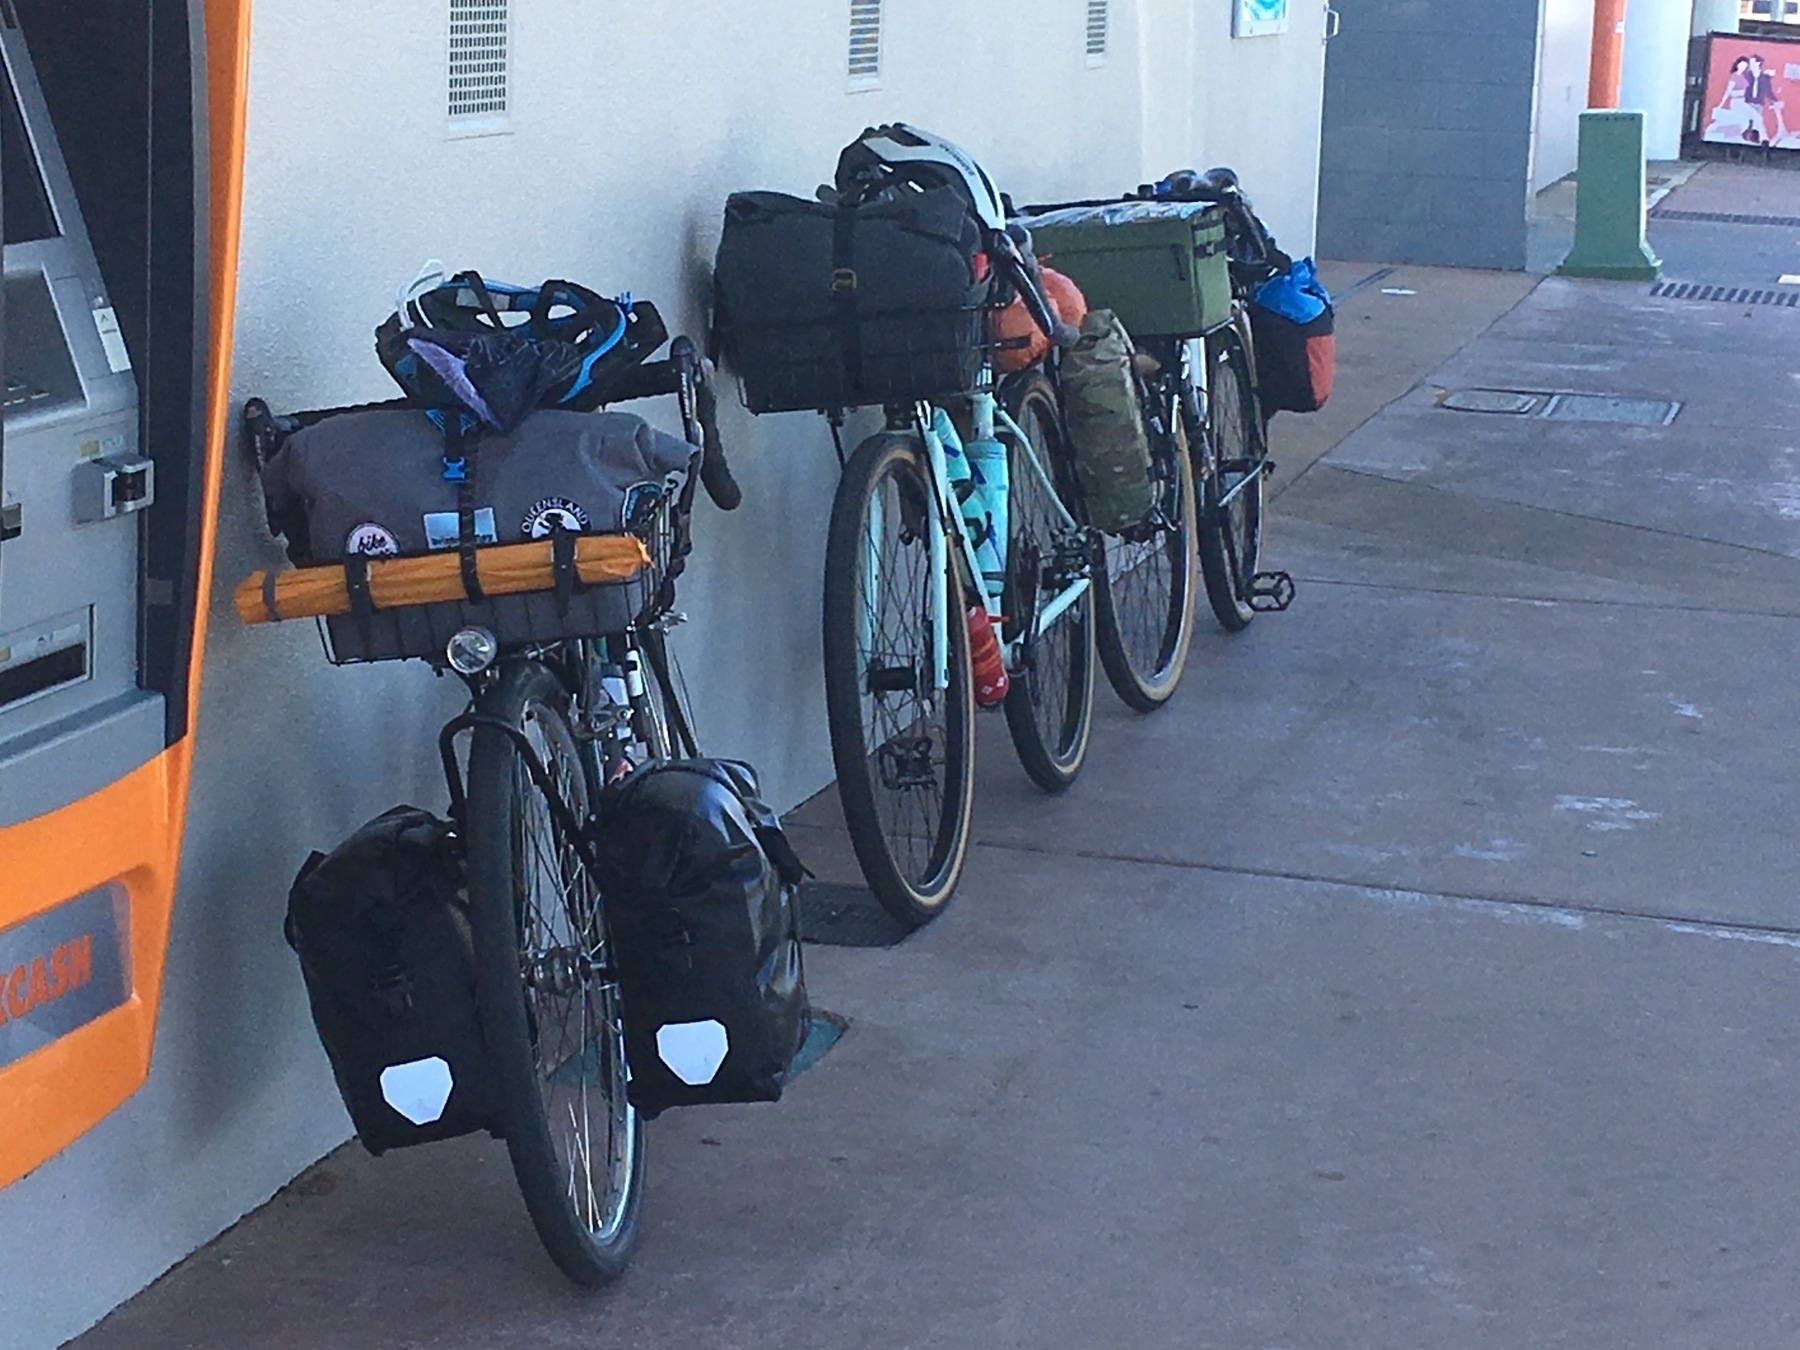
Fiona on a steel bike, me on an aluminium bike. Loaded up and trucking and having the time of our lives.
I read plenty of stuff about bikes, both online and in magazines. Have done so for decades.

And one thing that I read often (so often!) in discussions and comparisons of bikes is that there is a discernable difference between bikes based on the material the frame is made from.

And this mostly is expressed as a diss for aluminium as a frame material.

Australian Geographic has just released a ‘guide to bikepacking’, which says the following, inter alia: " Aluminium is light, and it is cheap, but you will cop a jarring ride".

Can I get some science to go with this unsubstantiated opinion?

Specifically some science that shows that in a system which includes pneumatic tyres with up to 10 mm of “give” that a rider can tell the difference between the so-called “ride quality” of a metal (steel, titanium or aluminium) or carbon fibre frame.

I currently own six bikes. There is a road bike (Frezoni custom steel), a cyclocross bike (Cannondale CAAD-X), a touring bike (Shogun Alpine GT), a hardtail mountain bike (Specialized Carve), a folding bike (Brompton), and a commuter e-bike (built it myself, but the frame is a old Cecil Walker steel touring frame).

Four of my bikes have steel frames, and two have aluminium frames. In the past I have also owned titanium and carbon fibre framed bikes.

Here are some things which make a difference to how a bike rides:

  • Weight (of you and the bike together)
  • Frame geometry and how the bike fits you
  • Suspension
  • Tyres.
  • How you feel about life at the time.

Here are the things which have no discernable effect on how a bike rides:

  • Colour
  • Frame material.

My favourite and most memorable rides are multi-day touring rides, hopefully somewhere scenic and interesting. And from the list above, I will take either the hardtail mountain bike or the touring/commuting bike for those multi-day rides.

One is steel, the supposed gold standard for “ride quality”. The other is aluminium, which Australian Geographic thinks is “jarring”.

I take the hardtail aluminium mountain bike if I think the route will be rough or gnarly.

And the reason is simple: the mtb has bigger tyres. About 55-60 mm wide, compared with 48 mm wide for the biggest tyre which fits the touring bike.

That is all there is to it. The steel touring bike, which is my favourite machine, which I have ridden 14,000 km on in the last four years (since I started using Strava), isn’t the right bike for rougher roads. The bike with the big tyres is.

So why am I so hot under the collar about this issue?

I dislike poor advice, and advice which focusses on the wrong things.

There are plenty of aspects of bike design and construction which are important differentiators that you can look at when buying a bike, and I’ve listed some of them above. Price might also be a factor for most of us, also longevity.

Those authors who push the idea that aluminium has a harsh ride in comparison to steel or titanium might be actually be doing bike buyers a favour.

If an aluminium-framed bike is cheaper and lighter than a steel one (and surely much cheaper than carbon-fibre or titanium), then just buy it. The ride quality you experience will be based on how the total bike fits you, and how the tyres you select work on the road/trail surfaces you ride on.

What won’t be a factor in ride quality? The aluminium. Cos physics.

Don’t believe me? Reckon you can tell the difference between bikes purely on frame material? Email andrew.demack@gmail.com and let’s set up a test.

See also:

Stradbroke Island (Minjerribah)

Straddie, a.k.a Minjerribah is a great place to dip your toes into the water, both figuratively in terms of bike touring and literally because it’s an island paradise right on Brisbane’s doorstep.

The Stradbroke Flyer is the only way to get there. It departs at five to the hour every hour in the morning, and more random times in the afternoon. But of course you’re going in the morning, you want to maximise your time on the island.

I tend to just drive down to Cleveland and park relatively close to Toondah Harbour. Because I’m bringing a bike, if the area around the harbour is parked out, it’s easy enough to find a spot a little further away.

The boat ride is about 25 minutes, and I’m not great on boats but I’ve never felt sick on the Flyer. The next thing you know you’re disembarking at One Mile Jetty, Dunwich.

There are food outlets at Dunwich if you need a coffee before you start riding.

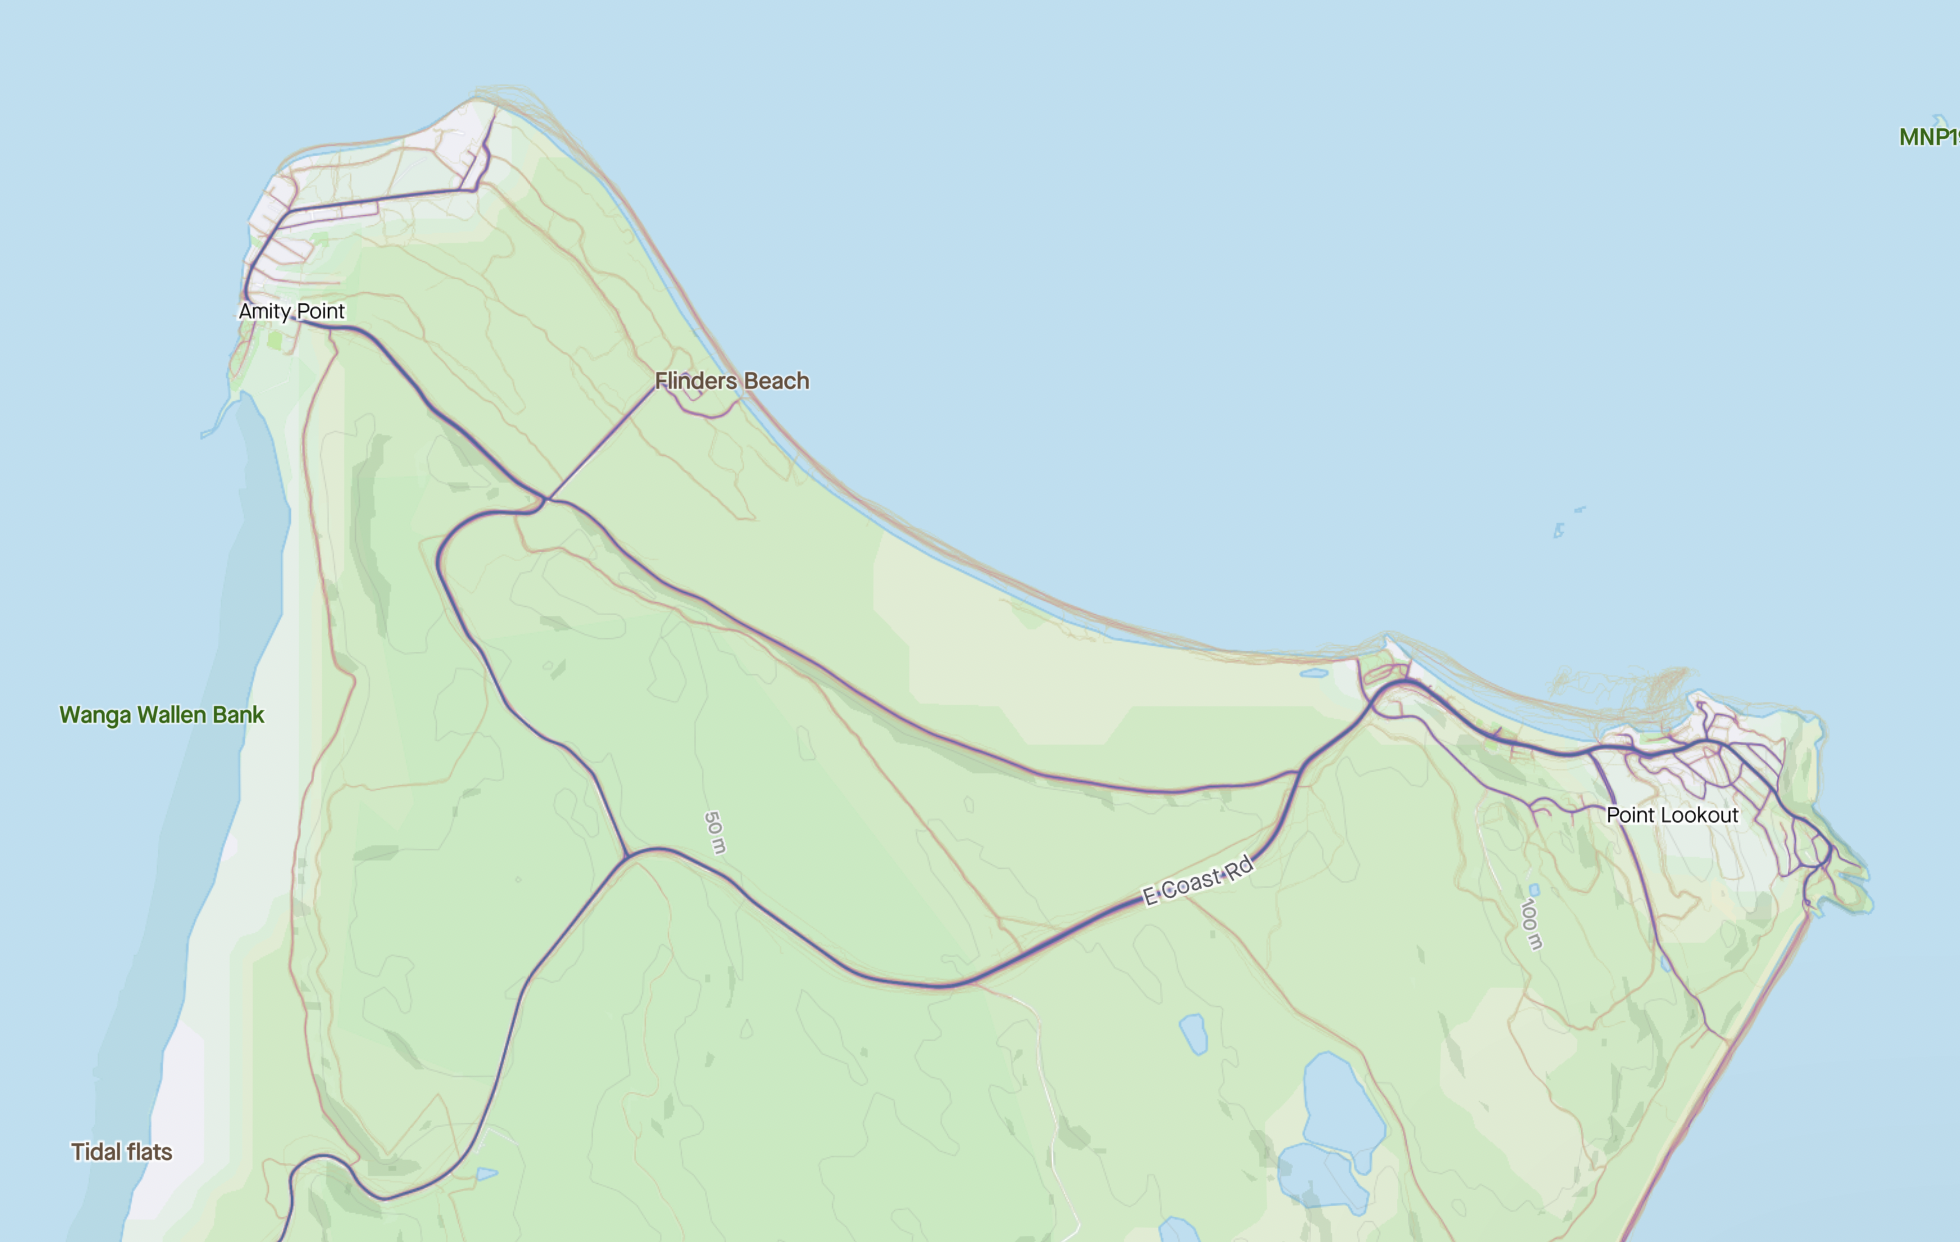
The number one thing about having a great bike-touring weekend on Straddie is your route from Dunwich across the island to Point Lookout.

Below is my current route, which is perfectly fine on a mountain bike, or any bike with tyres bigger than 50mm/ 2inches. There are sandy patches after you leave East Coast Rd, but the hardest part really is the first 7.5km from Dunwich on the bitumen to the turnoff at “The Esses”, because it’s the section with the traffic. I rode this route for the first time in January this year, but Strava heat maps tell me that plenty of people have ridden this way before. I’m hopeful that we can get this route signed and formalised over the next couple of years, but crucially there is absolutely no reason not to use this route right now.

It follows a sandy, gravel track from East Coast Rd almost all the way to Amity. It is closed to motorised traffic. And then after a short spell on the bitumen (either Claytons Road or Beehive Rd, not sure which), you once again get into the bush for the roll along Point Lookout Rd, which is closed to cars.

And now you know everything that is important is to know about how to bike tour on Straddie. The rest of it you can find out by being there. Grab a campsite at one of the Minjerribah camping grounds. I like Adder Rock, but Cylinder Beach is also popular. Hot tip is to ring up to book (07) 3409 9668, rather than using the website. Eat at the pub or get some fish and chips up at the point. I’m sure you will work it out.

P.S. I’m told there are more adventurous off-road rides you can do on Straddie. But this article is aimed at those who are new to bike touring.

P.P.S. You will notice there is nothing in this so-called beginners guide to bikepacking or bike touring that talks about what gear to bring or how to pack it on your bike. That’s because you can work out all of that AFTER you have been on your first bike tour. If you stay at the backpackers hostel (Manta Lodge) at Adder Rock then you could take all you need in a small backpack. My very strong advice is not to let a lack of gear stop you from getting out there.

Where can I go bikepacking?

In a few short weeks, sometime after EkkaCross, I’m going to go for a bike tour along the Mawson Trail. Yes, I am very much looking forward to it.

It’s a two-week tour on gravel roads and trails, and my friends and I will cover something just a little short of 1000km in those two weeks. From the Flinders Range through the South Australian outback to Barossa Valley vineyards, and finishing with a ride down from the Adelaide Hills into the South Australian capital.

The Mawson Trail is not your first bike tour. It helps to have some experience going into a two-week ride.

But for those people who see photos on Facebook or Instagram from my little adventures and wonder “could I do that?”, let me tell you that there’s nothing special about me, and I’m not any sort of athlete. I am a portly middle-aged man.

So, could you go bike touring? (or as the kids call it these days, “bikepacking”?)

Of course you could. The hardest part is deciding to go.

And here are some rides that I think are easy starter trips. You could do these rides with full camping kit, or just staying in pubs or motels.

Short tours around SEQ

Longer tours (which are still pretty easy)

  • Central West Cycle Trail (NSW)
  • New England Cycle Trail
  • Orange 360 (NSW)
  • Kilkivan to Ipswich on Queensland’s rail trails.

Longer tours which are slightly harder

I shall put up a page describing each tour, so when the link goes live, there will be a description of each tour, including logistical challenges that need to be met, and a link to my Airtable database for each tour, with route plan and accommodation plan.

Hope you find this useful! Let me know if you go on any of these trips!

'The quiver killer is a myth' or 'Can any bike replace the Sholto?'

My touring / commuter bike (the Sholto) has had a long and varied career. And ever since I turned it into a 650B bike, it has firmed more and more as my favourite.

That is partly because of it’s versatility. The Sholto is good for commuting to work, for riding overnight or weekend tours on a mixture of rail trail, back roads and gravel roads. It is not the lightest bike, but I am not the lightest rider, so I tend to forgive those sins.

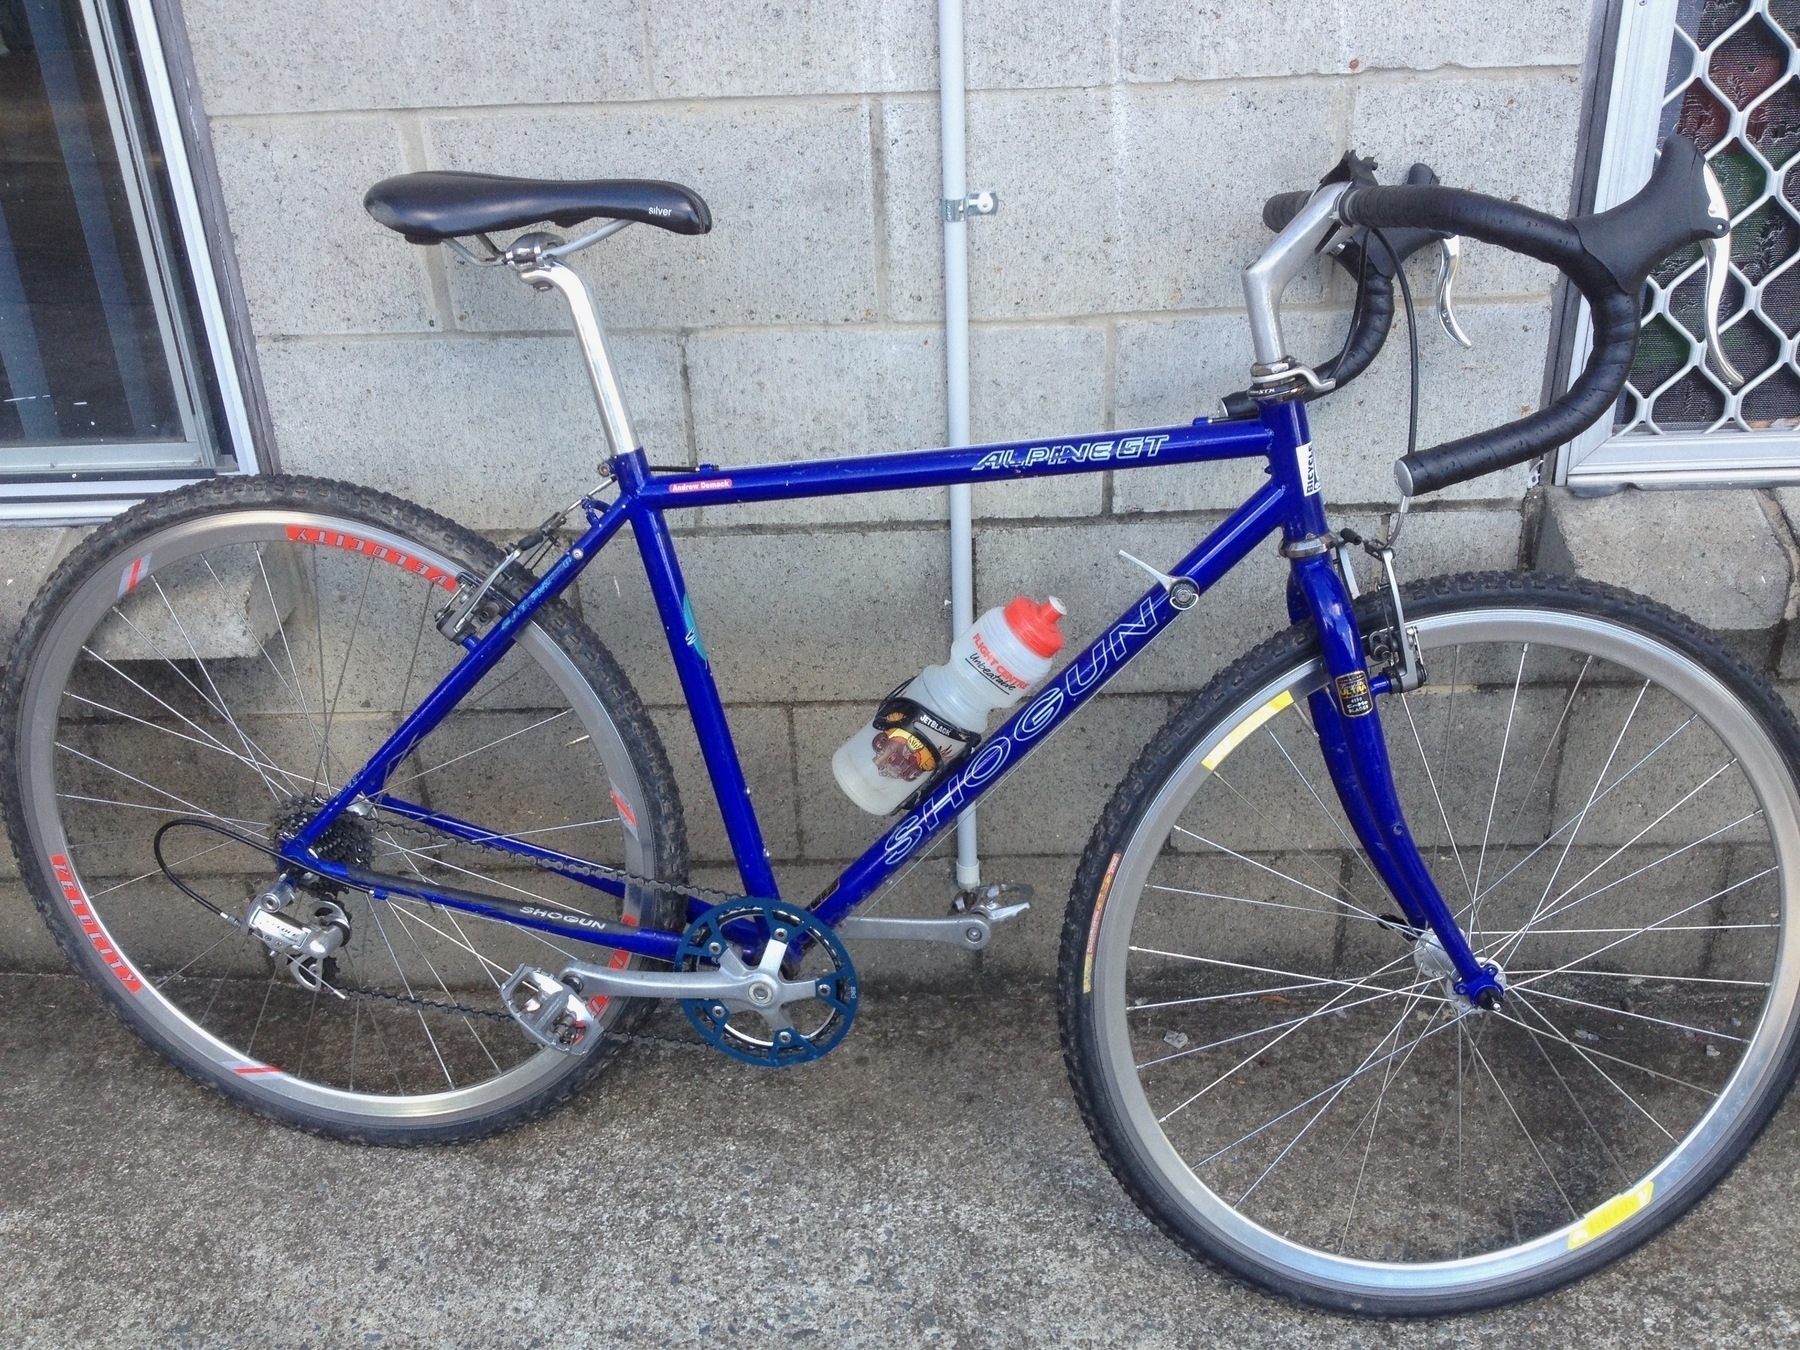
It is also partly about our shared history, and the memories associated. I have owned this bike since I turned 30 in 1994. I went on my first bike tours with the Shogun (as it was then). It was also my first cyclocross bike, at which role it was also quite awesome.

About the only thing I don’t really like about the Sholto is the brakes (currently Tektro CR720 cantilevers). They’re fine. They aren’t great. They aren’t terrible. Just OK.

I like everything else. I like my position on the bike, it’s very relaxed, but it still feels like I can power along when required. I like the range of roads, trails, and surfaces that the Sholto is comfortable on. I like being able to put on the Vittoria Terreno tyres or the Teravail Washburns, when I want a wider tyre (almost 50mm) with plenty of grip for the dirt roads. I like going back to the Grand Bois Hetres 42 mm slicks for rolling along the commuting roads, or heading out to Cambooya on a weekend tour on mostly bitumen.

I like the myriad of options for being a contender in the #CarryShitOlympics. I have a cool basket for carrying all sorts of stuff, I have a deadly front rando bag, I have great front panniers, I have a small but surprisingly capacious saddle bag, I have the Cranktank for carrying 4 litres of water on long thirsty days and now I have a custom made in Ukraine frame bag, which lets me carry a 2 litre water bladder and plenty of other stuff in the main triangle of the bike.

I like that the Sholto was a standout performer on a recent 9-day tour. The only moments of concerns I had for 9 days were a couple of punctures, and you’re always going to get them from time to time. I’ve had very few flats in the last couple of years, so I was probably due.

I also like the alignment of the Sholto with the “reduce / reuse / recycle” mantra. I am trying to convince myself that there’s nothing that newer gravel/adventure bikes can do that the Sholto cannot also do.

And mostly I am convinced. New bikes are shinier and newer, but are they going to be better suited to my particular combination of commuting and touring? And would the new bike feeling last more than a week before it just felt like the bike you have had forever?

The Sholto bike’s 30th birthday will be here before I know it, in 2024. And with very long timelines currently for getting new bike frames and parts, if I actually do think that it is time for Sholto to retire, what would replace it?

Here is a list of cool gravel/adventure bikes, mostly available as frames that I would build up with my selection of parts. They are all 650B disc brake / drop bar / gravel adventure / touring bikes. Strangely, three of them come from the UK. The first is from Braidwood in NSW.

These bikes are listed in descending order of price. Which of course means that the one I am really tempted by is the Fearless Warlock.

I am going to do a decision matrix with these four bikes to see how they stack up against the Sholto. But my sense of it is: I could spend $4000 on a new bike (that’s my ballpark pricing on a built-up Fairlight Faran), and it would absolutely be better than the Sholto. But $4000 better? (Whatever that means). I suspect not.

I might change my mind tomorrow. The Sholto might break again. I don’t know what the future holds.

But I do know that the current build of the Sholto brings me a lot of joy. And maybe when I fit the new Swiss Stop brake pads I have in the shed, the brakes will become awesome and the bike will be perfect.