Trip notes from New England Cycle Trail (South)
Day 1. Armidale to Uralla, 35km
NECT day 1: Armidale to Uralla - Andrew D.’s 35.1 km bike ride
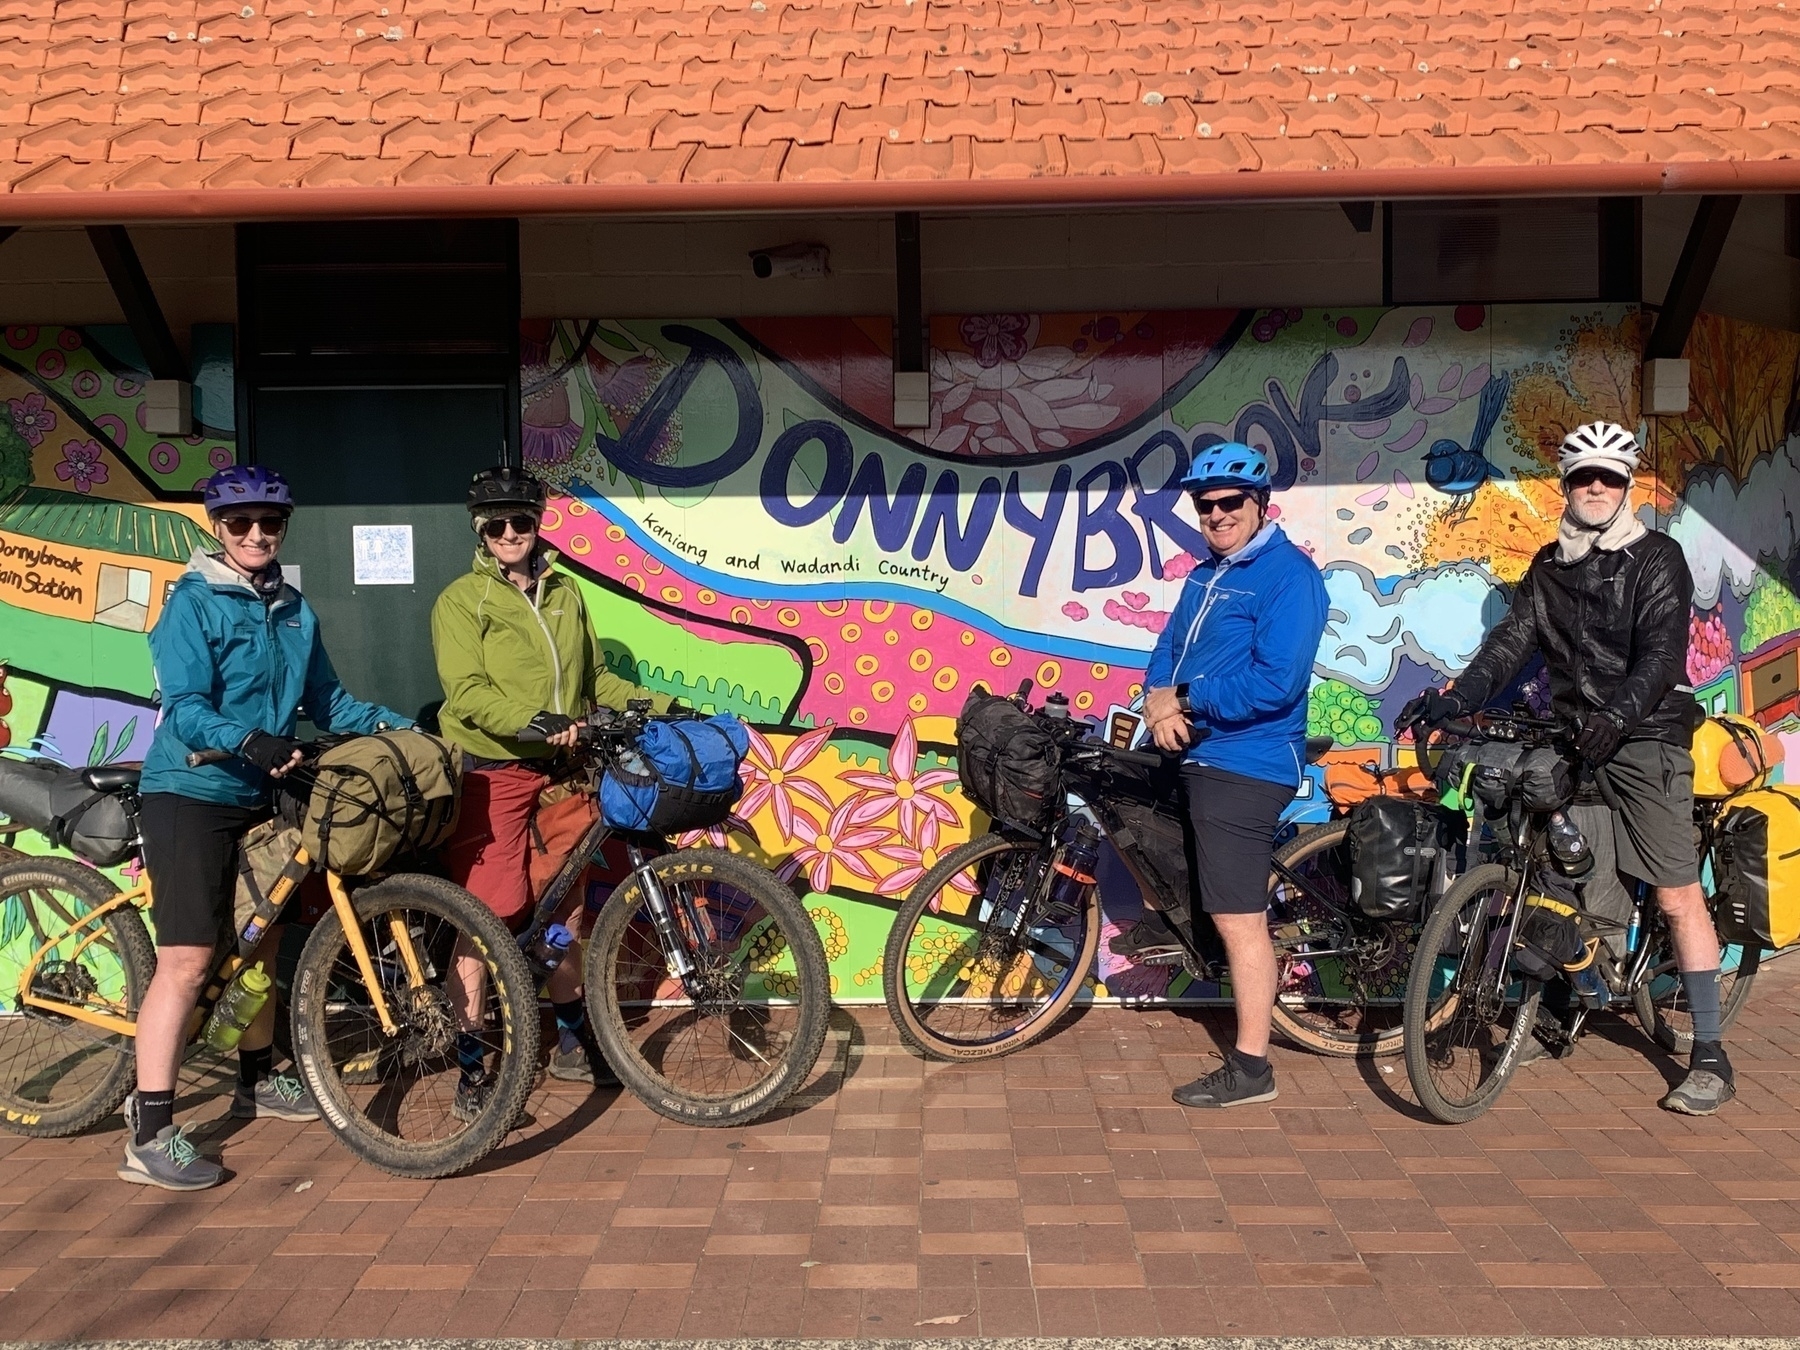
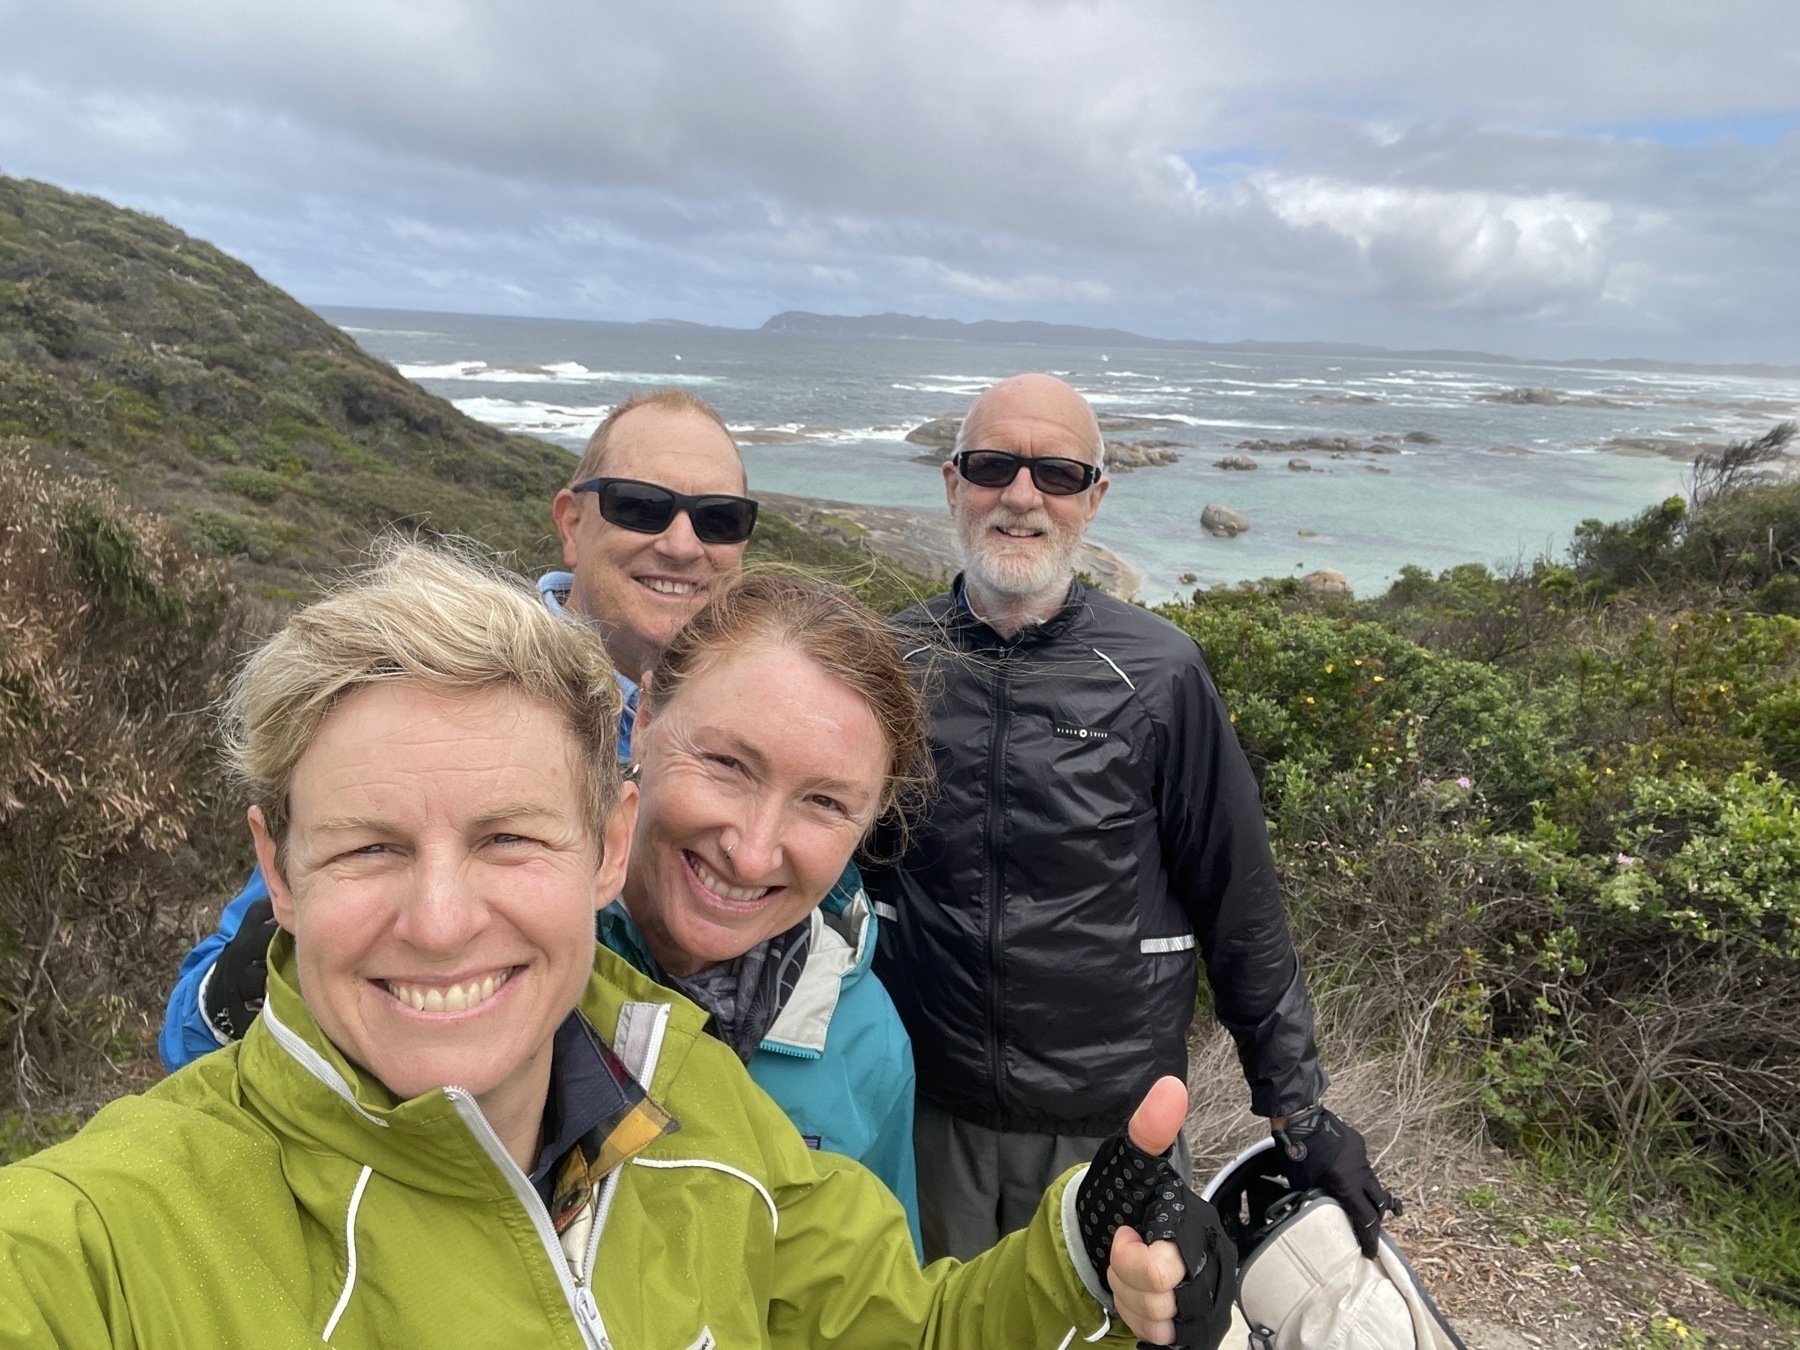
Our group of four assembled in Armidale after taking various driving options to get there. I drove down from Brisbane with a 6 am start from Salisbury giving us plenty of time for coffee stops and lunch at Armidale before the short ride to Uralla in the afternoon.
The Day 1 route into Uralla was all back roads, and stayed entirely off the New England Highway. Big tick.
Just a couple of km on gravel roads to get us across to Thunderbolts Way for the last three km into town. Good route.
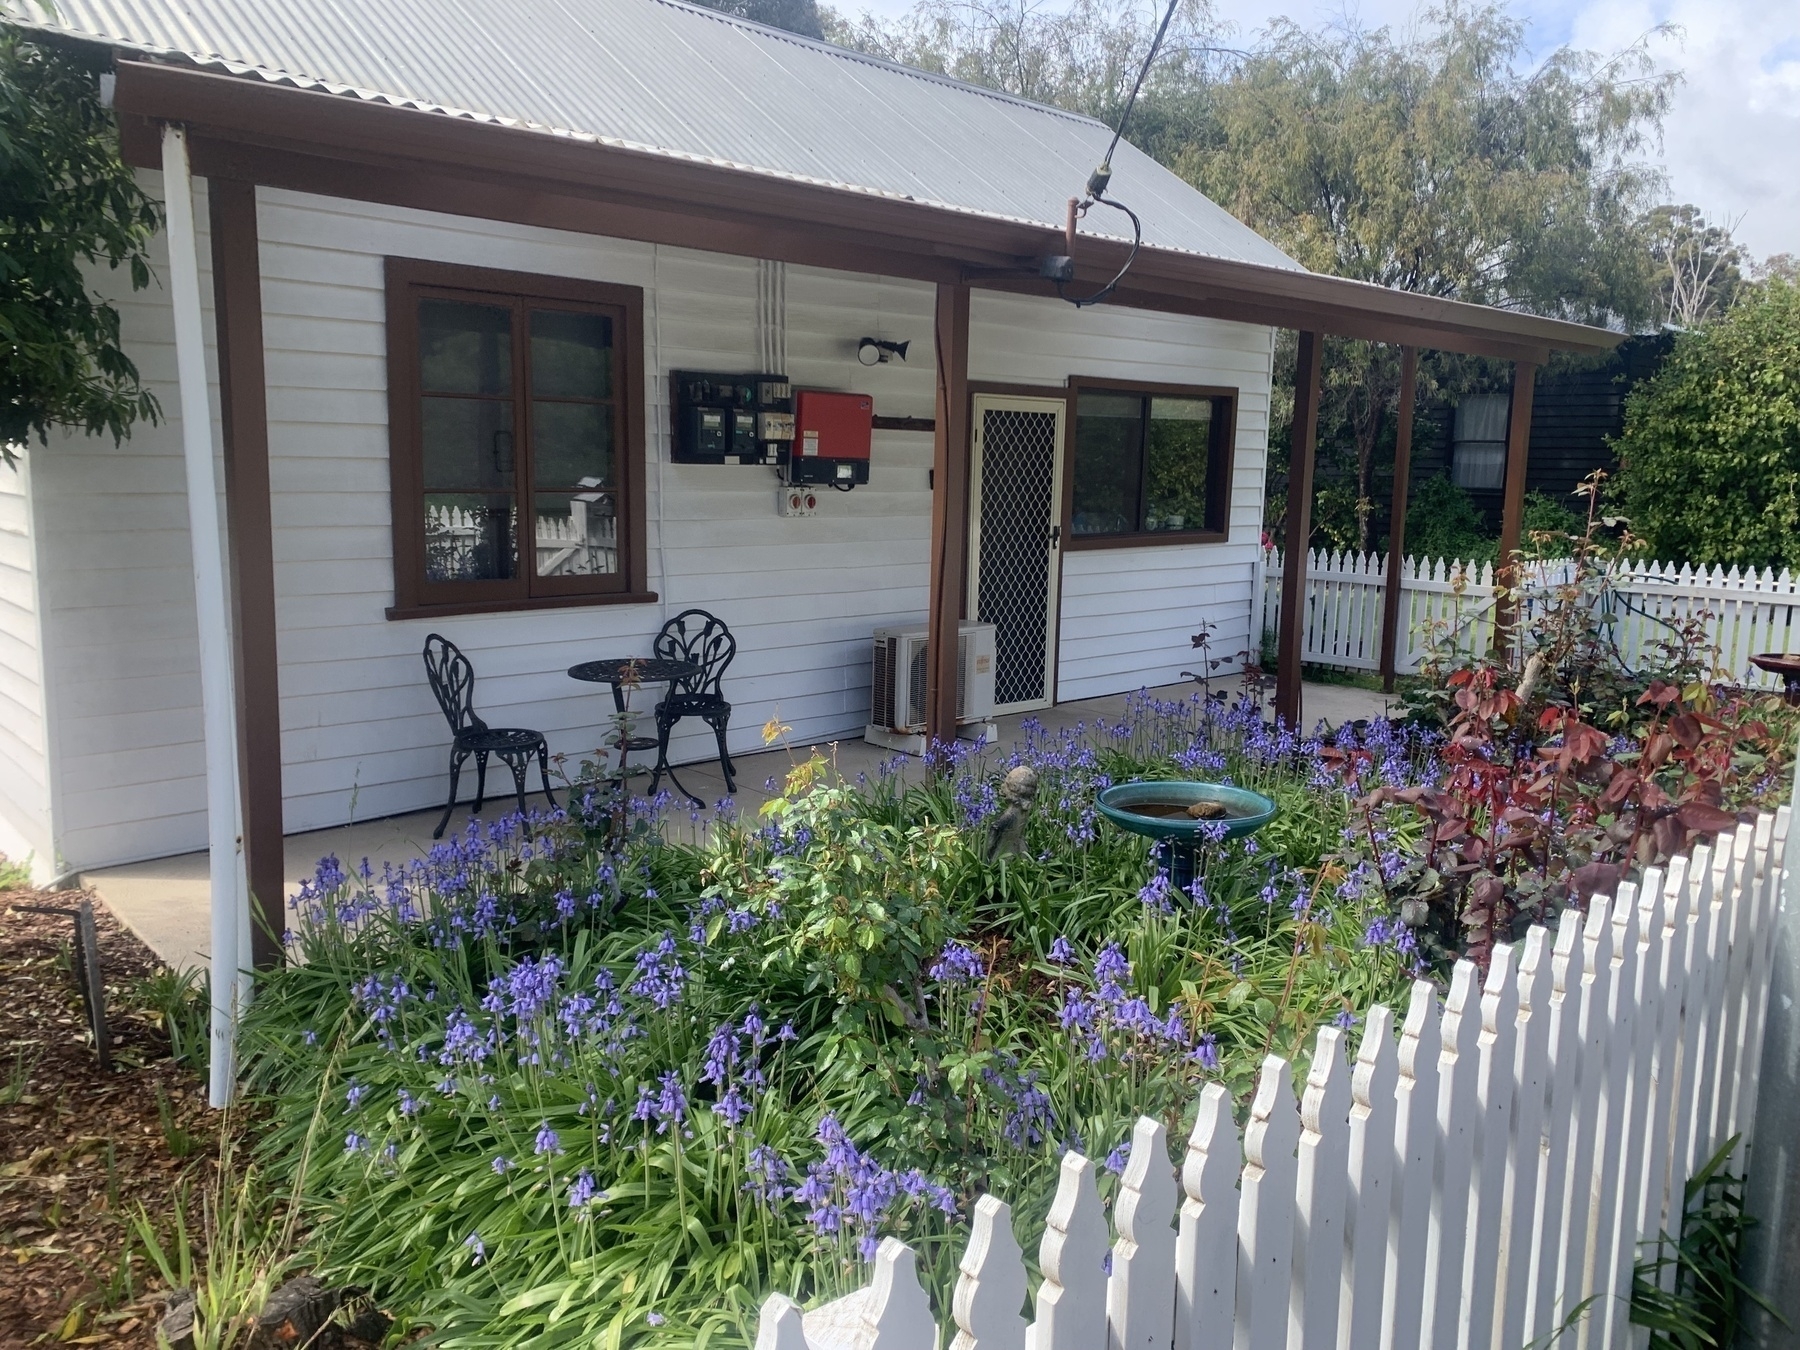
I picked some poorly positioned motels for this trip, managed to select those well away from town centres, through not paying sufficient attention to the size of the towns and the positioning of likely dinner venues (i.e. pubs).
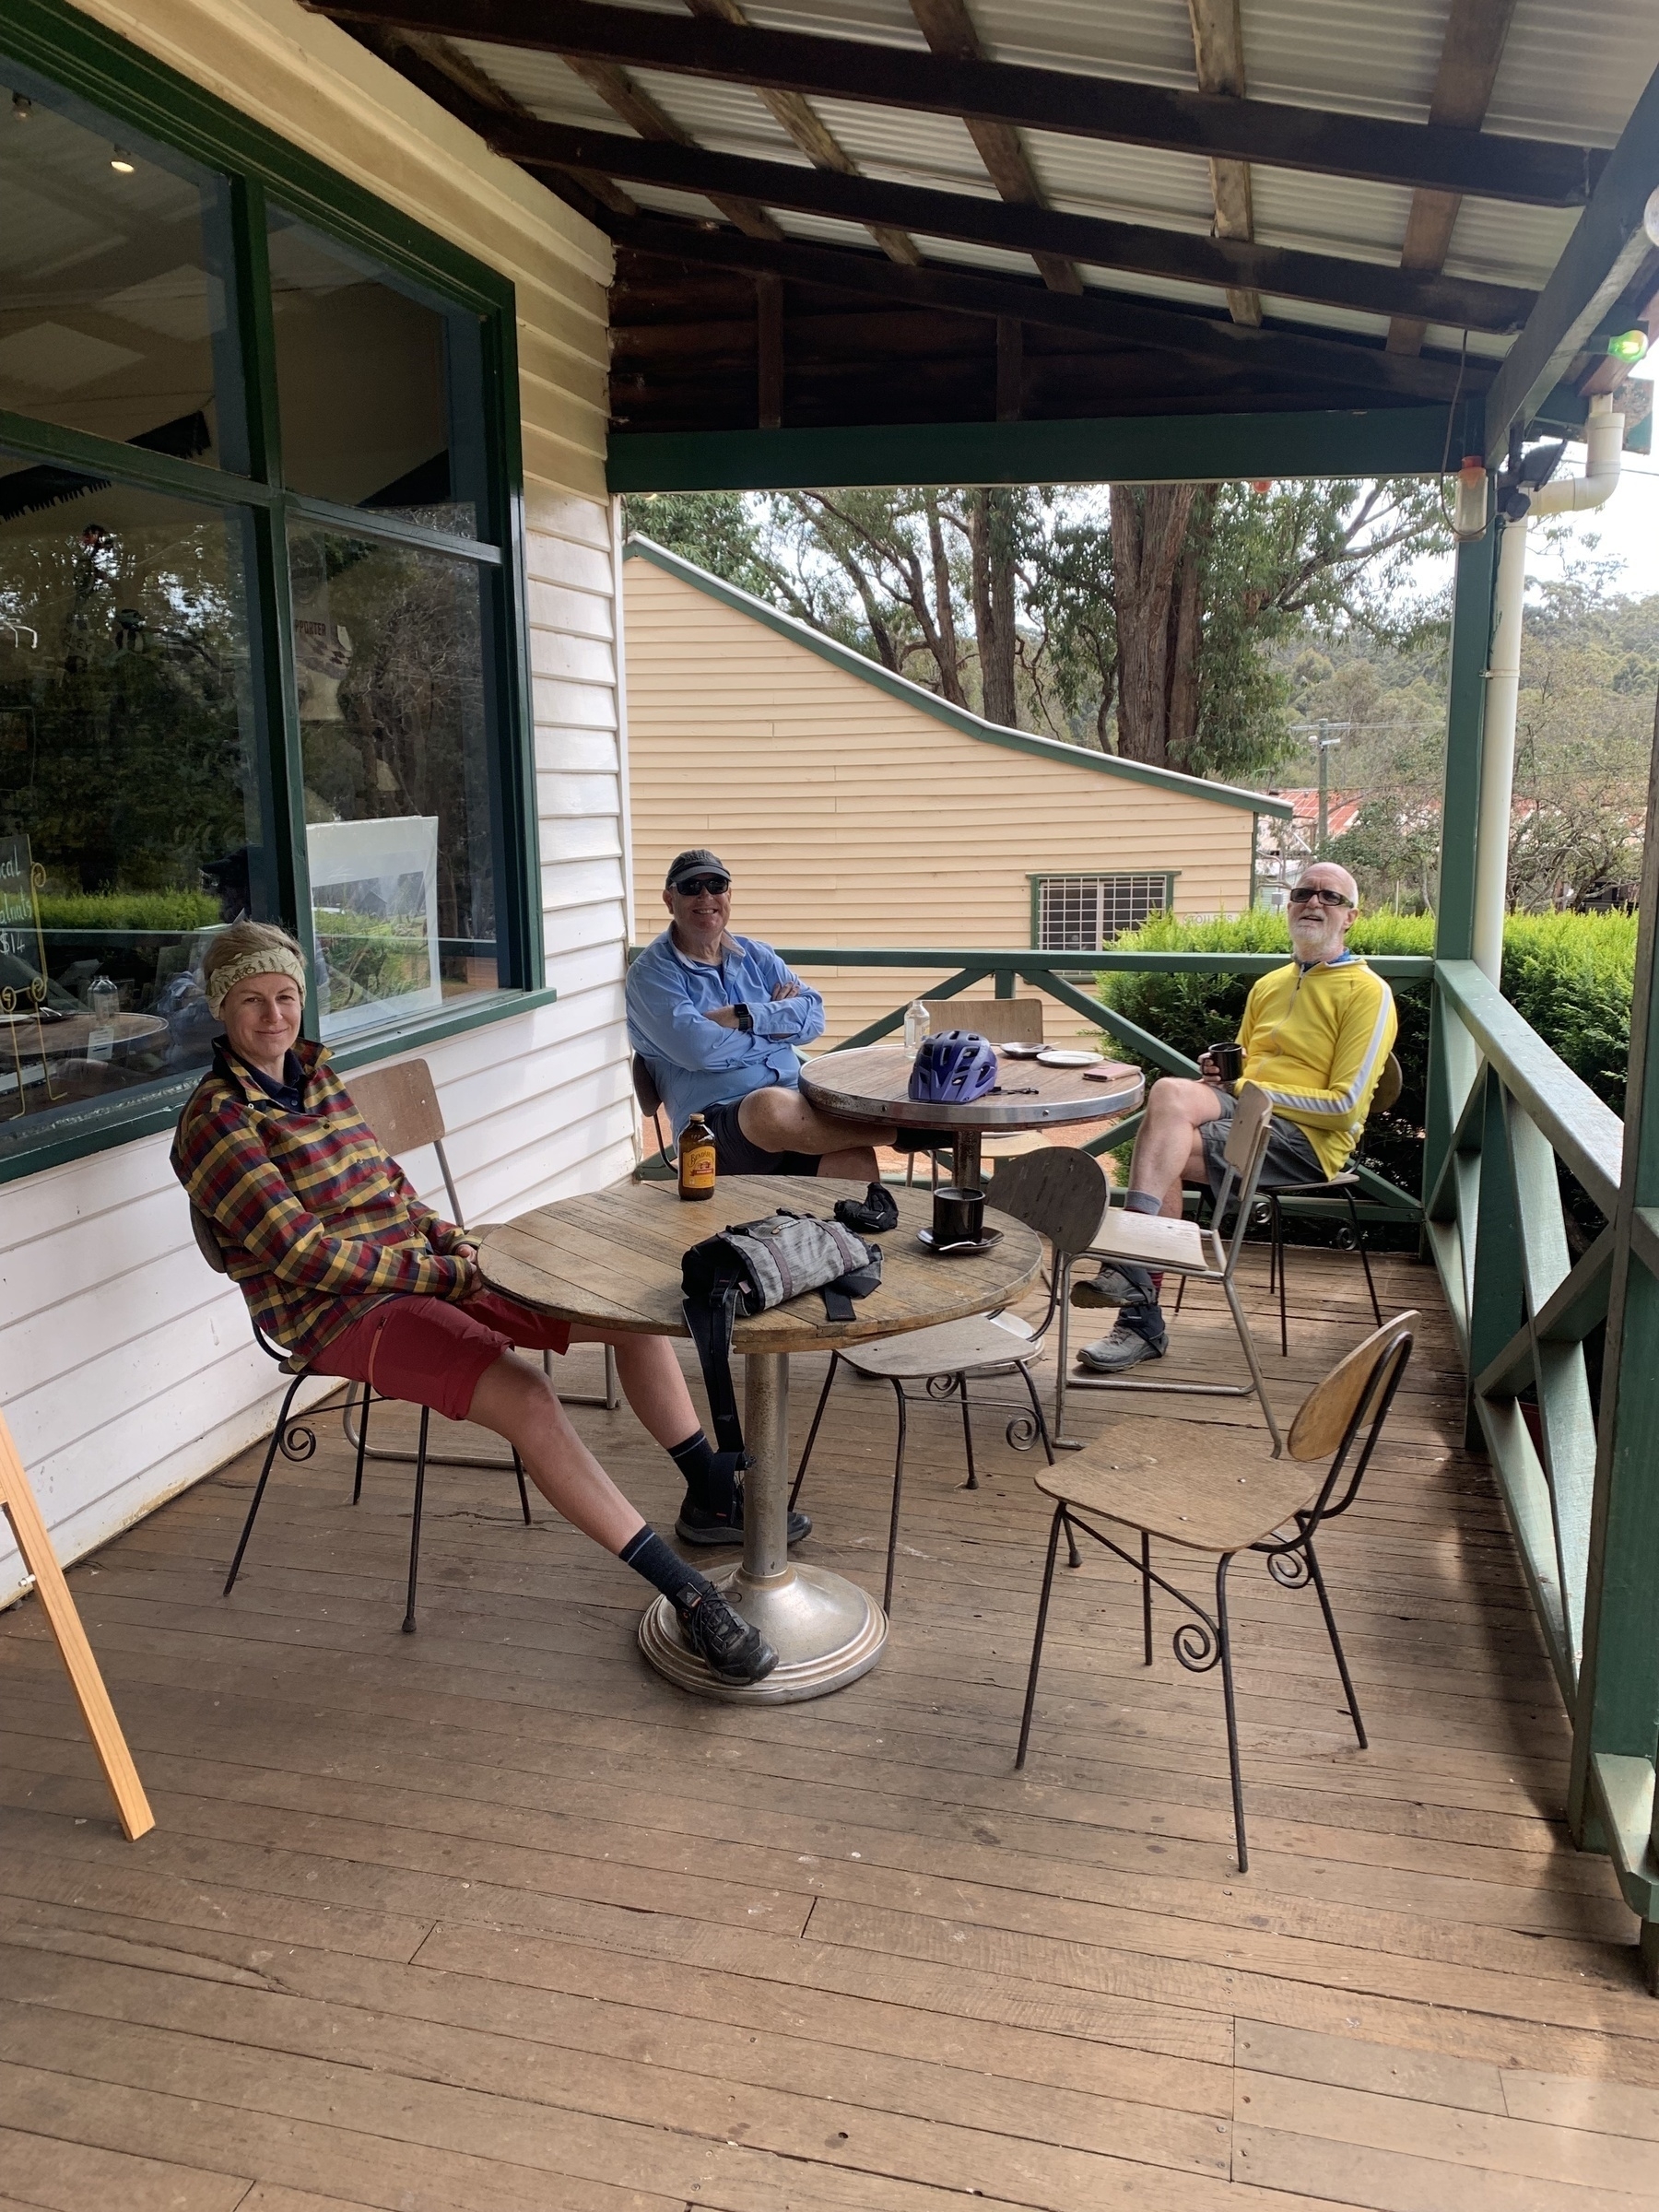
Uralla had a great cafe: the Alternate Root. And we enjoyed our dinner at the Top Pub.
Day 2. Uralla to Walcha. 62km
NECT day 1: Armidale to Uralla - Andrew D.’s 35.1 km bike ride
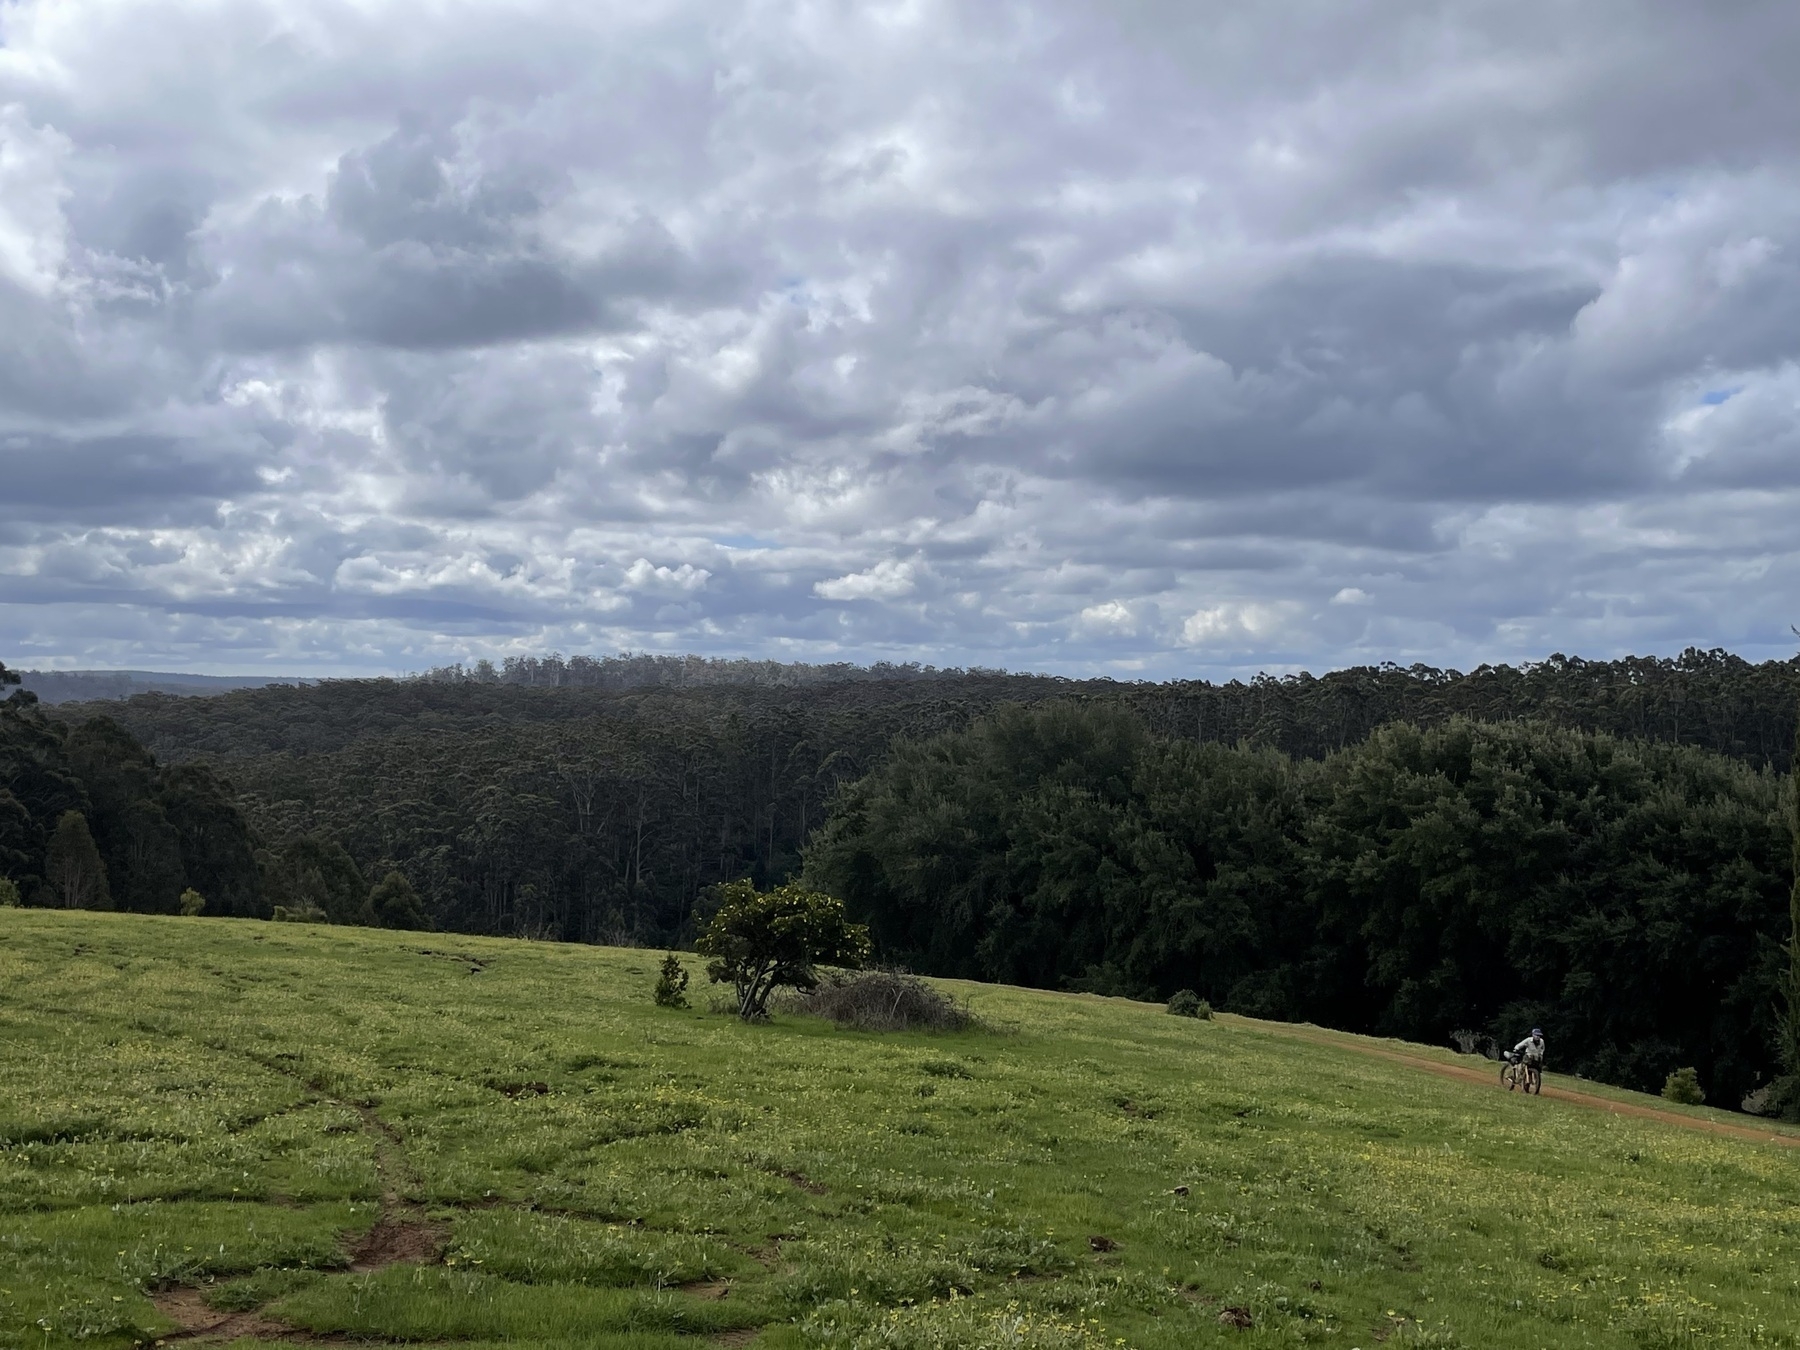
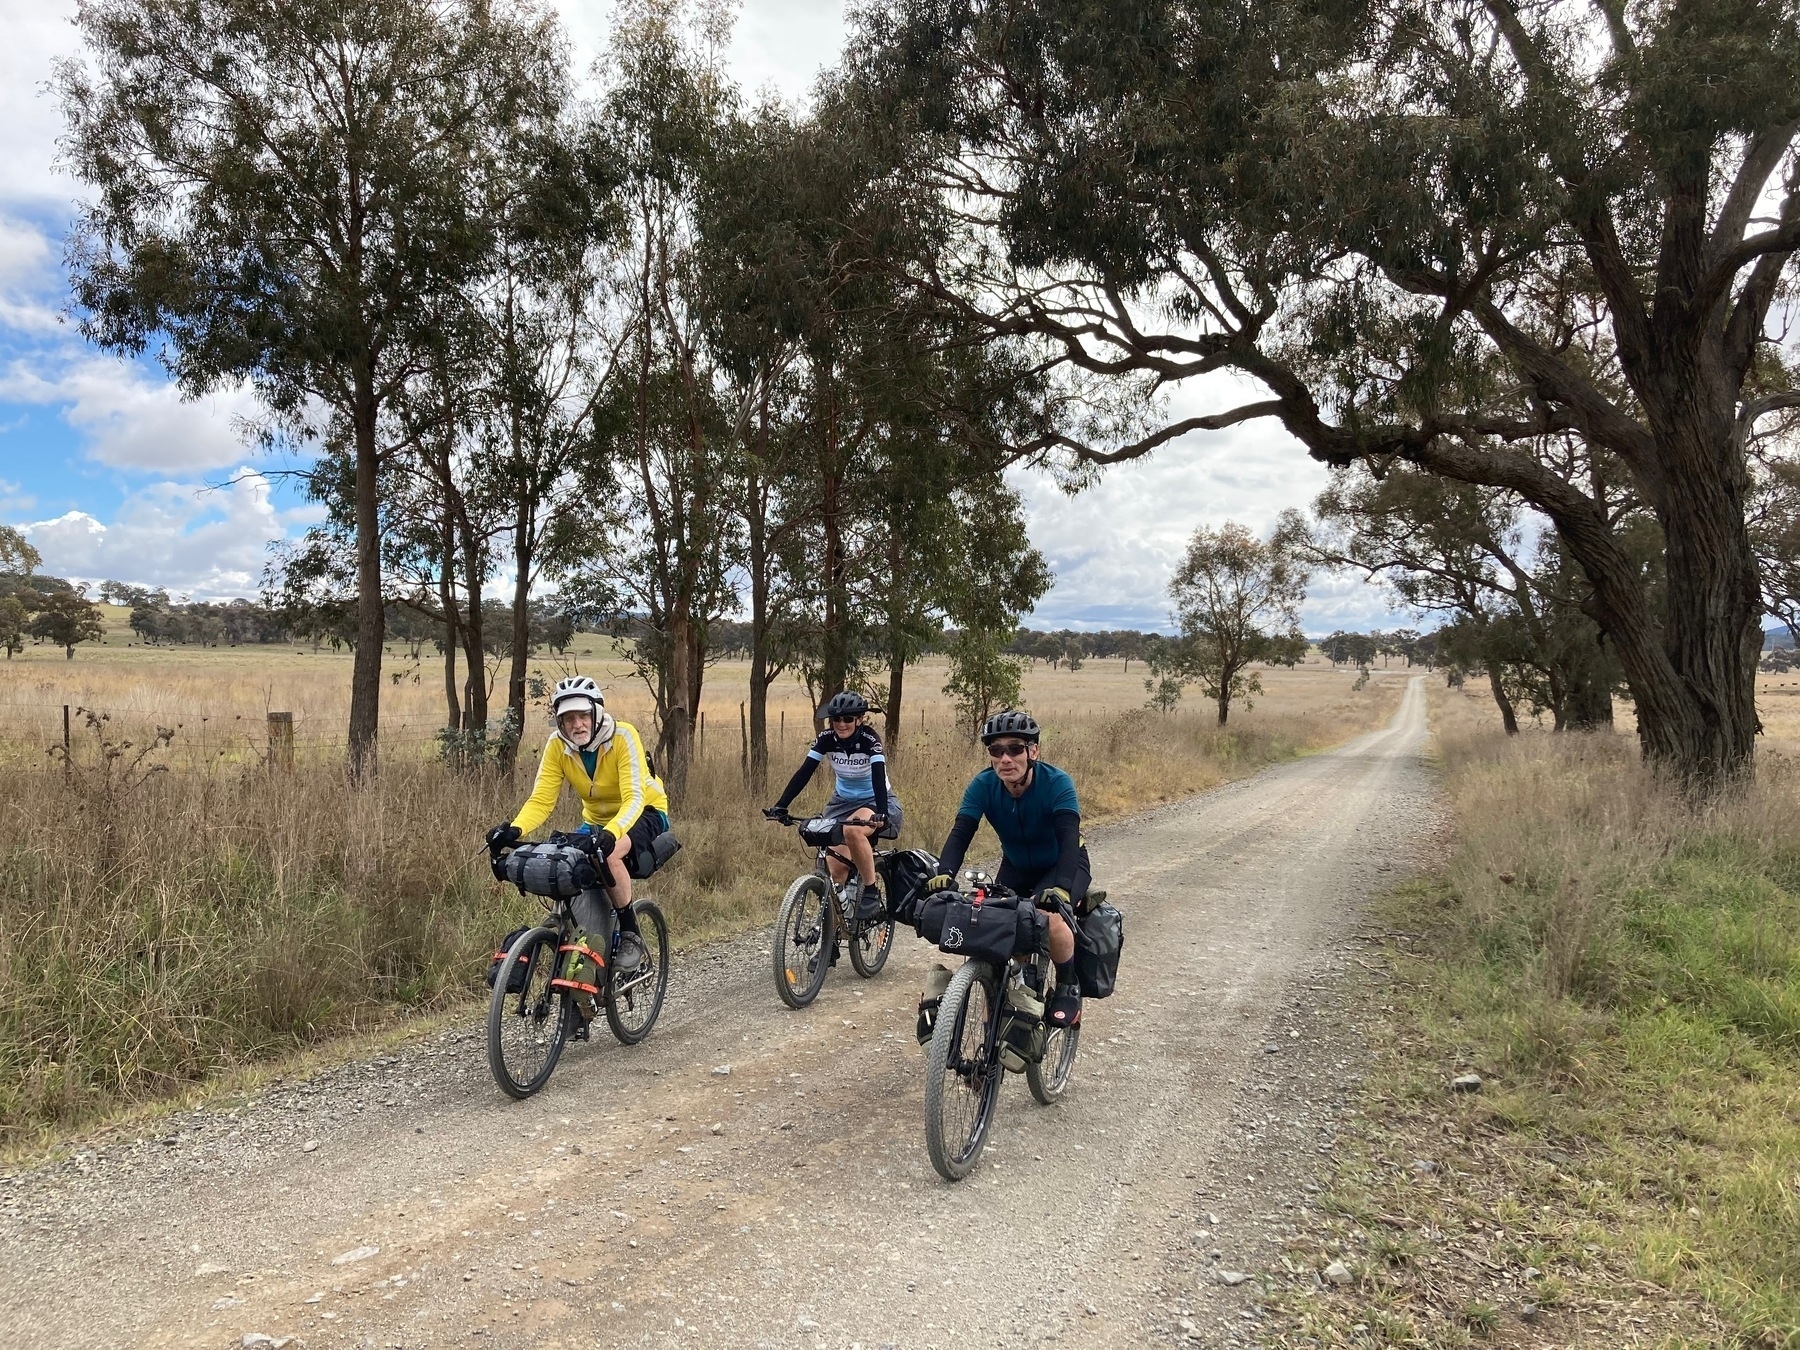
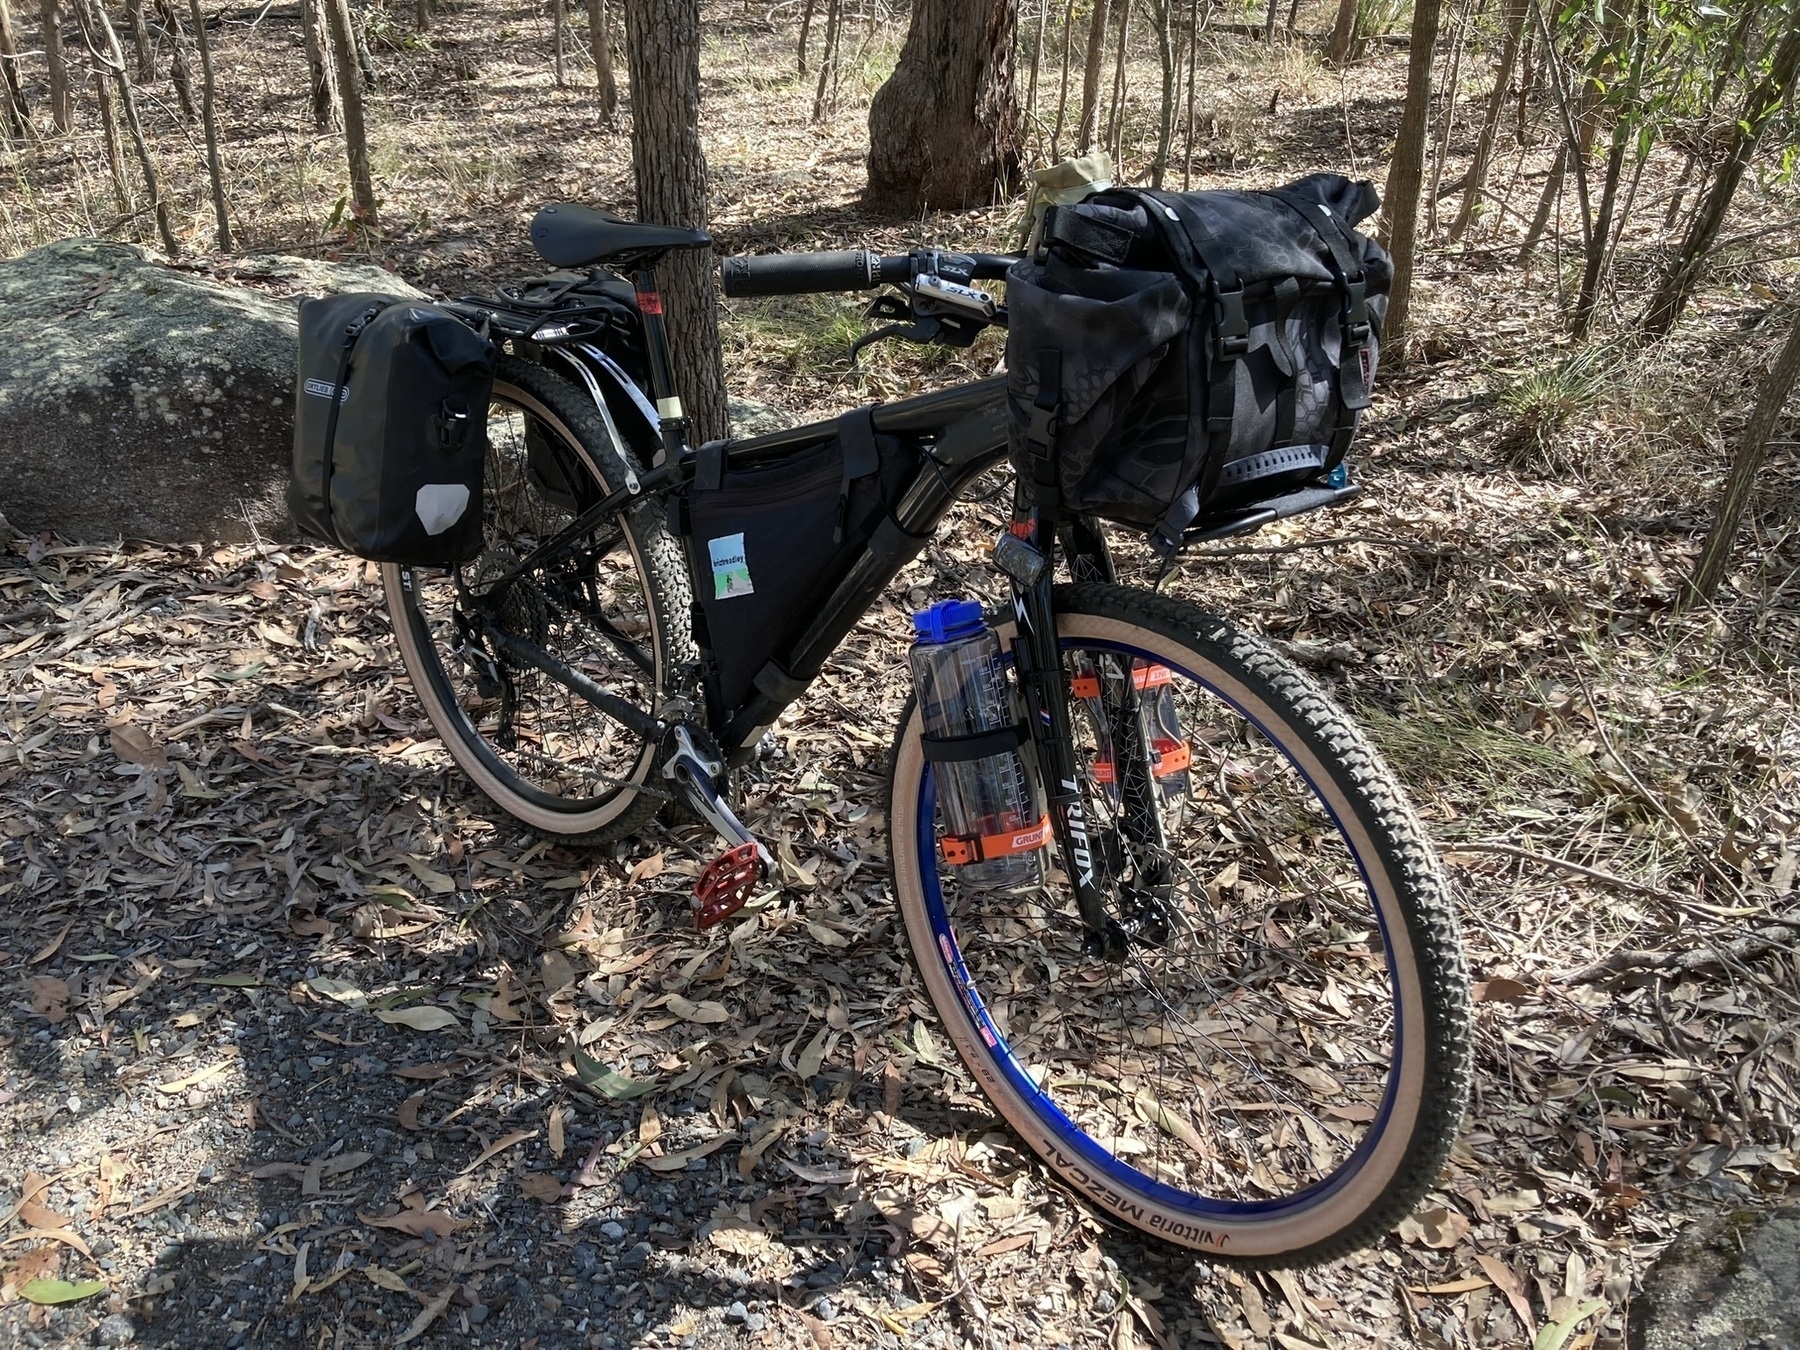
And this is where the story really starts. As I look back on this week of cycling, my strongest memories are of rolling countryside and smooth gravel roads. This day was cold and overcast, averaging 10 degrees Celsius for the day, but my abiding memory is of the colours of the leaves and the gentle rolling hills.
After a short climb out of Uralla, we left on Gostwyck Rd, past some roadworks which made a clay road quite sticky. All of us got chunky bits of gravel sprayed over the lower parts of our bikes. But once through the roadworks, the roads dried out and conditions were cool but near perfect.
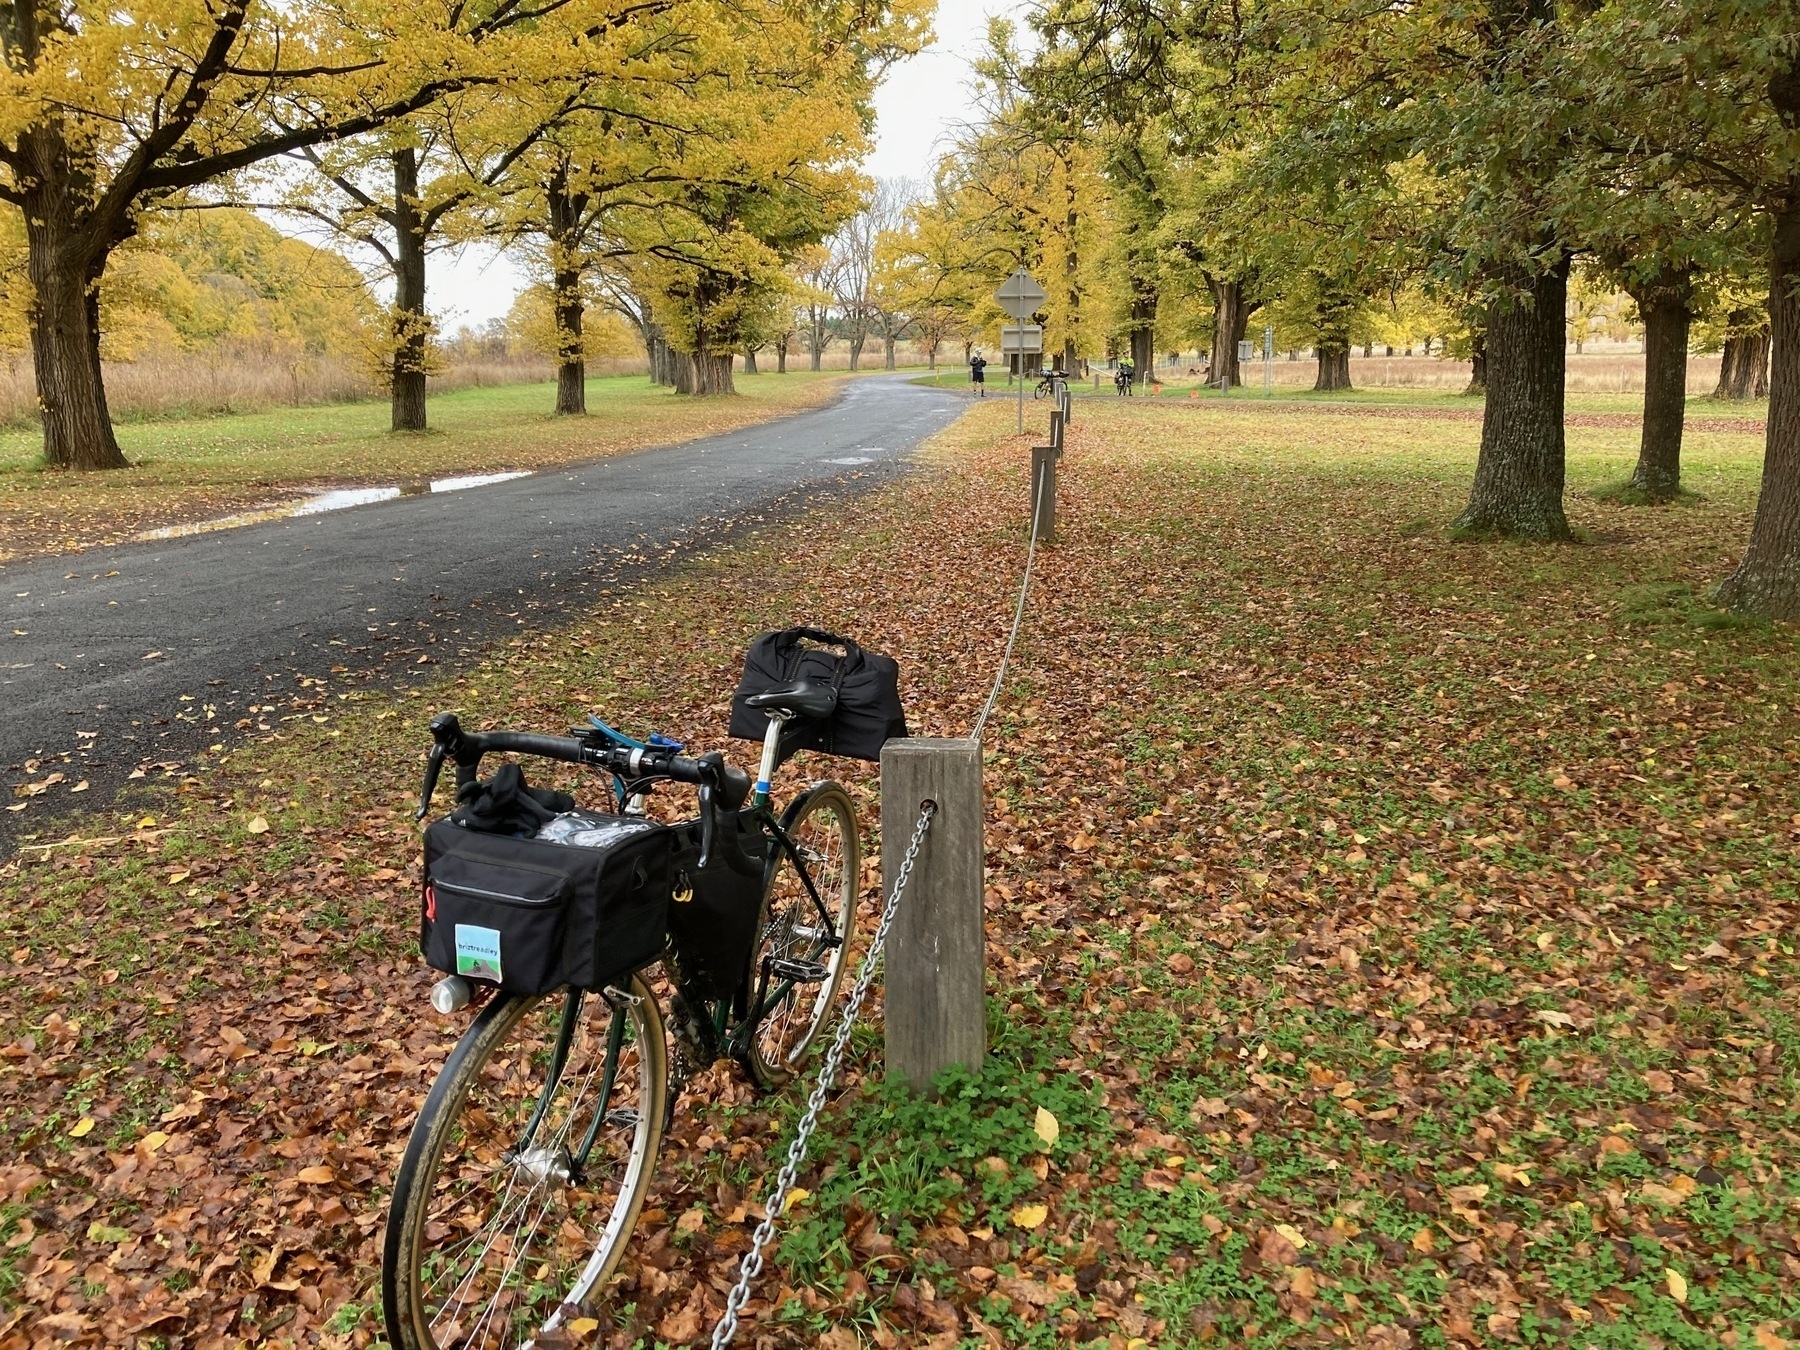
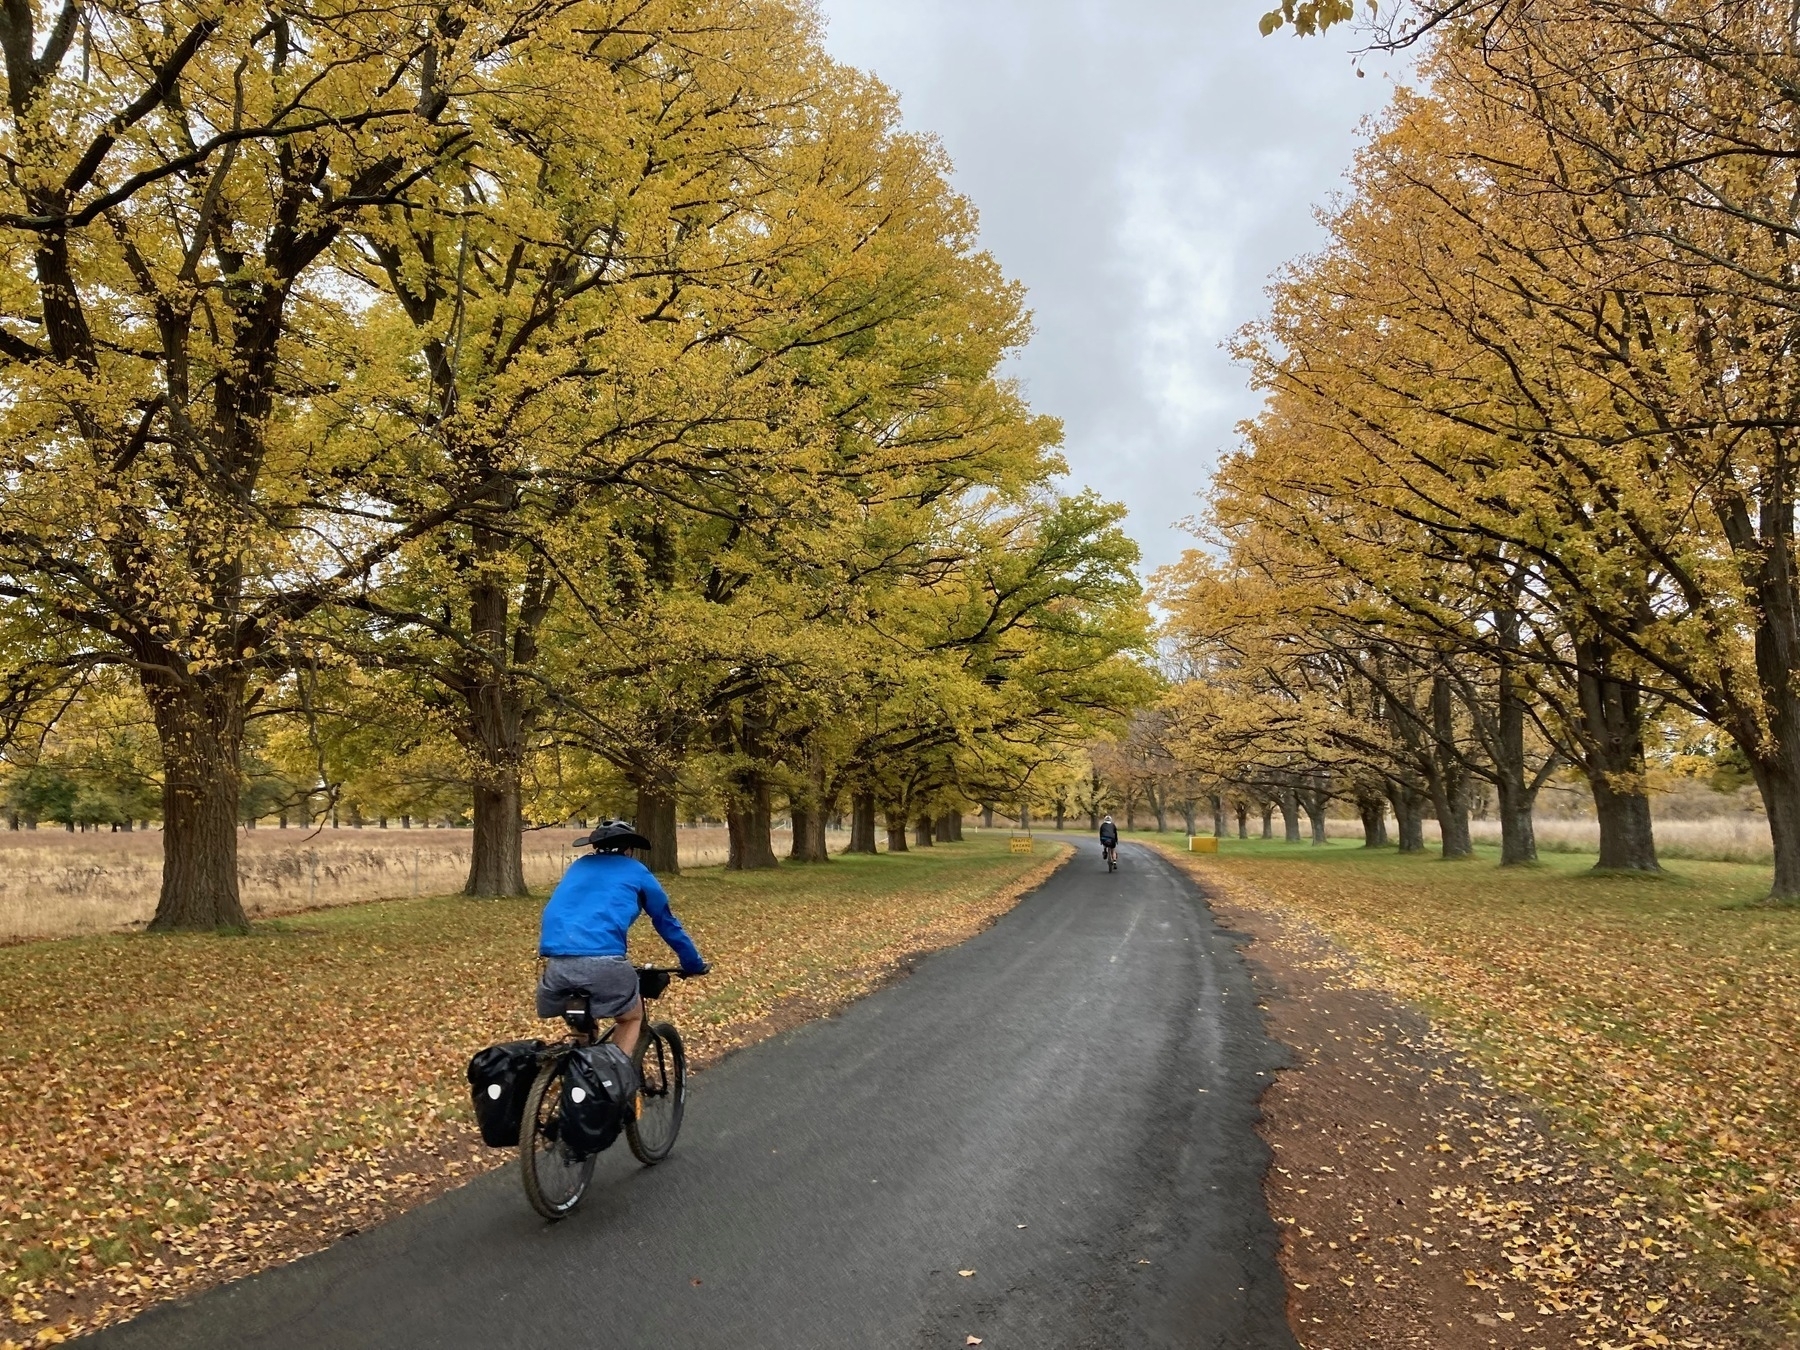
At Gostwyck we were entranced by the avenues of elms leading to All Saints Chapel, a picture-perfect place for a wedding I’m sure. We rolled south, climbing and descending throughout the morning.
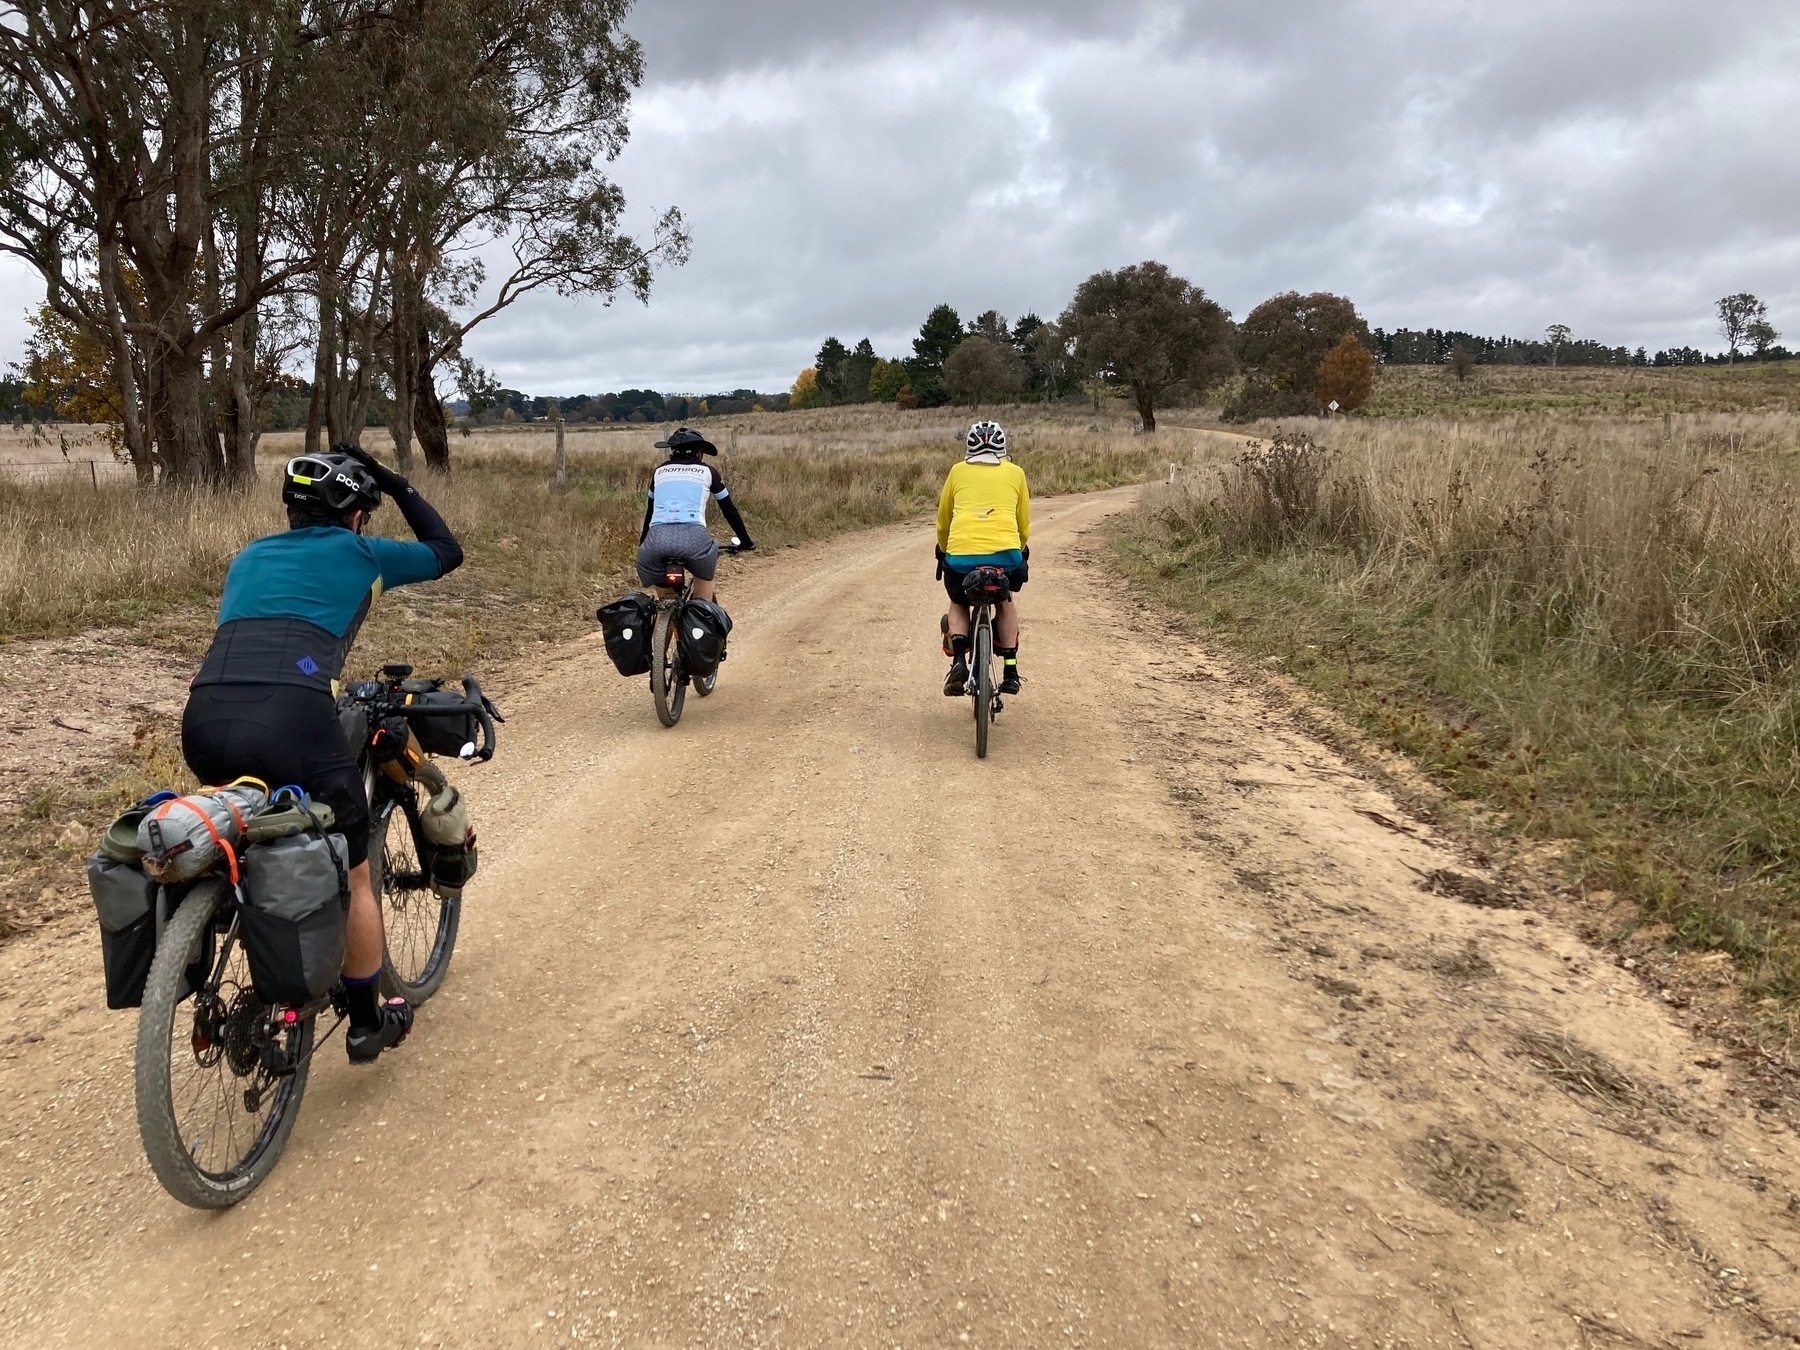
Closer to Walcha we got back on some bitumen for a nice roll into town, and some lunch at Cafe Graze. This was a great morning’s ride, with enough challenge in climbing to make us hungry for lunch, enough rolling downhill to enjoy after any climb, and plenty of amazing autumn colours of reds and yellows in the New England foliage. Lots of oaks, elms and liquid amber trees, showing off their decidousness.
Day 3. Walcha to Tamworth. 93km
NECT day 3 Walcha to Tamworth - Andrew D.’s 92.8 km bike ride
This was a highly memorable day on the bike, with a descent nearly 30km, and a loss of 600m of altitude over the whole day’s ride.
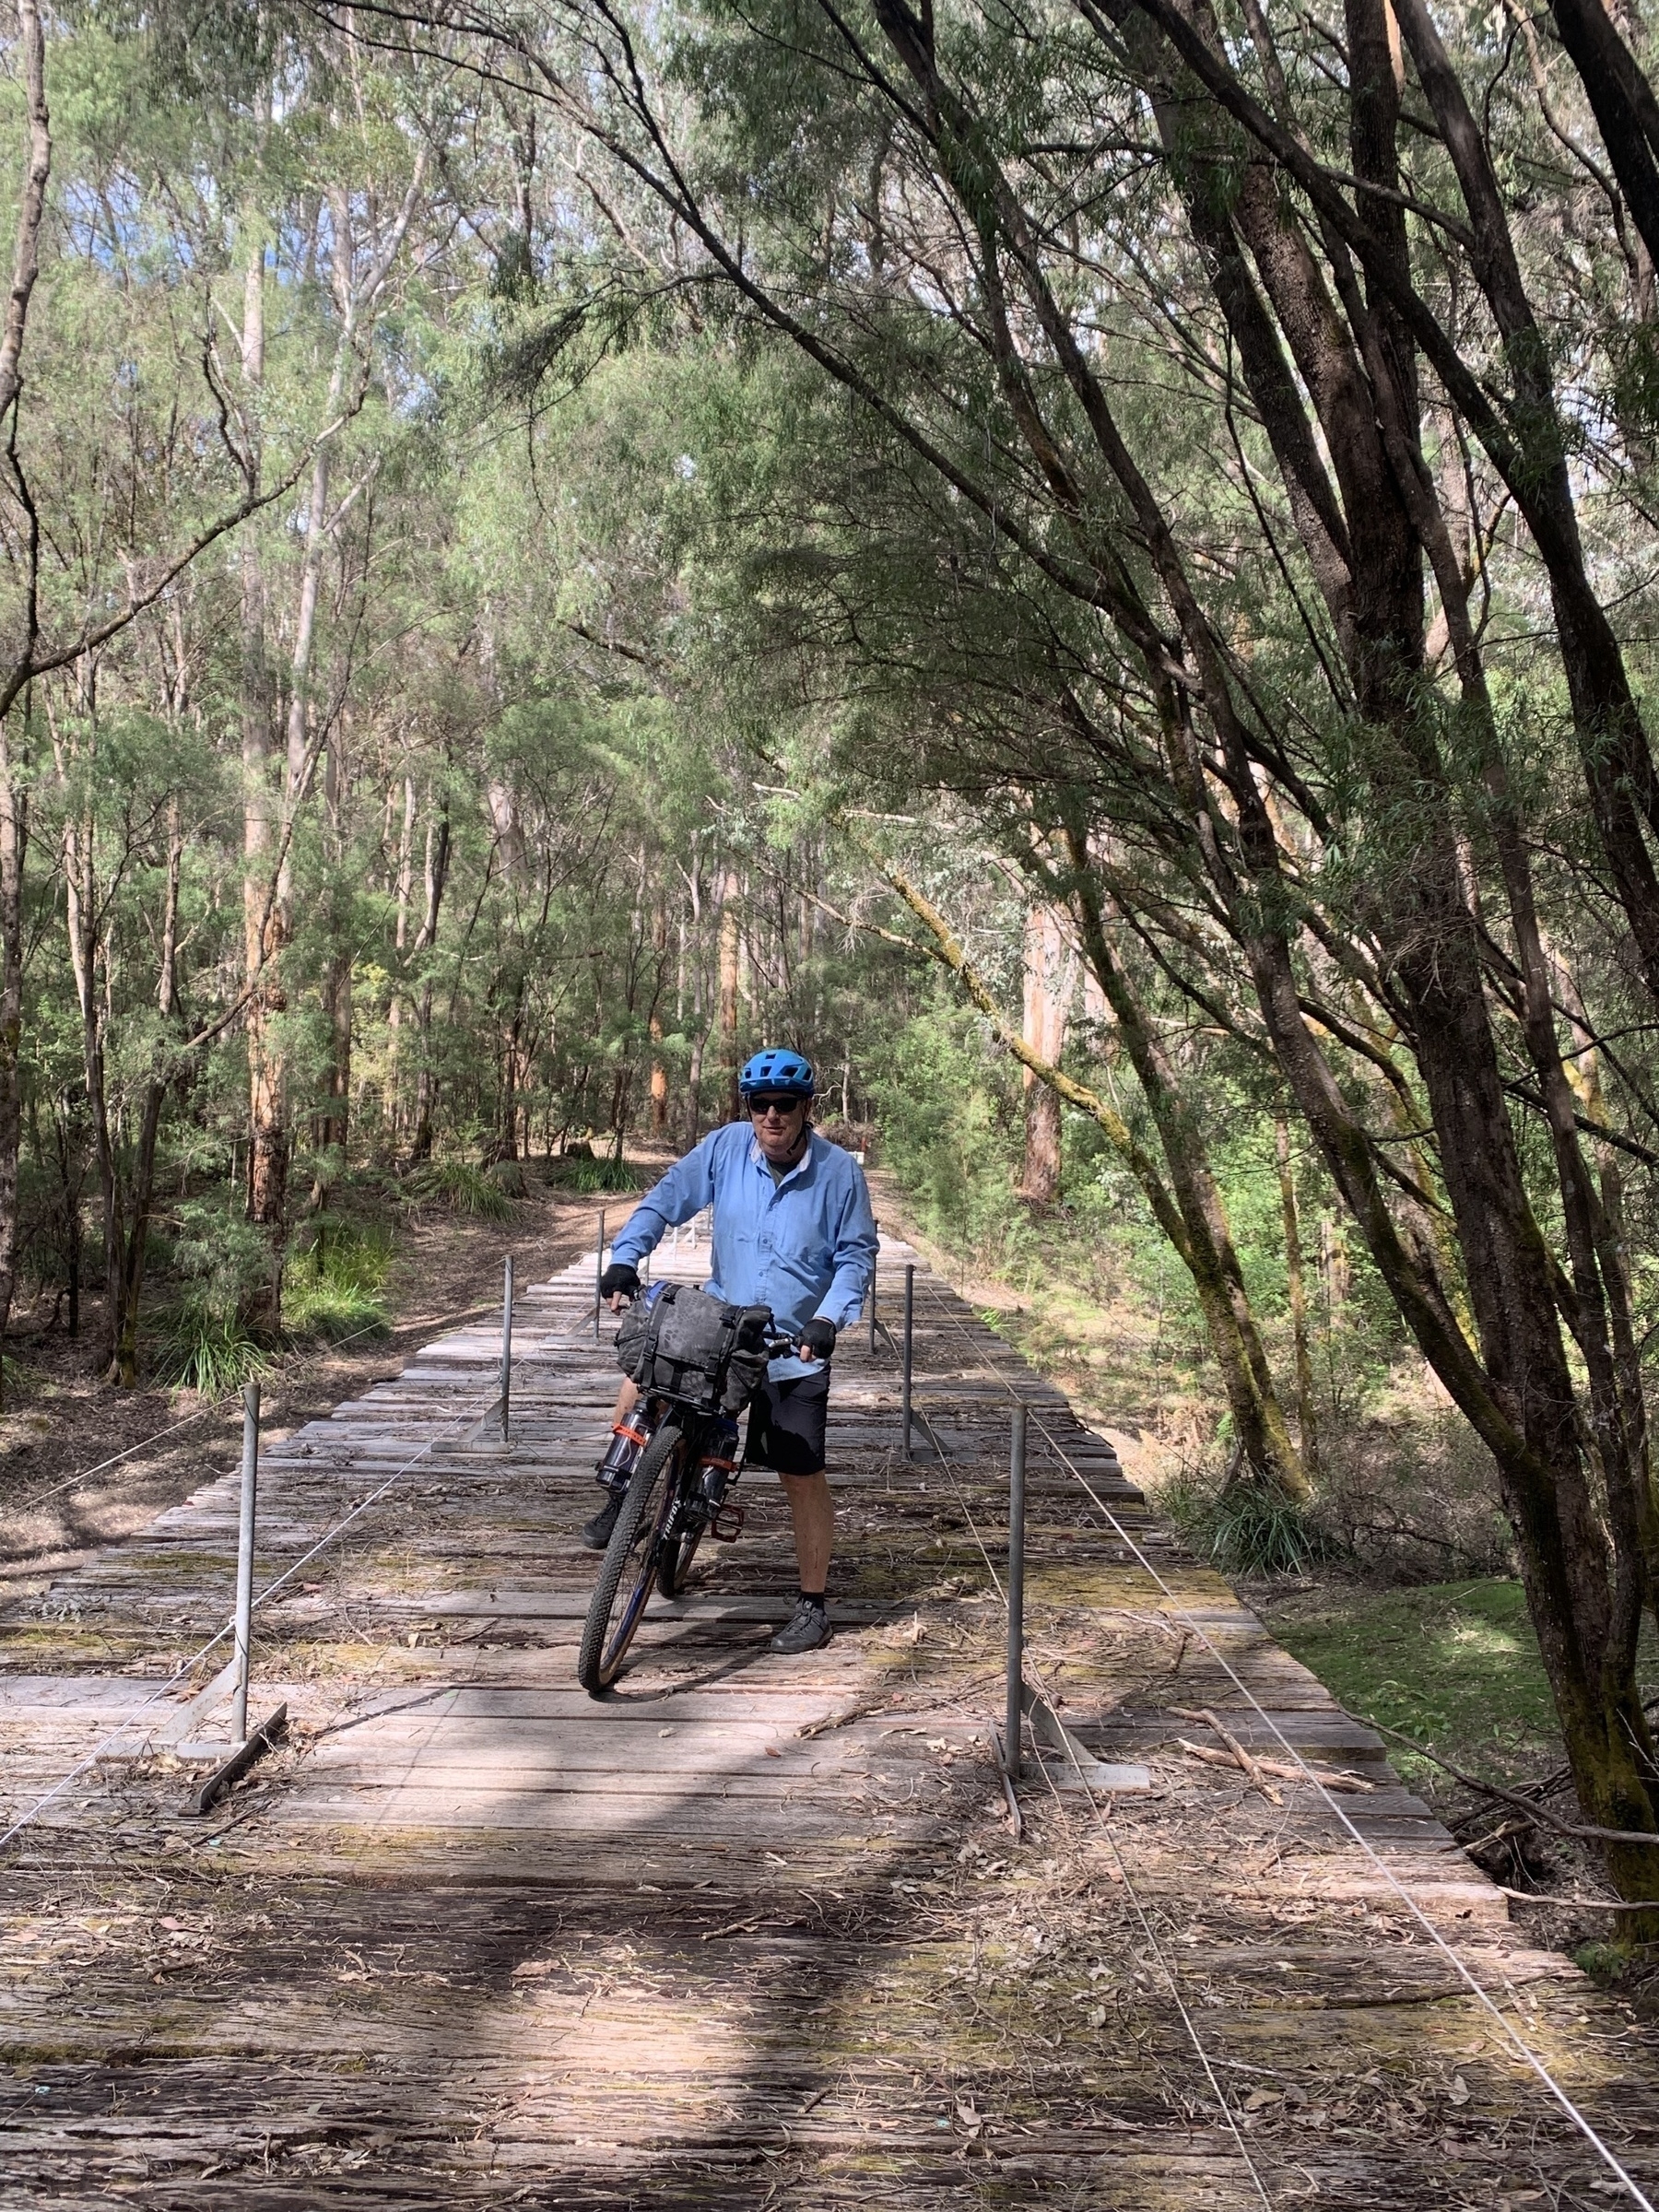
The first third of the ride was up and down out of Walcha, with a turn off onto Scrubby Gully Rd. Even early on there was a magnificent descent down to the MacDonald River. The route then climbed away, and then back down to the river a second time.
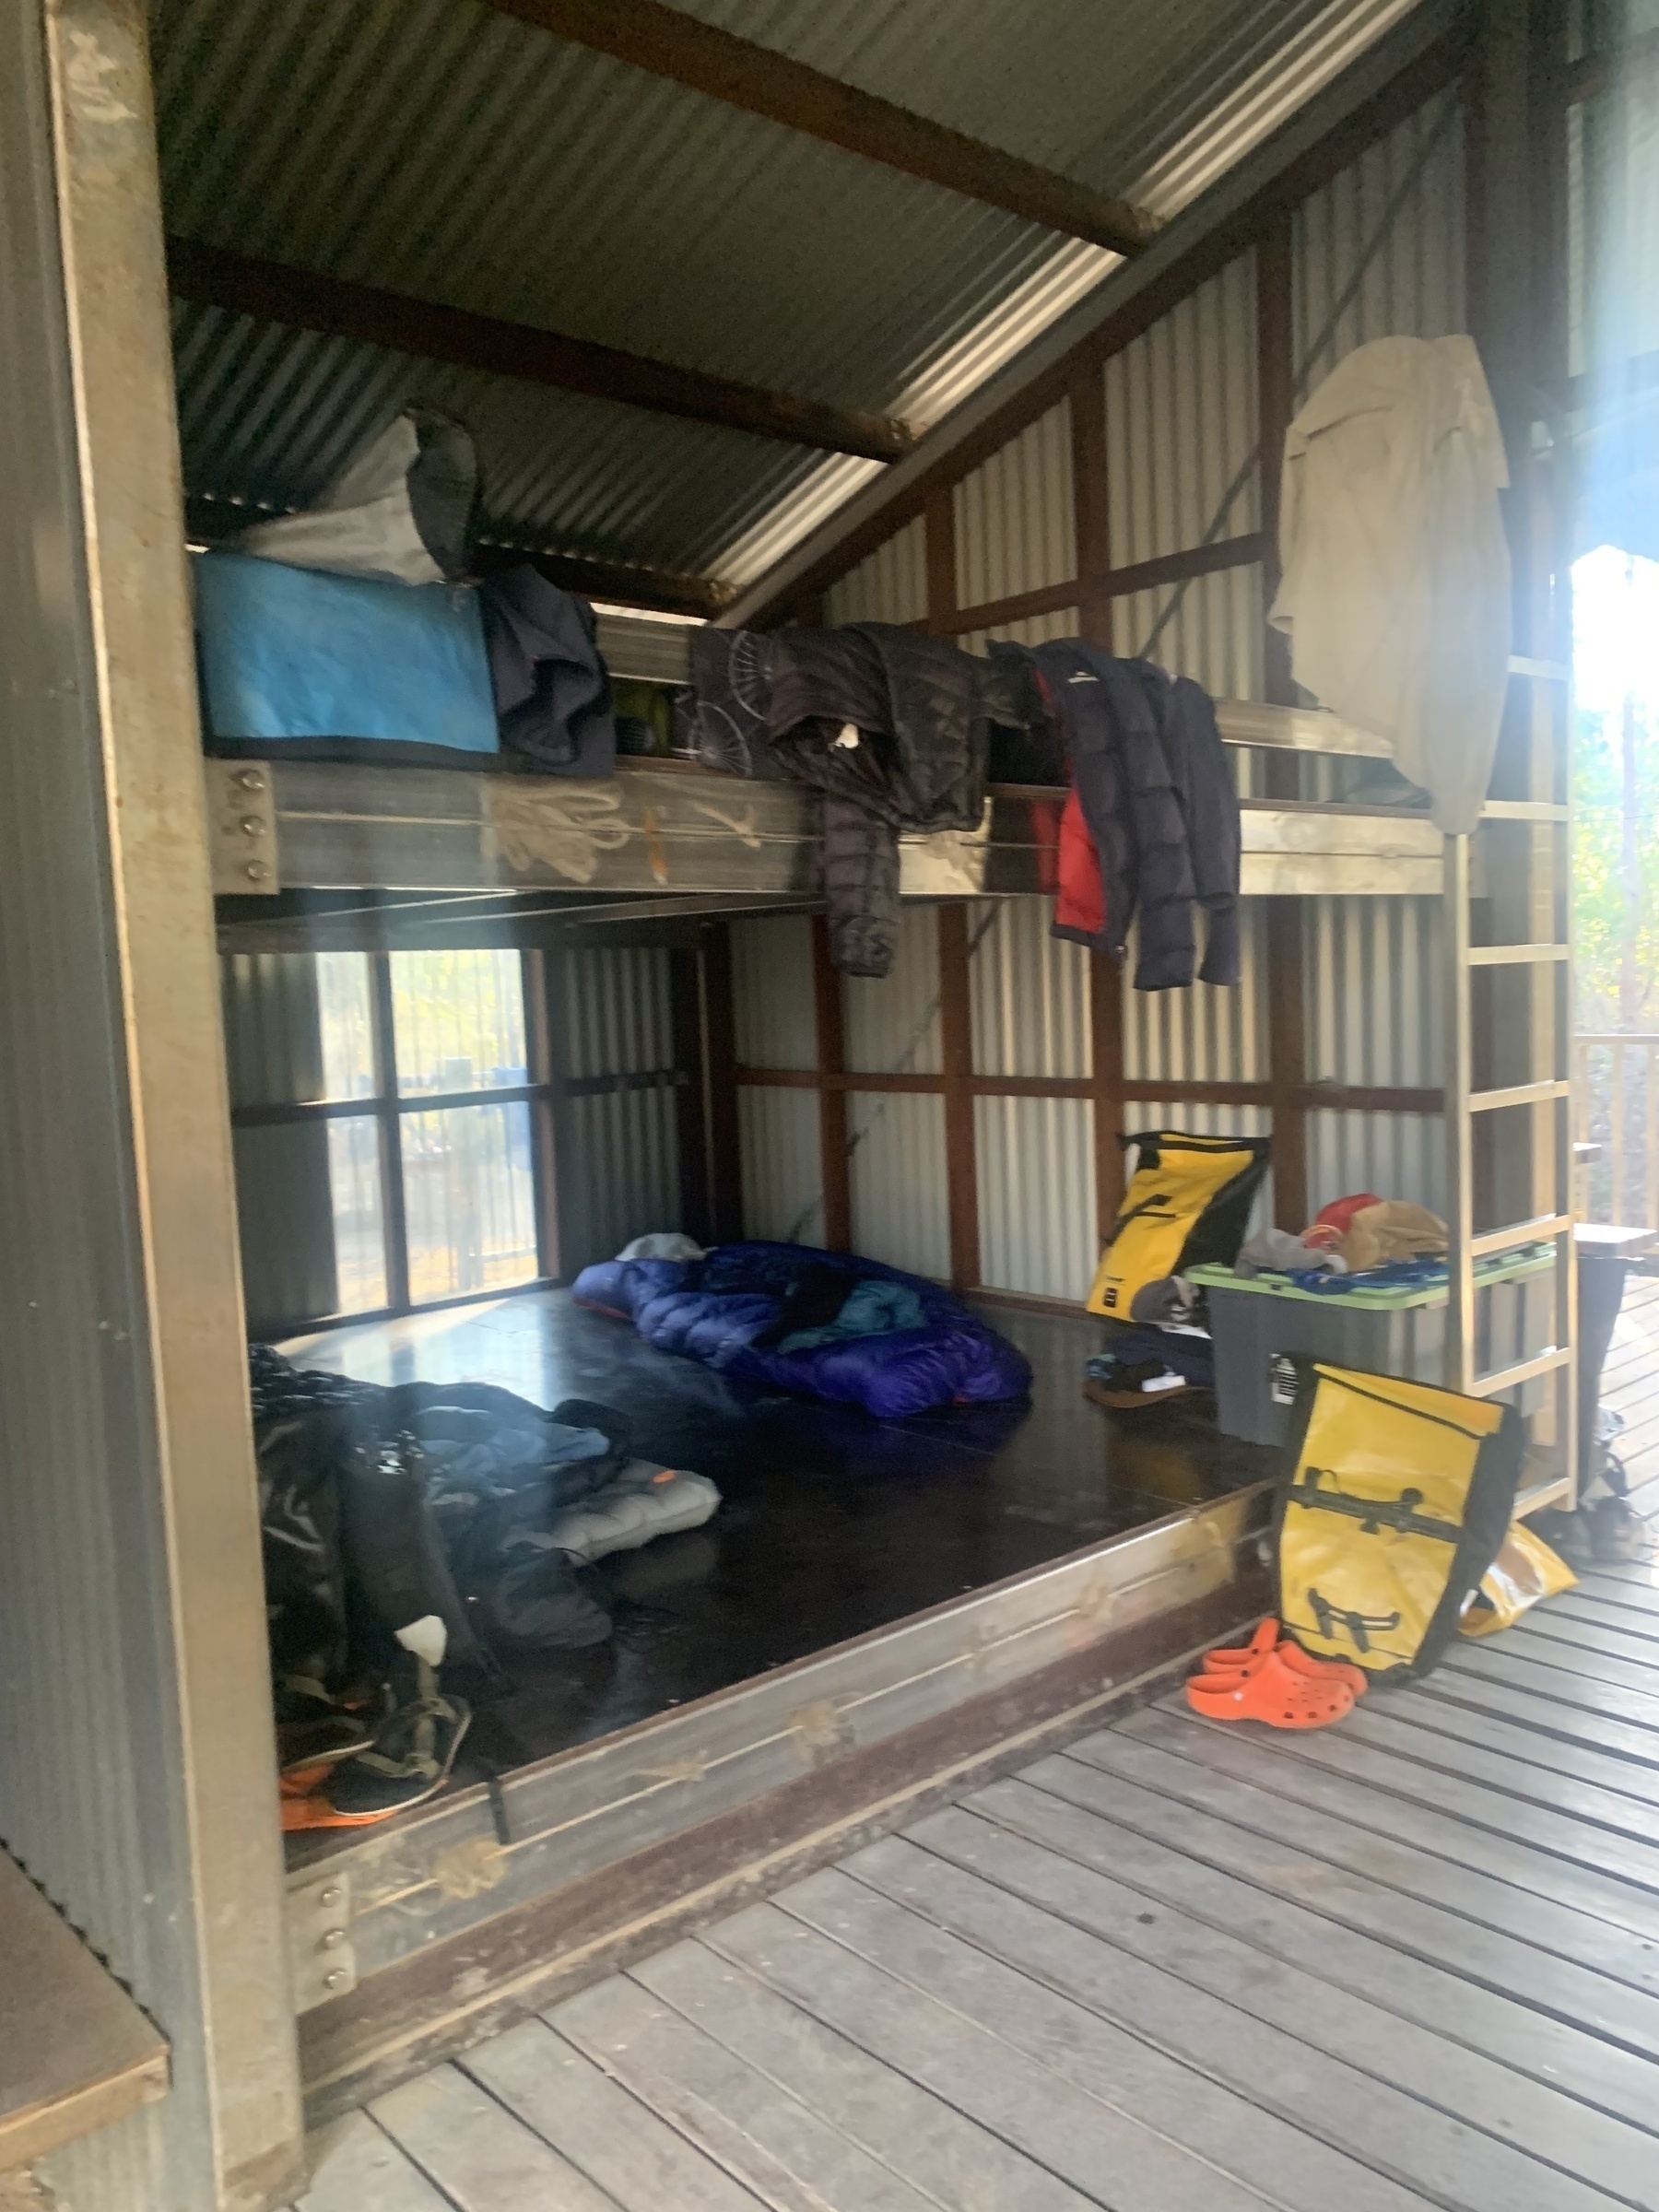
This was where we got our feet wet. The route crosses the river on Surveyors Creek Rd, just before getting to Woolbrook. Belinda lost one of her croc sandals in the river, which certainly was a tragic moment in fashion.
After Woolbrook, we cruised and hollered and grinned on our way down the valleys created by Jamiesons Creek and then the Cockburn River, all the way to a late lunch at Kootingal (72km)
My route assessments let us down at this point I think. Instead of pulling up at Kootingal, we braved the weekday afternoon traffic into Tamworth, a busy city with many trucks and buses. Our motel was on the New England Highway, which was also hard to get too.
Day 4. Tamworth to Quirindi. 115km.
NECT day 4: Tamworth to Quirindi - Andrew D.’s 115.6 km bike ride
This was the “Queen Stage” of our trip. I was a little concerned about my ability to ride the whole route and still finish in daylight, because there was a substantial amount of climbing, and because the previous day a ride just short of 100km saw us get into town with only an hour of sunlight to spare.
So we set off from Tamworth and rode a normal pace through to lunch at Nundle. On the way we rode through an historic goldmining era place with the charming name of Bowling Alley Point.
The steady climb up the Pool River valley, past Chaffey Dam, was one thing. We gained 200m of elevation.
But straight out of lunch (at the charming small town of Nundle) it was a false flat bitumen road leading to the only sustained climbing section of the whole week (for me).
Fortunately the climb on Old Wallabadah Rd was steady and pretty scenic, distracting me from the pain in my legs.
Eventually we reached Wallabadah, after a short but stimulating ride along the New England Highway. The last bitumen section riding west to Quirindi was ridden at breakneck pace, as we chased the sun going down before our eyes.
Day 5. Quirindi to Tamworth.
Route planned
NECT day 5 Quirindi to Tamworth - A bike ride in Quirindi, NSW
Our route as ridden
NECT Day 5: Quirindi to Tamworth - Andrew D.’s 67.4 km bike ride
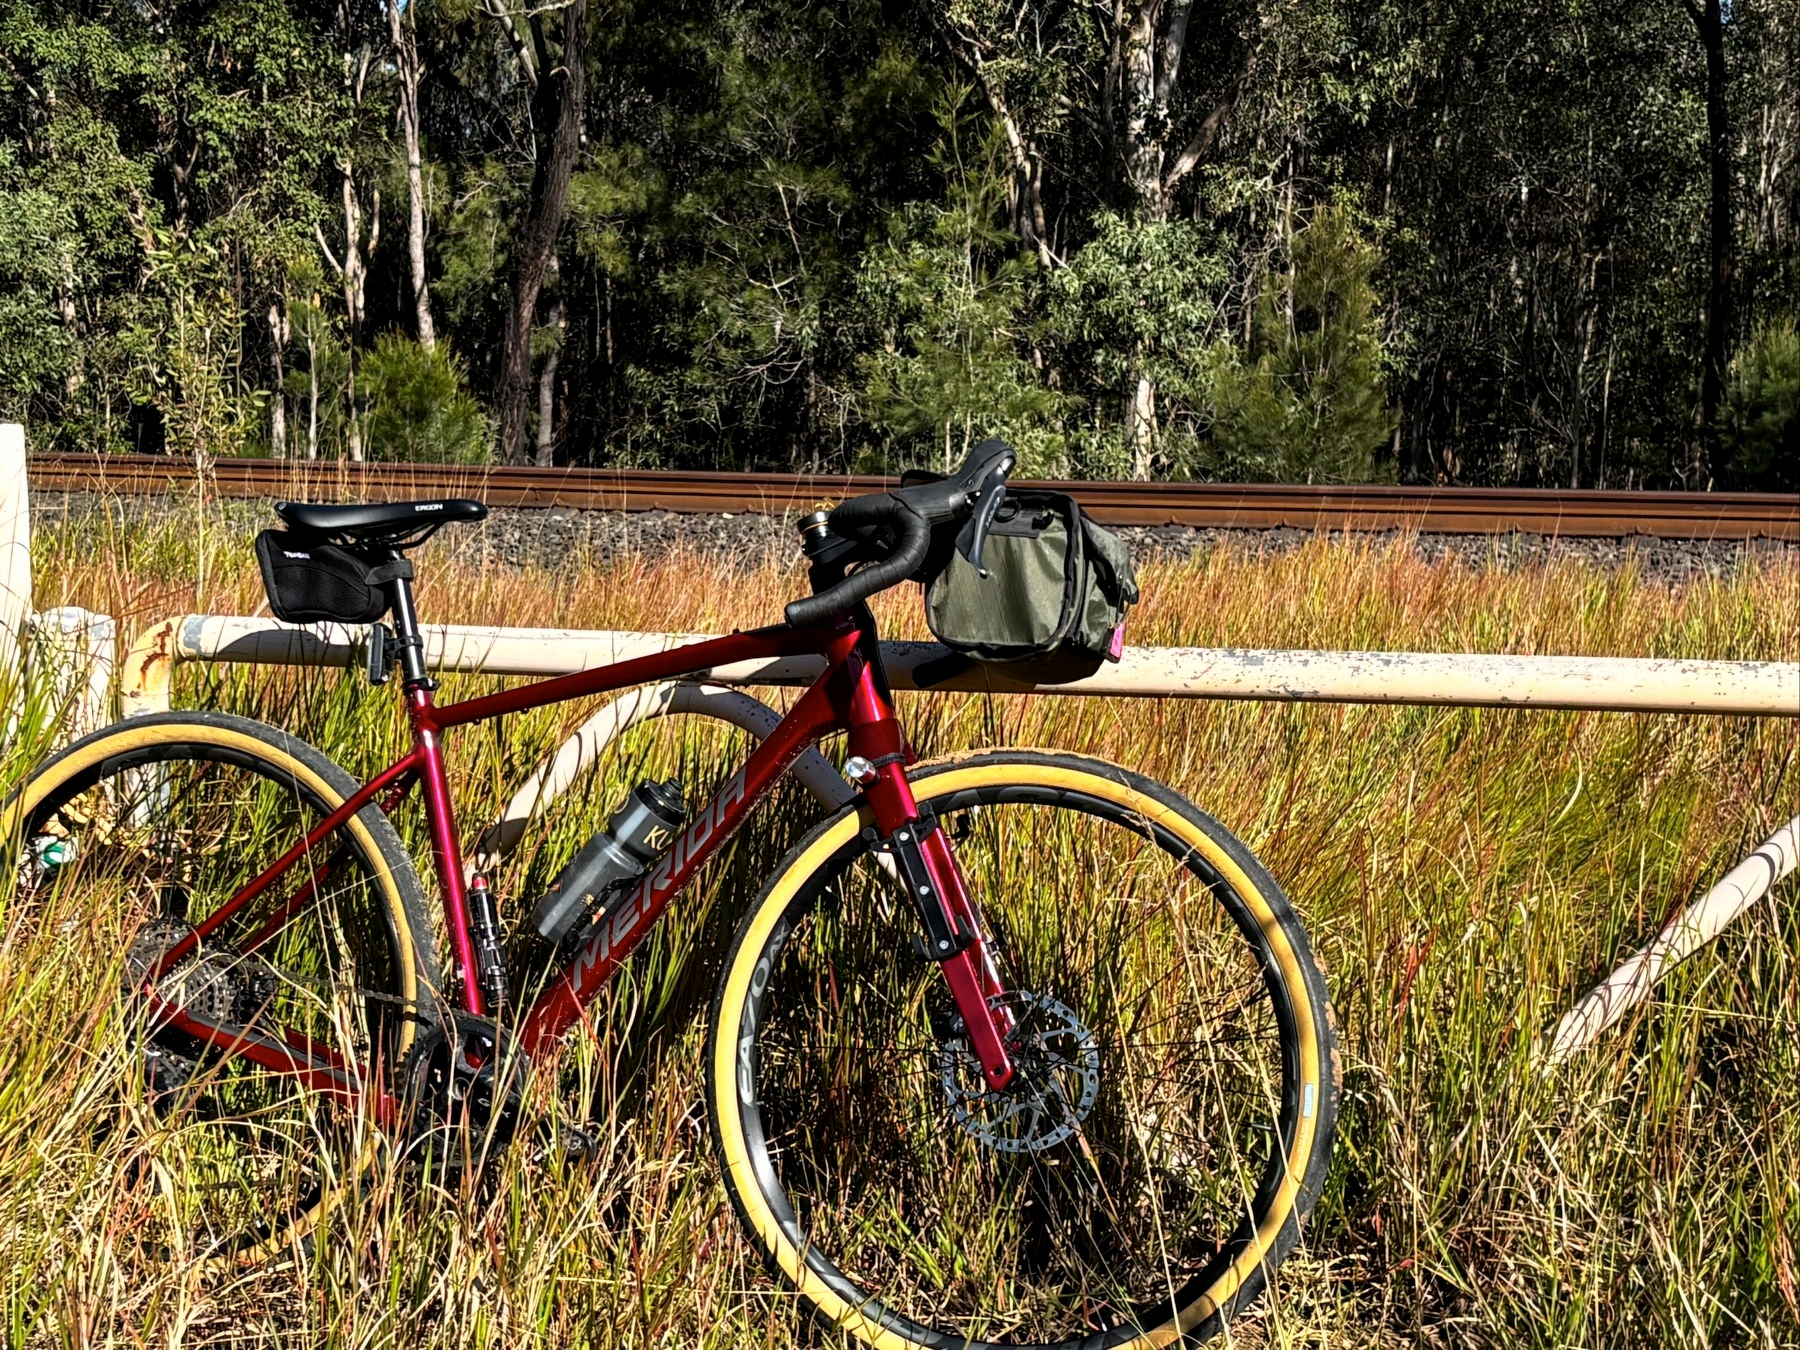
Our day started with a little adventure. Just leaving Quirindi we turned right onto Bells Gate Rd, which our GPX route showed as a minor road which would link up to Black Gully Rd as a back roads route into Werris Creek, keeping us off the major through routes.
However, as we crossed the railway line after 7.5km of the day’s ride, we lost the trail. The road we were on became a farm driveway, and the GPX track was telling us to ride where there didn’t seem to be any road. Eventually Derek looked further along and saw a farm track which disappeared over a small rise. So we gulped hard and found a way across a small gully to link up with the double track.
It was only a couple of km later that the double track became a proper gravel road again, but for all that time I had a gnawing feeling in the pit of my stomach.
The wisdom of this route at keeping us away from the main road (Werris Creek Road) was made clear to us all, after our morning tea stop in Werris Creek.
We had 26km on the main road, and it was not a nice ride. Big trucks going at 100km/h only a couple of metres from you is never fun.
We got to Duri and thankfully our route planners had found another quiet road to get us all the way into Tamworth. A bit of bike path work saw us all the way into Tamworth’s very busy CBD.
The New England Cycle Trail (south) is a great ride. If I was doing it again I would stay in Kootingal rather than Tamworth on our way south, and I would look extra hard for any connecting back roads between Werris Creek and Duri, cos that road was no fun at all.
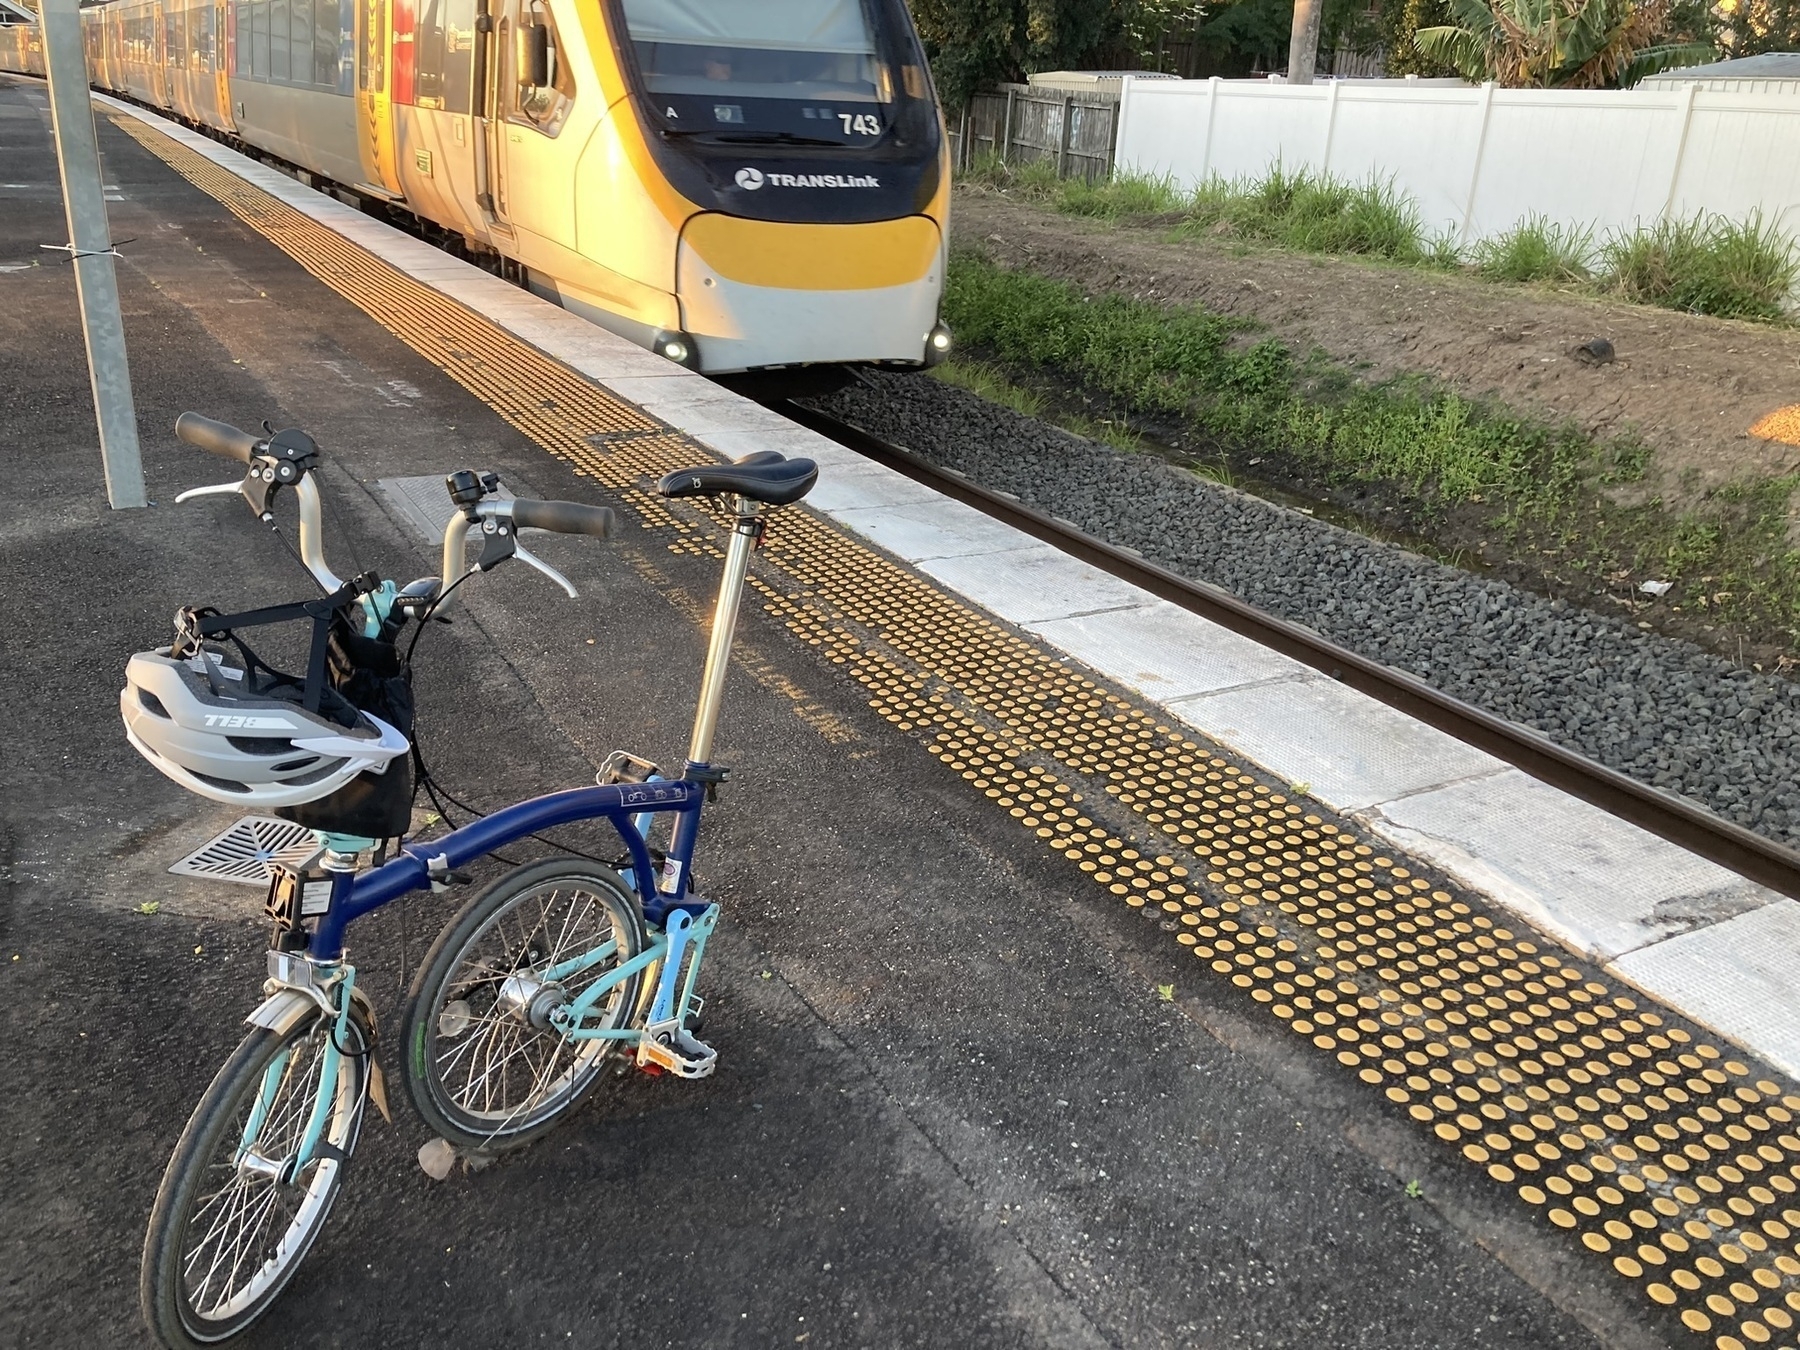
For me, the train trip from Tamworth back up to Armidale was a delight, although the bike box supplied by NSW TrainLink was one of the smallest I’ve ever used, and required A LOT of bike disassembly.
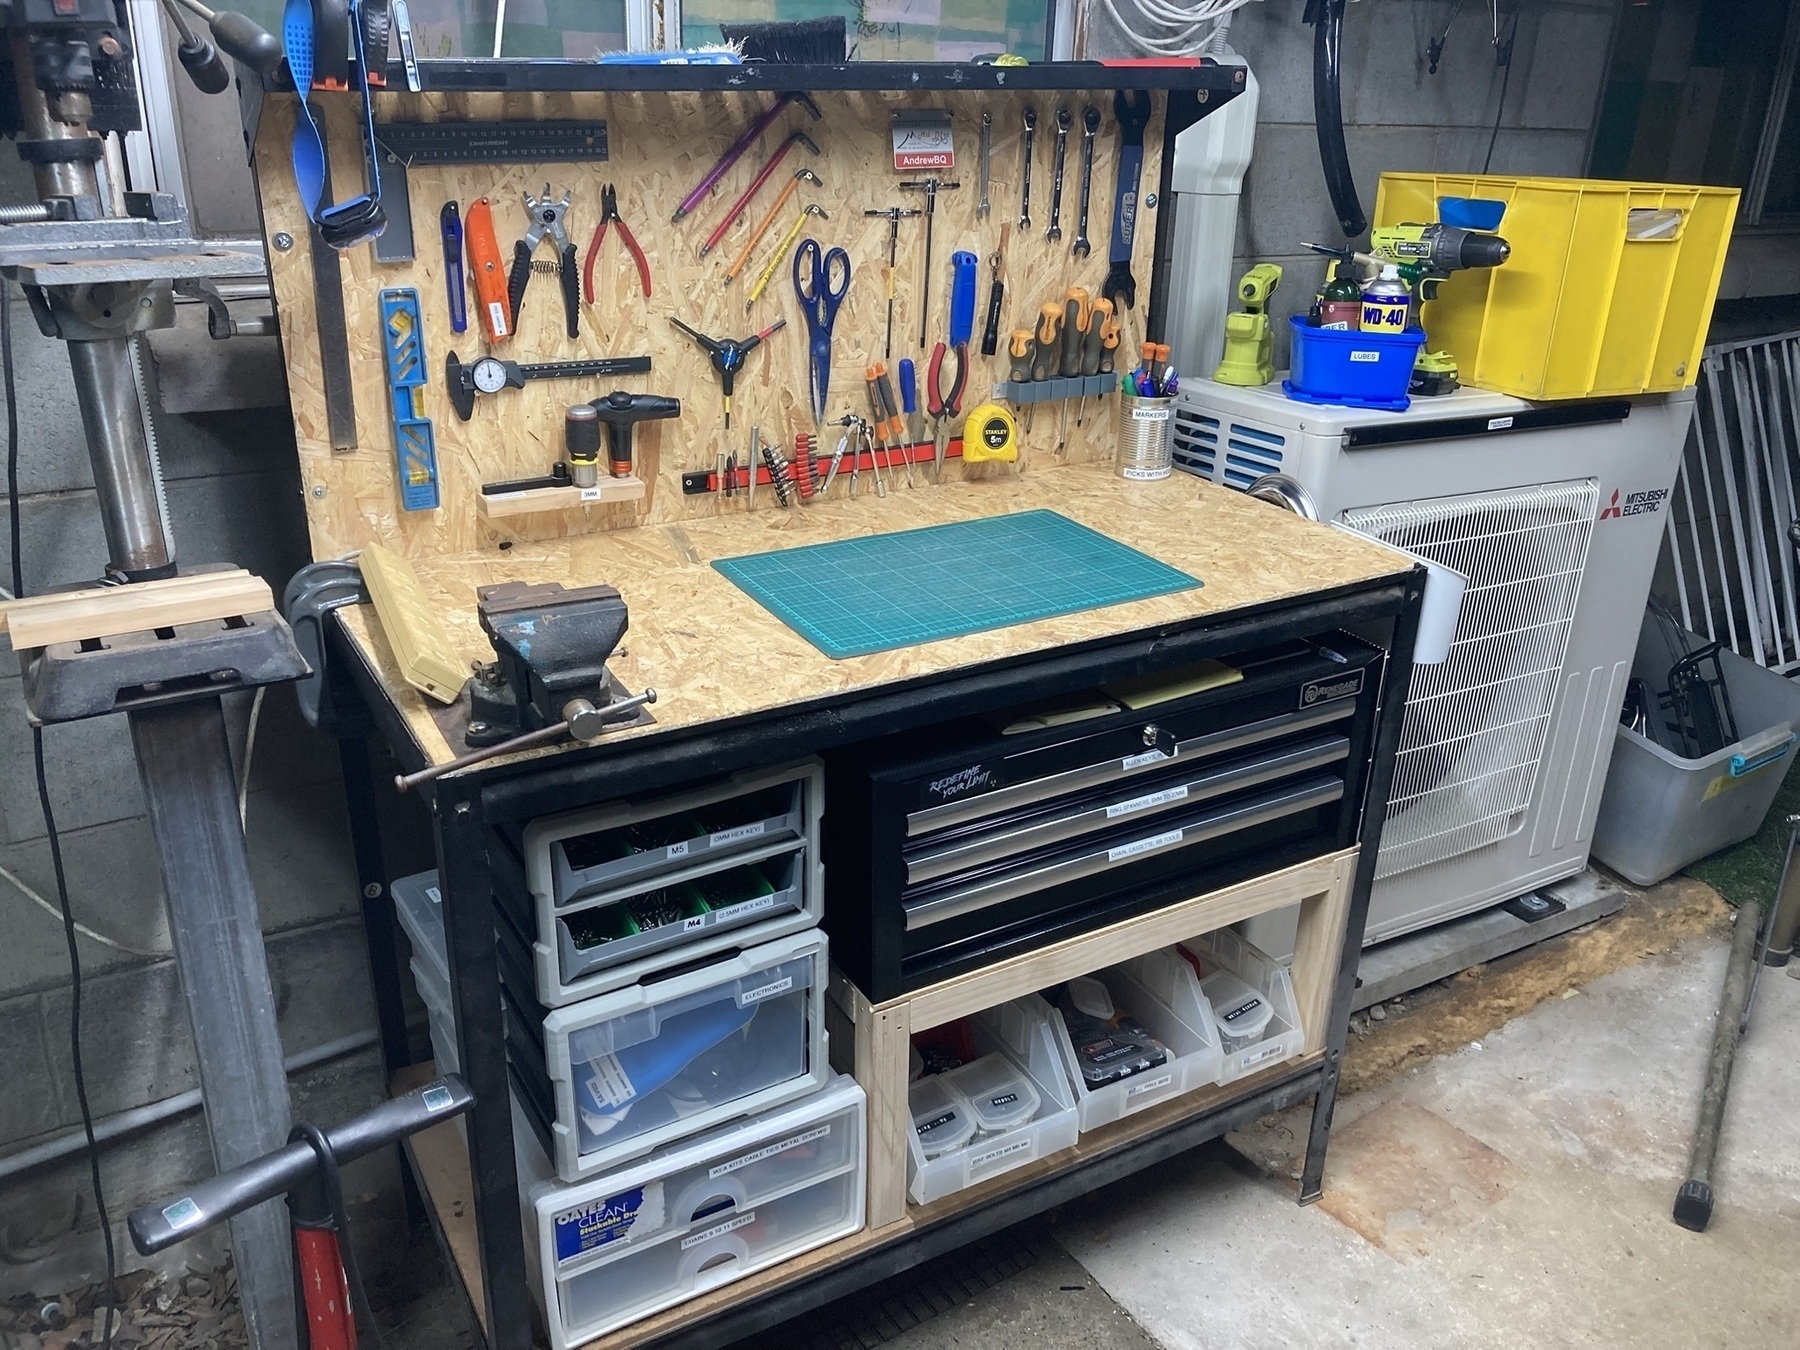
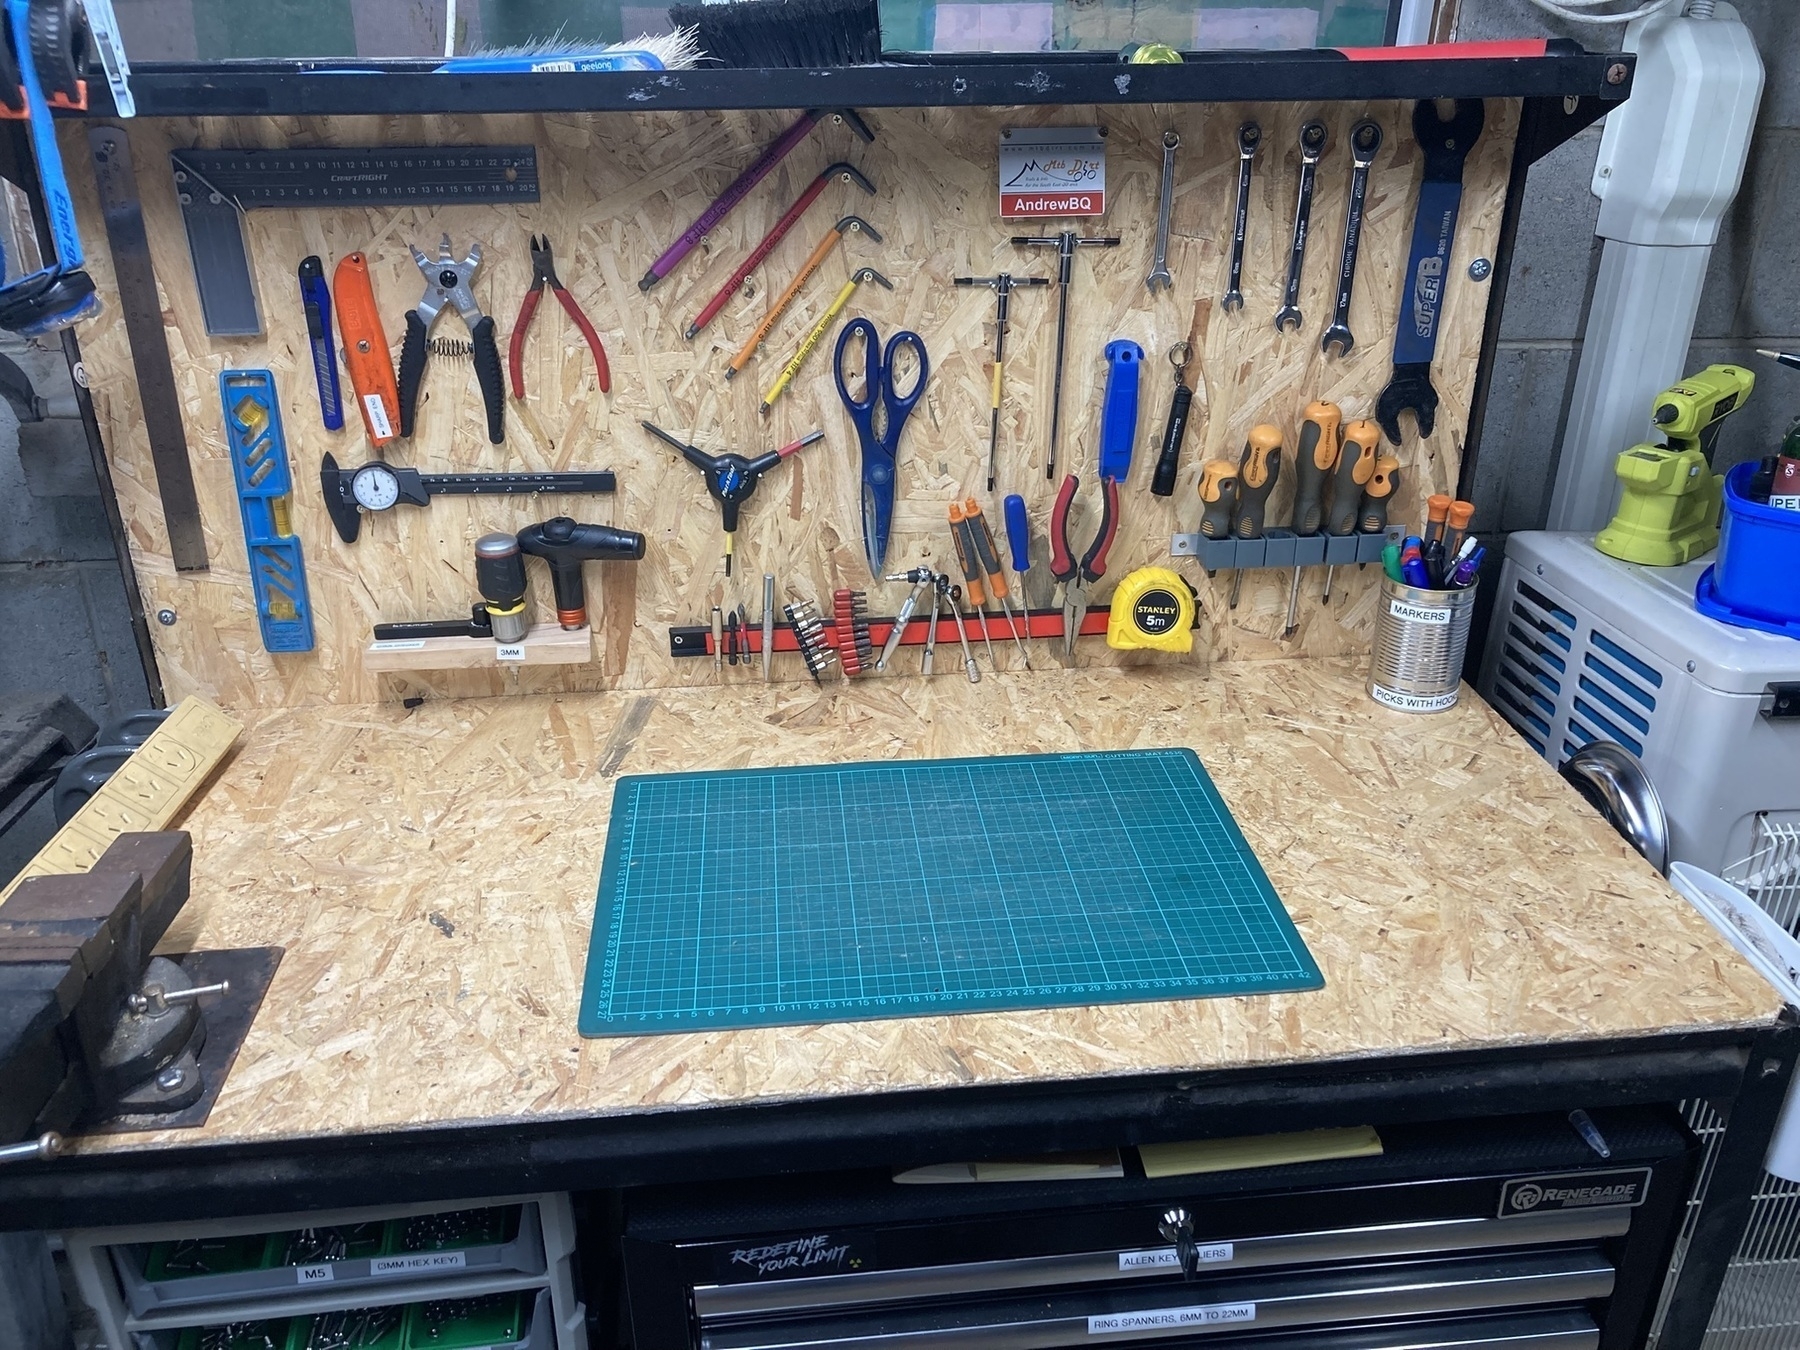
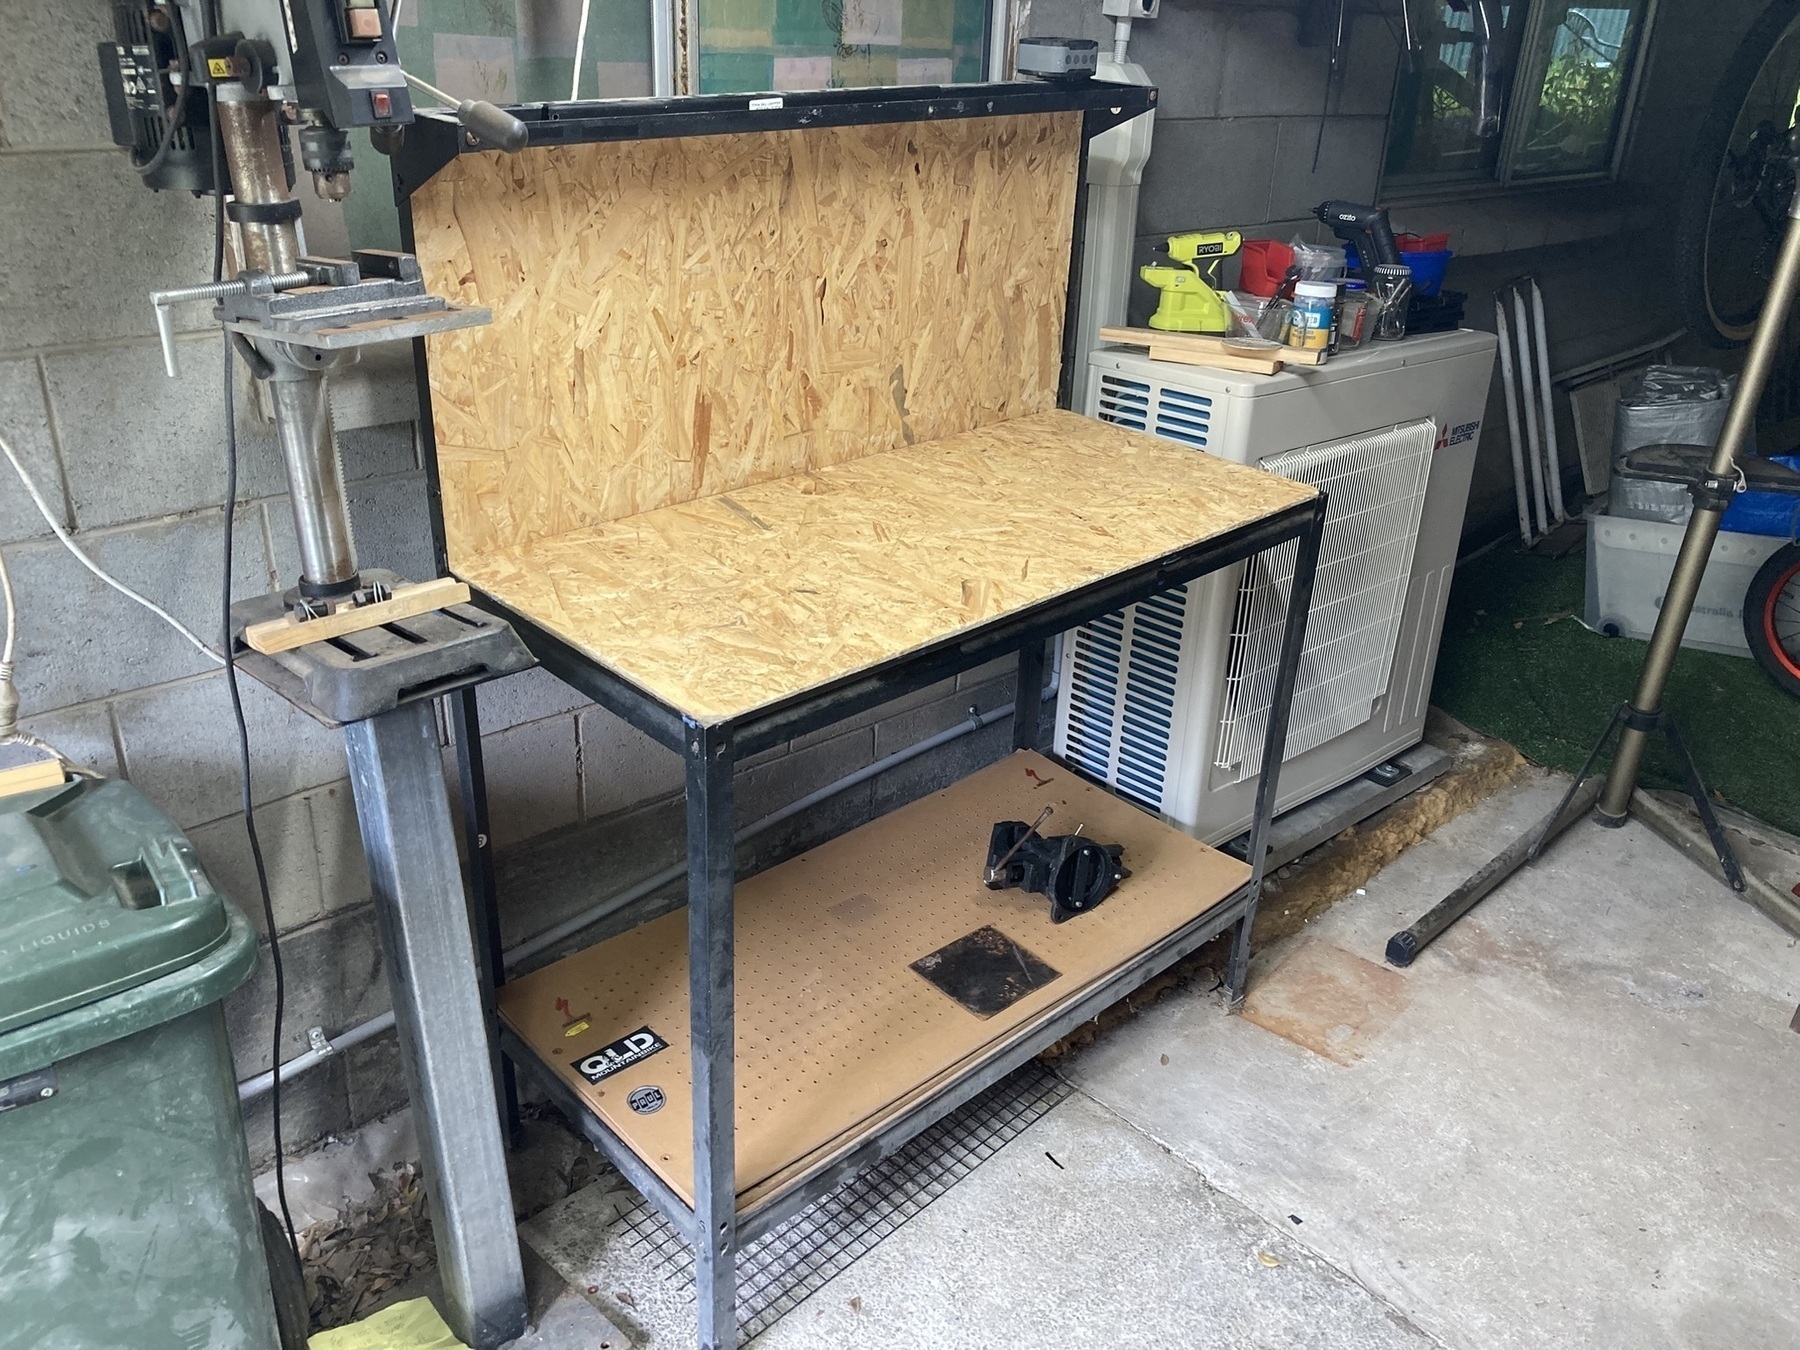
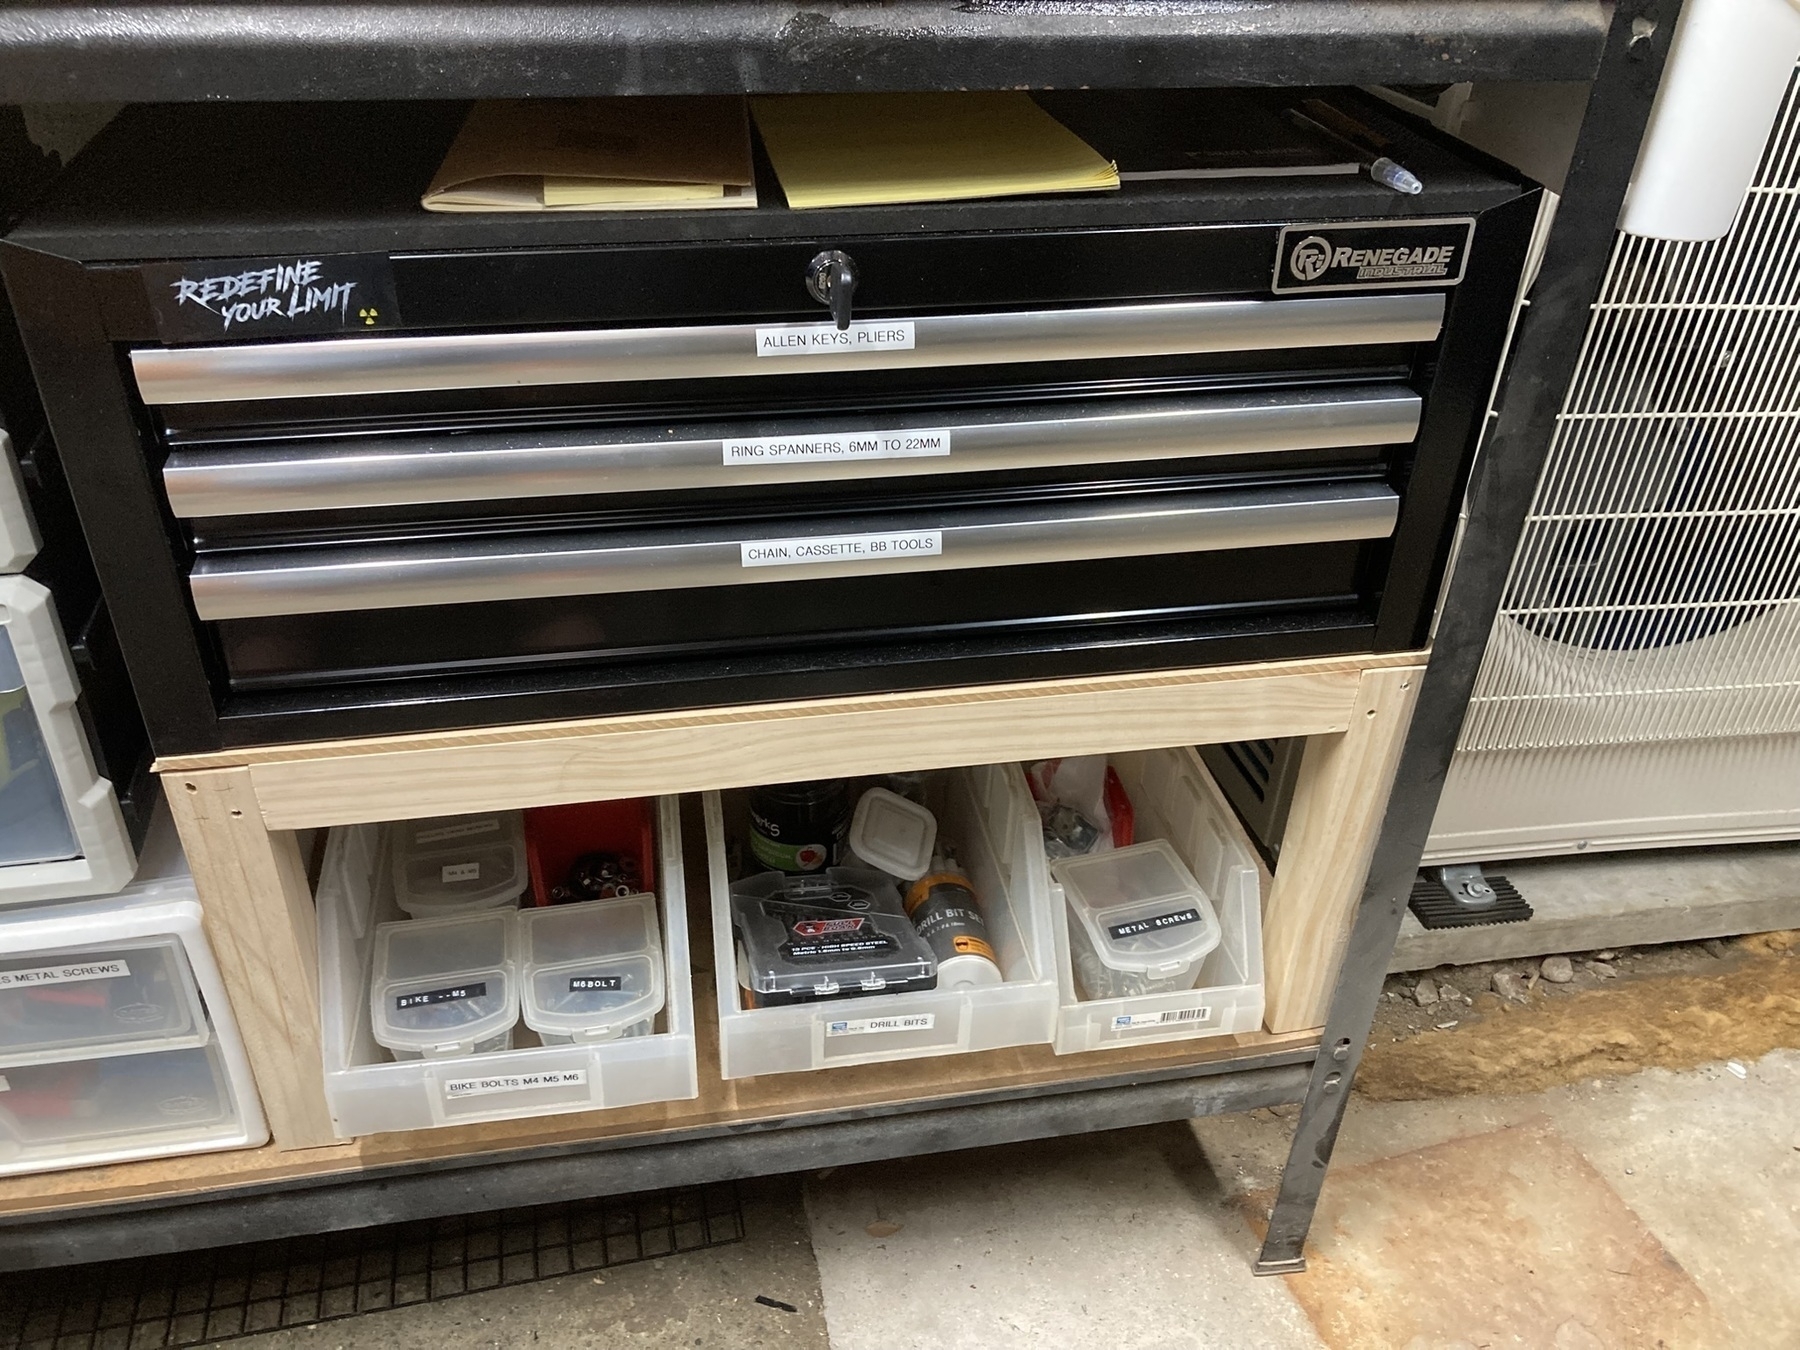 The 'highlight' here is the home-made stand the three-drawer tool chest is resting on. The simplest possible carpentry job, but doesn't mean it was that easy for me.
 Recent heavy rain fast-tracked the removal of the wooden chest of drawers that has held my tools and spare parts for about 5 years. It was never designed for the exposure to moisture that is prevalent in my bike shed.
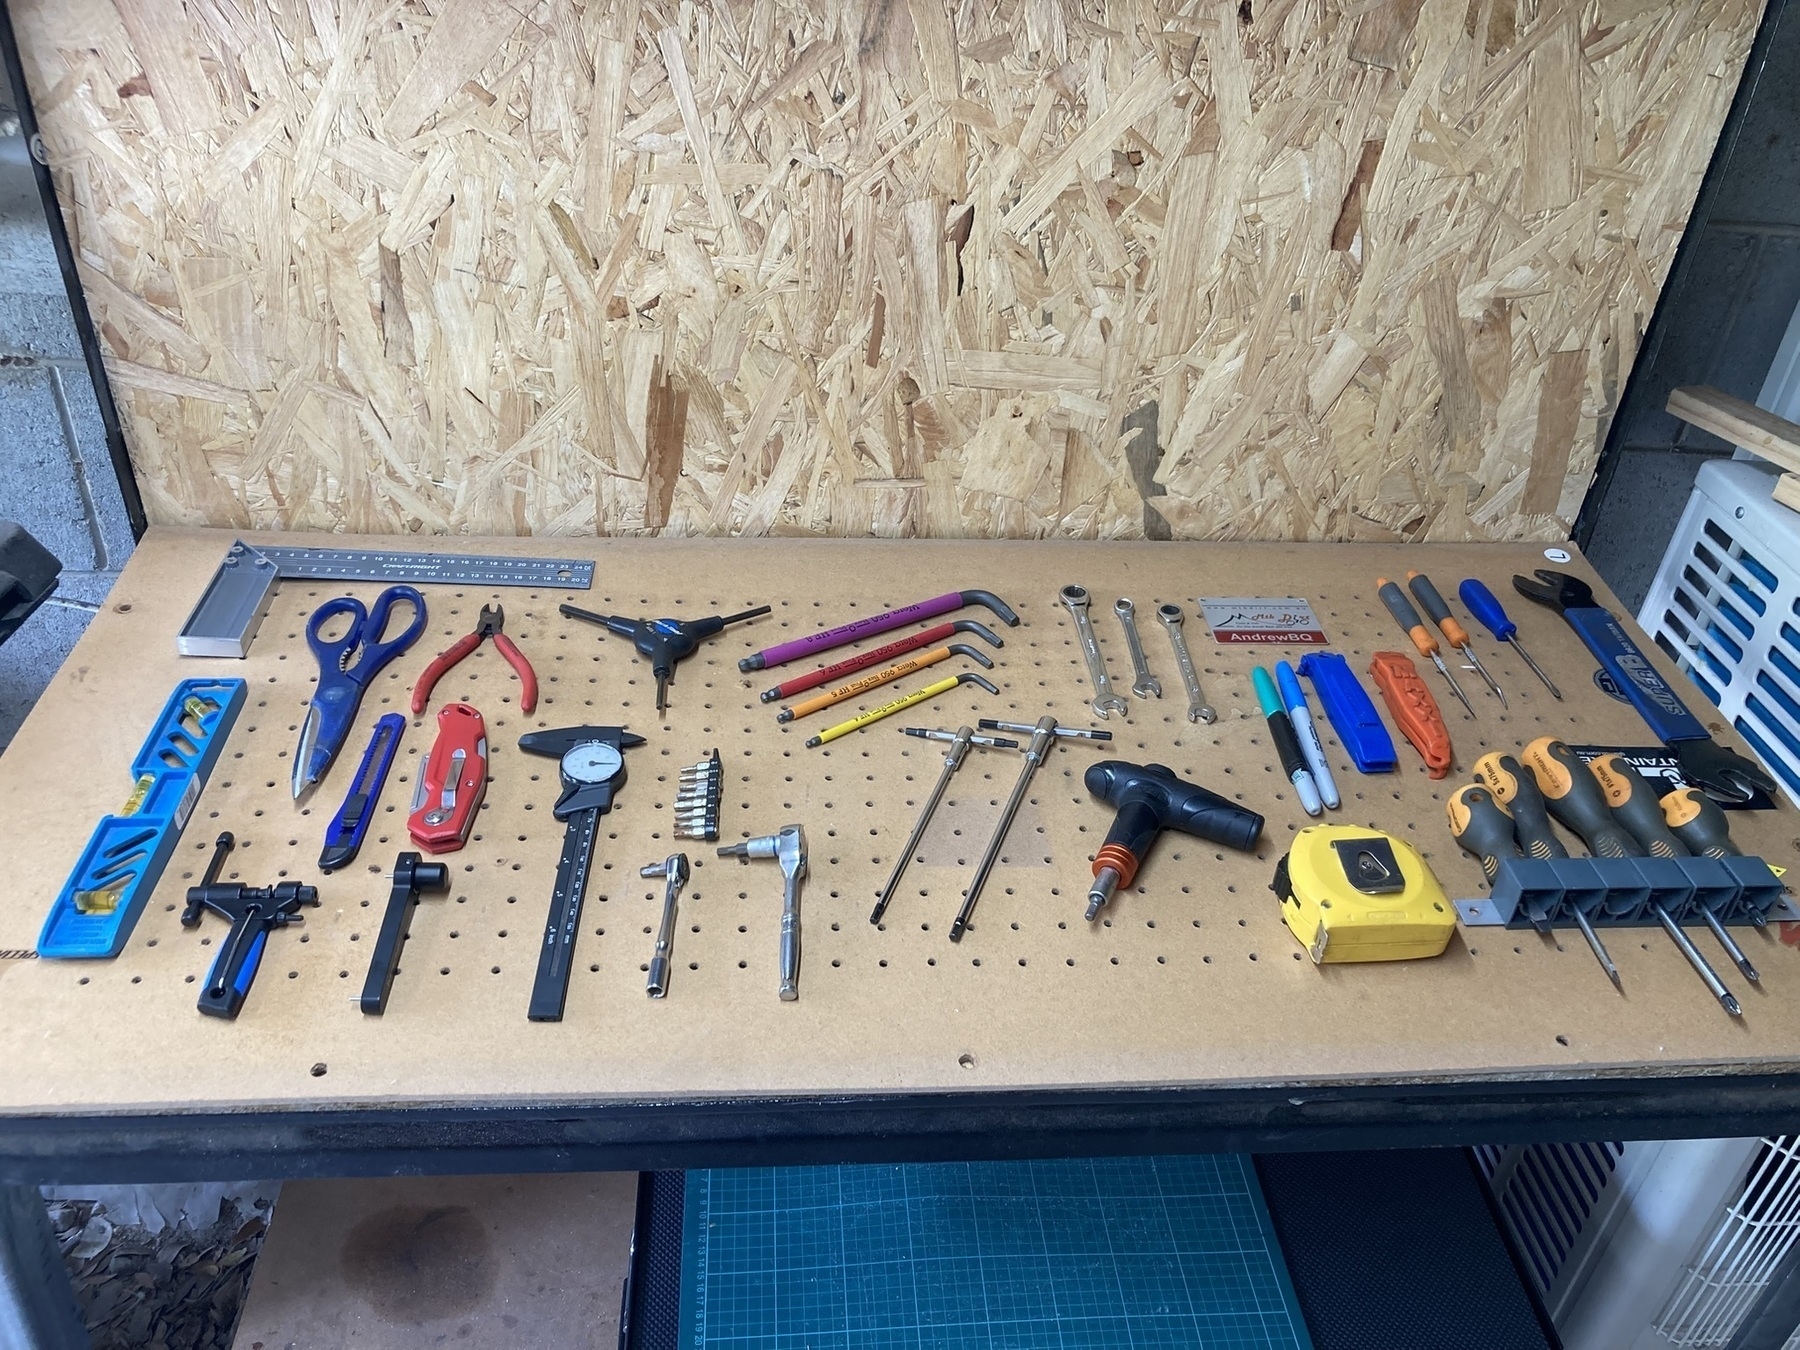
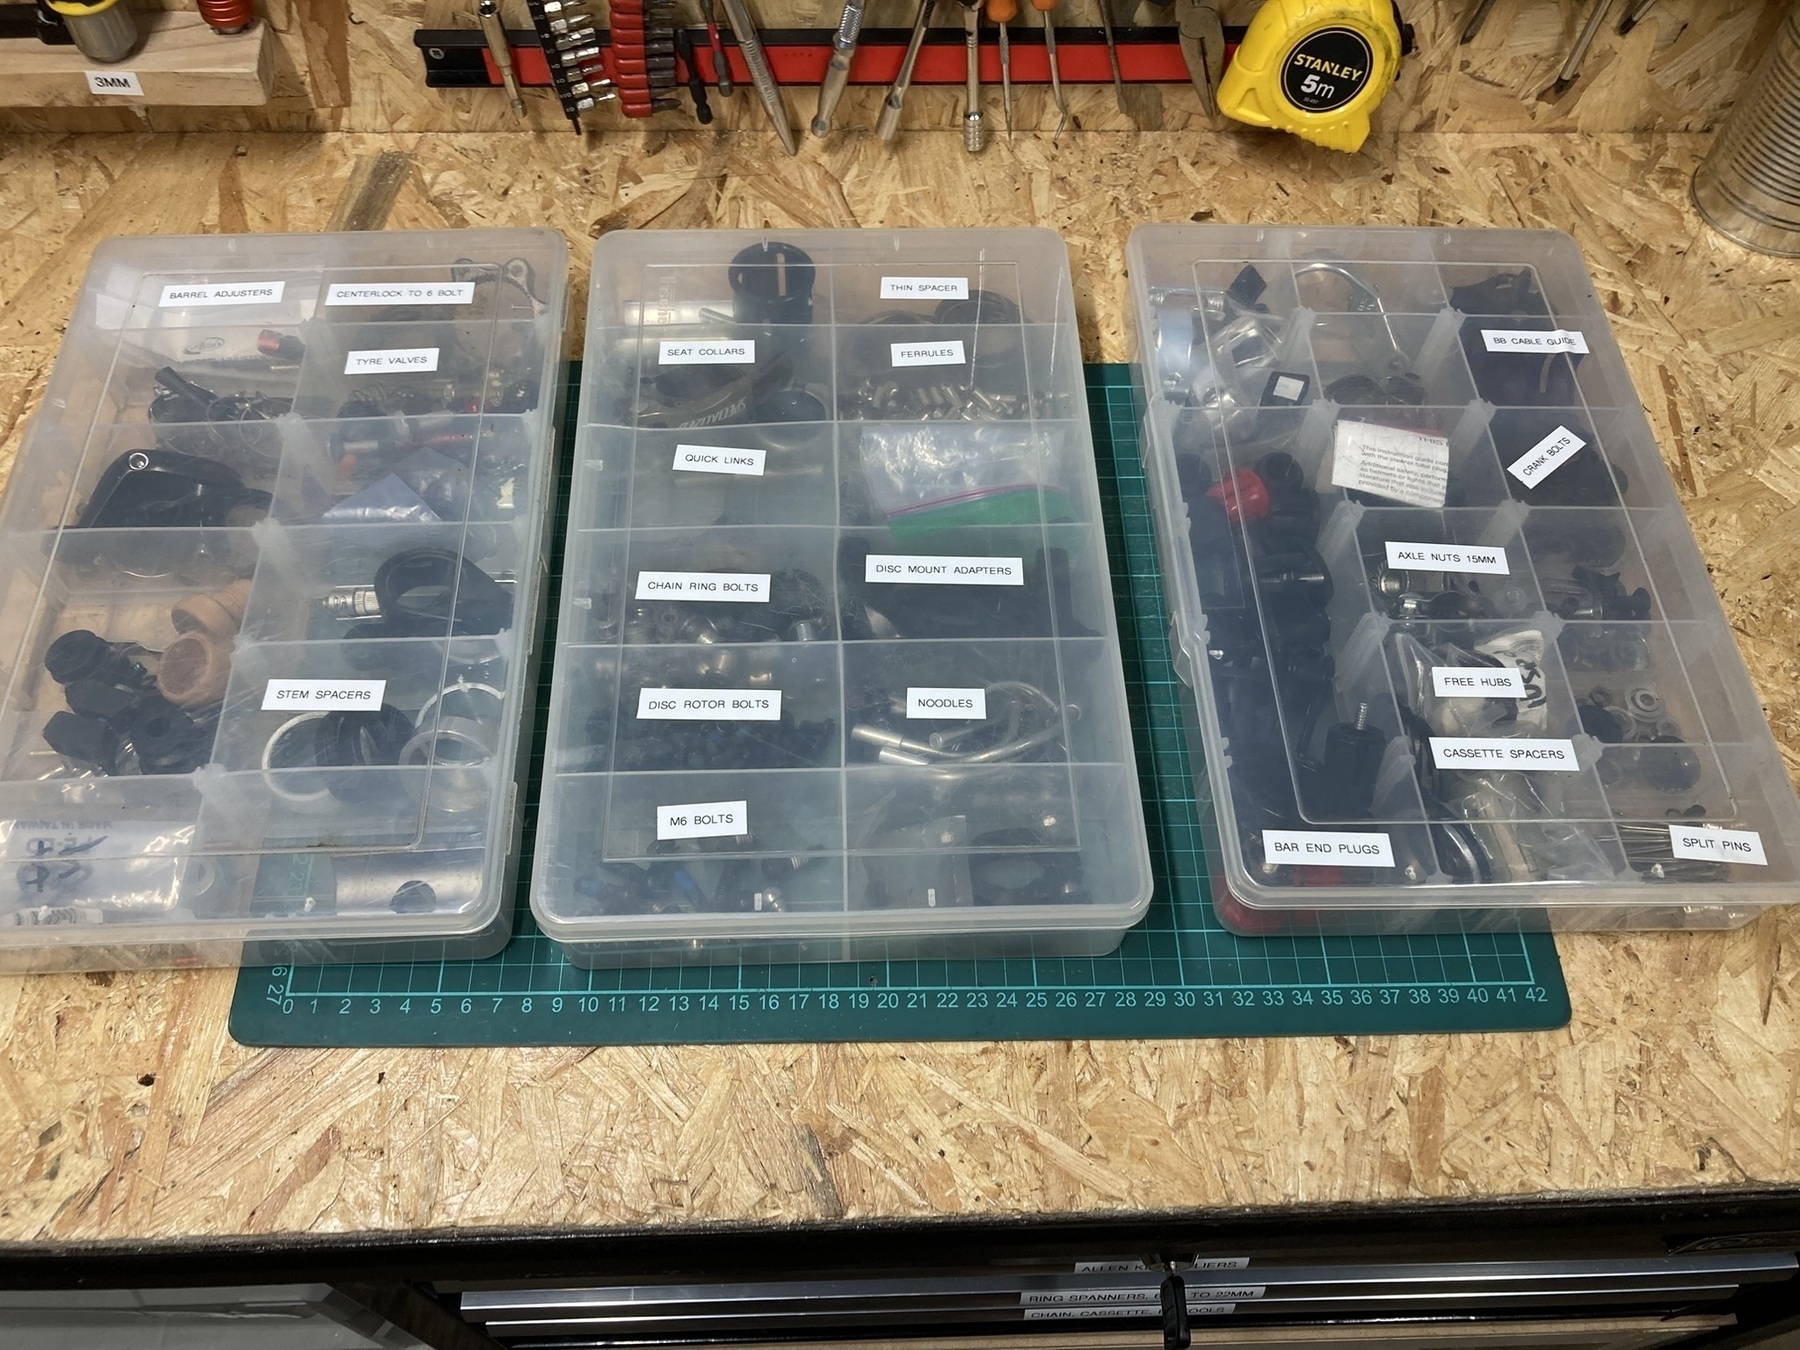 My friend Emma gave me these three sorters full of small parts one time when she was down-sizing. Here you can see what I'm like ... if I can do anything to give future me a clue about what's stored in there, it will mean that I use a part that I have, rather than jumping online to Pushys and spending money that I don't need to spend.