GQRTA Day 3 Yarraman to Kingaroy

Part 4 of 10

Previously: Day 2 Toogoolawah to Yarraman

Next: Day 4 Kingaroy to Proston

Links to data:

Distance: 52.9km
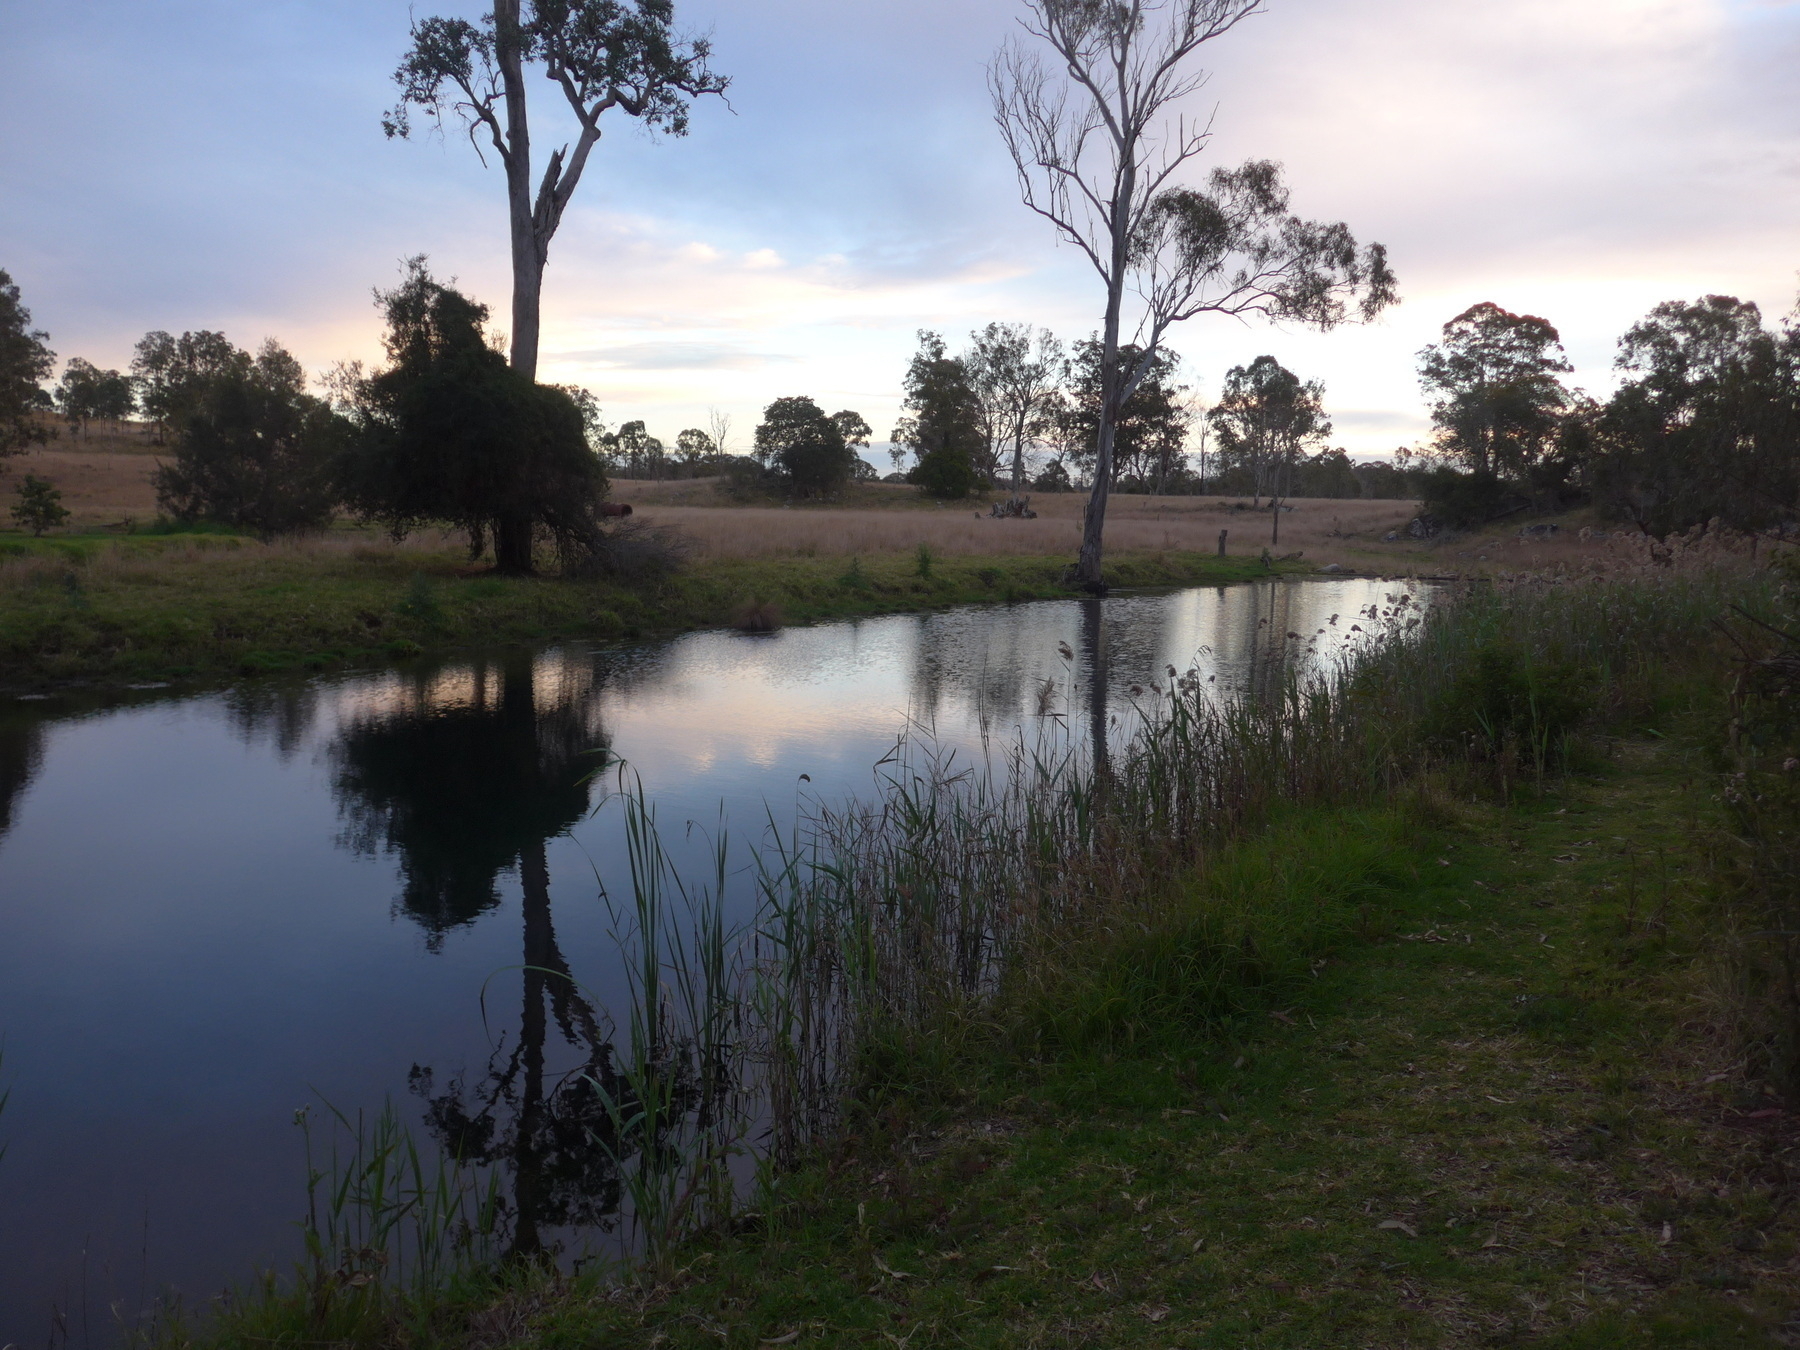
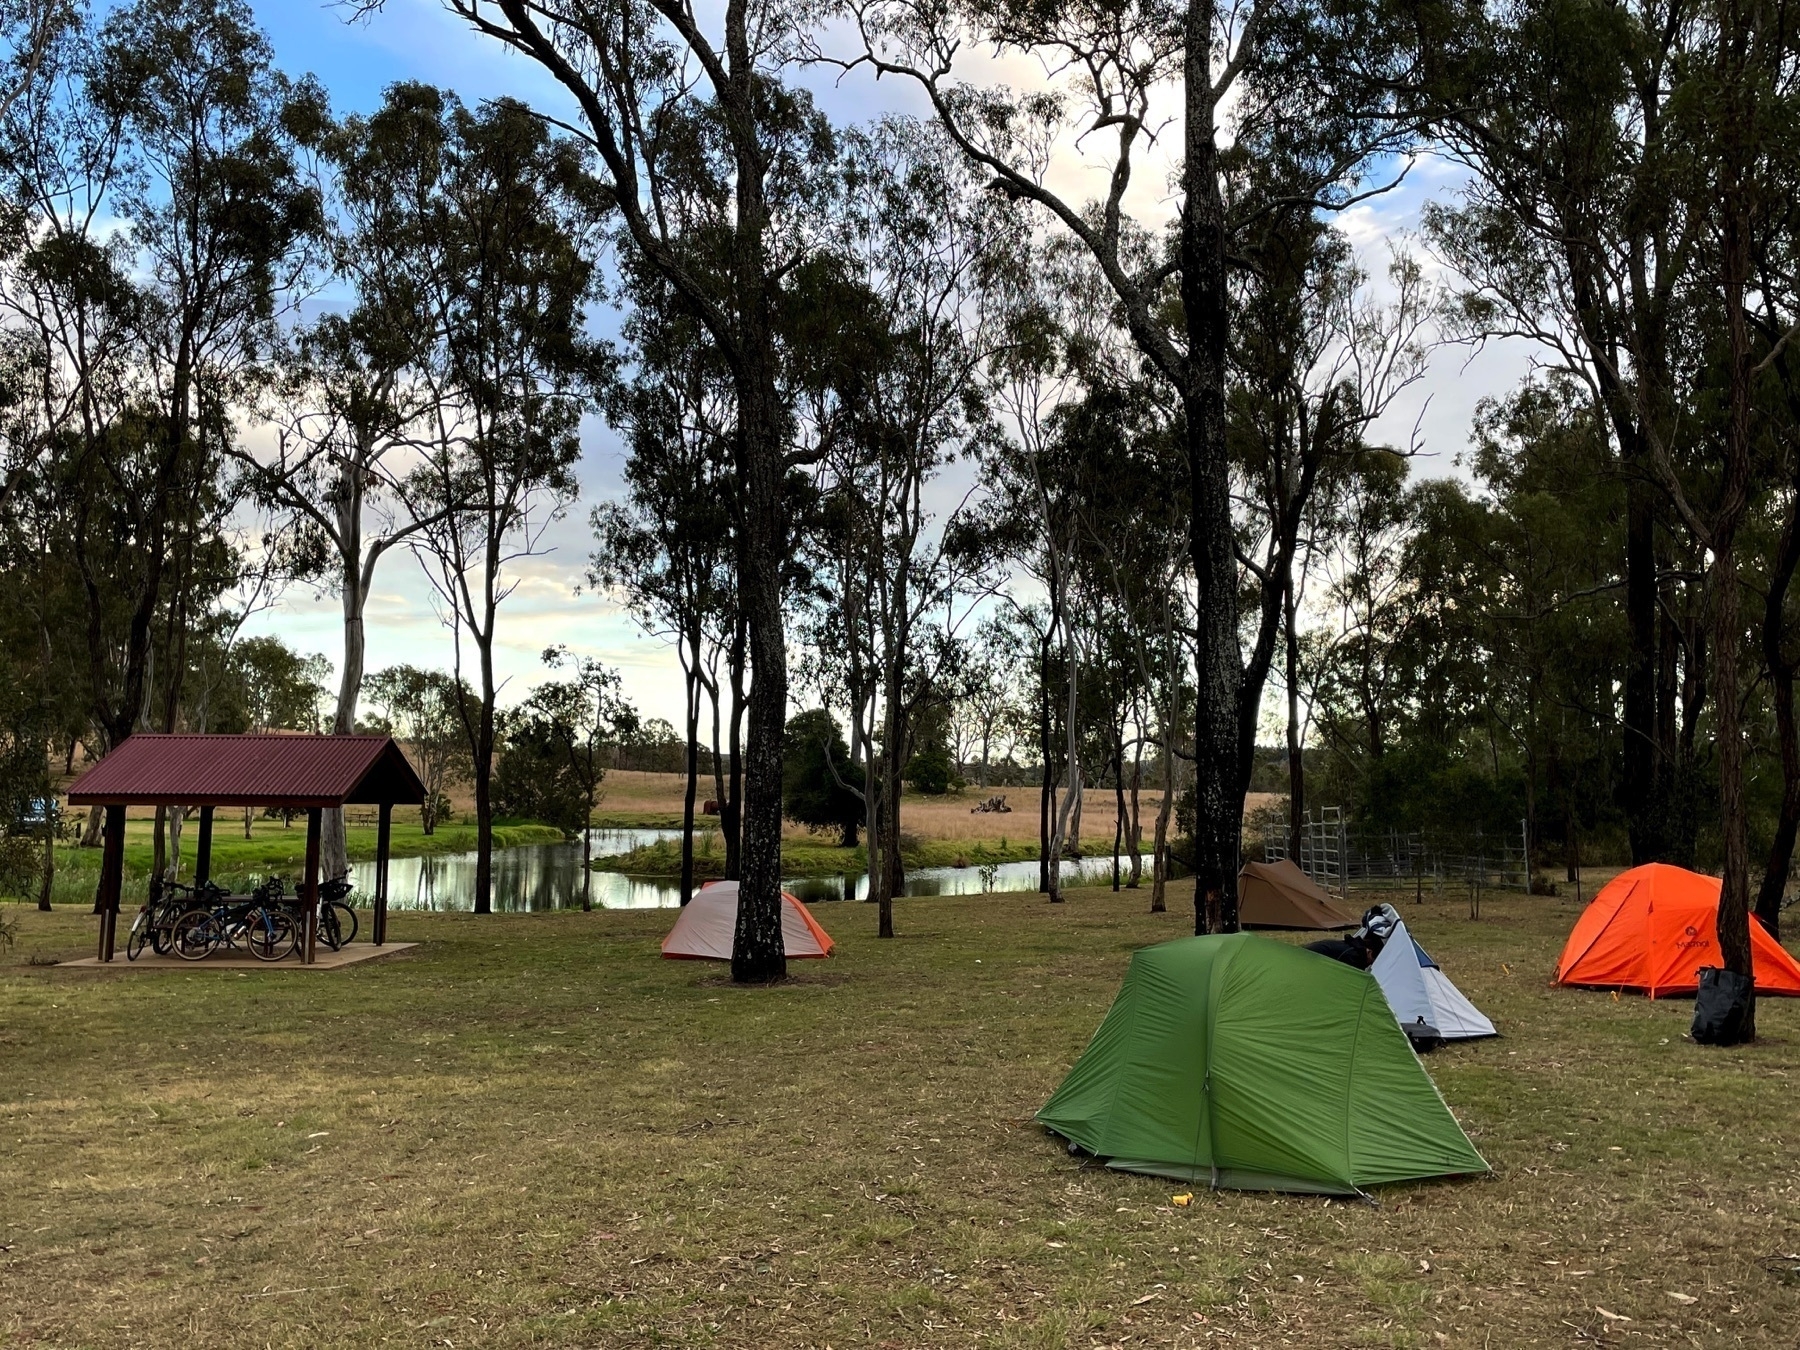
*Peaceful morning scene at Yarraman Weir.*

The route today is controversial. Not VERY controversial. Not “pineapple on pizza” levels of controversy. But there are many opinions about the “best” route from Yarraman to Kingaroy.

When the Kilkivan to Kingaroy Rail Trail opened in 2016, straightaway there were people who wanted to connect up the KKRT and the BVRT for a longer multi-day ride (I was one of those people).

Gillian Duncan and Mark Roberts who publish the wonderful book ‘Where To Mountain Bike in South-East Queensland’, also have a book on the two rail trails. They discuss the Link trail options on pages 18 and 19 of that book.

The real reason for the signed Link Trail is to make sure that touring riders go through Nanango. Retired dentist David Kenny mapped out the route in 2019 and was successful in getting a small grant from Heritage Bank to pay for the signs. David wanted to make sure that the route went through Nanango, as there were other routes being published that went via Tarong State Forest and bypassed Nanango altogether.

Well, I like Nanango as a town, so there was no way I was going to bypass it. And added to that was the fact that we weren’t heading back into Yarraman for breakfast, as the Link Trail heads east past our overnight spot at Yarraman Weir before turning north on Din Din Road, a.k.a. the old stock route.
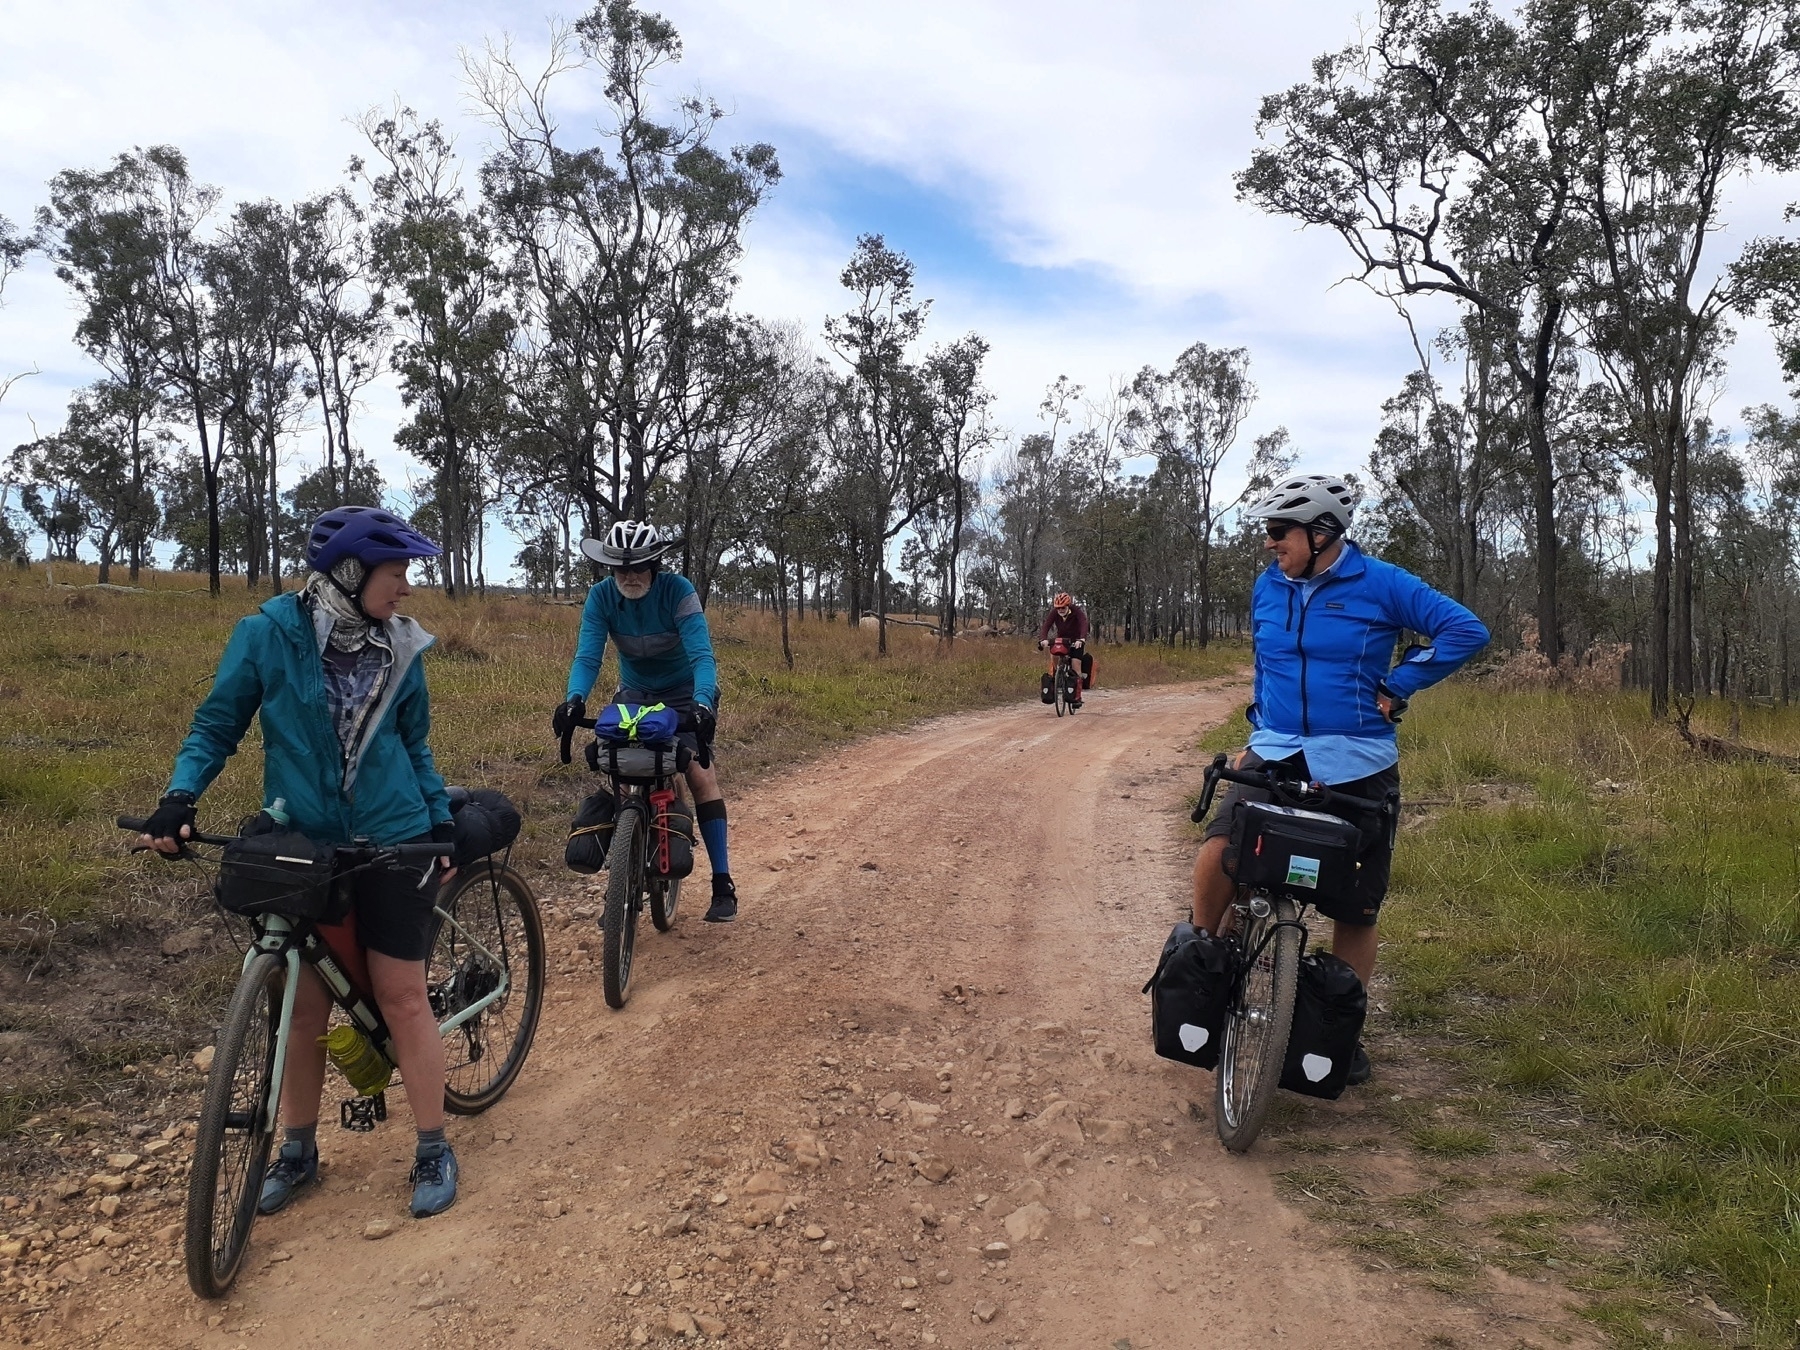
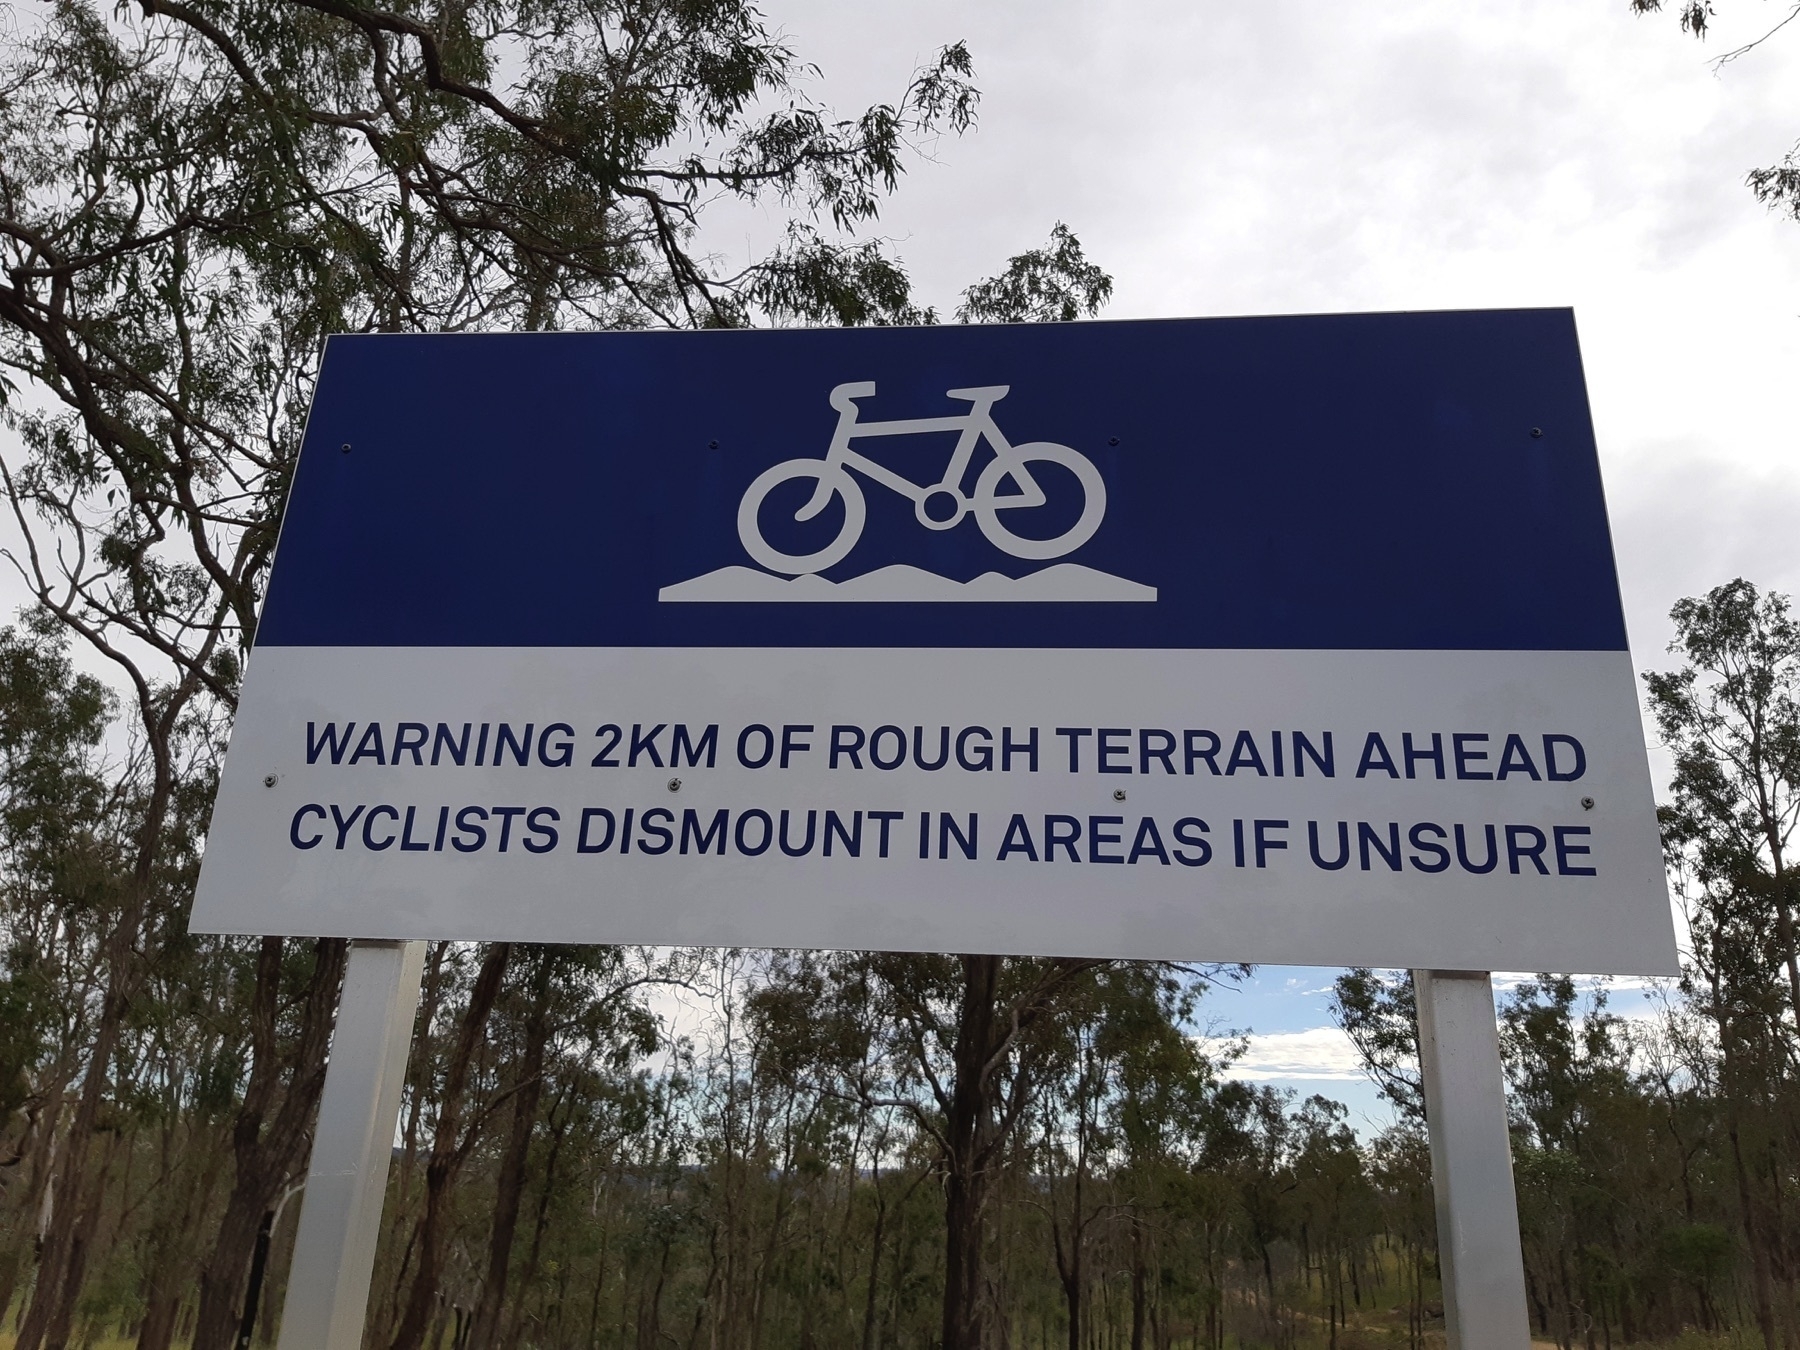
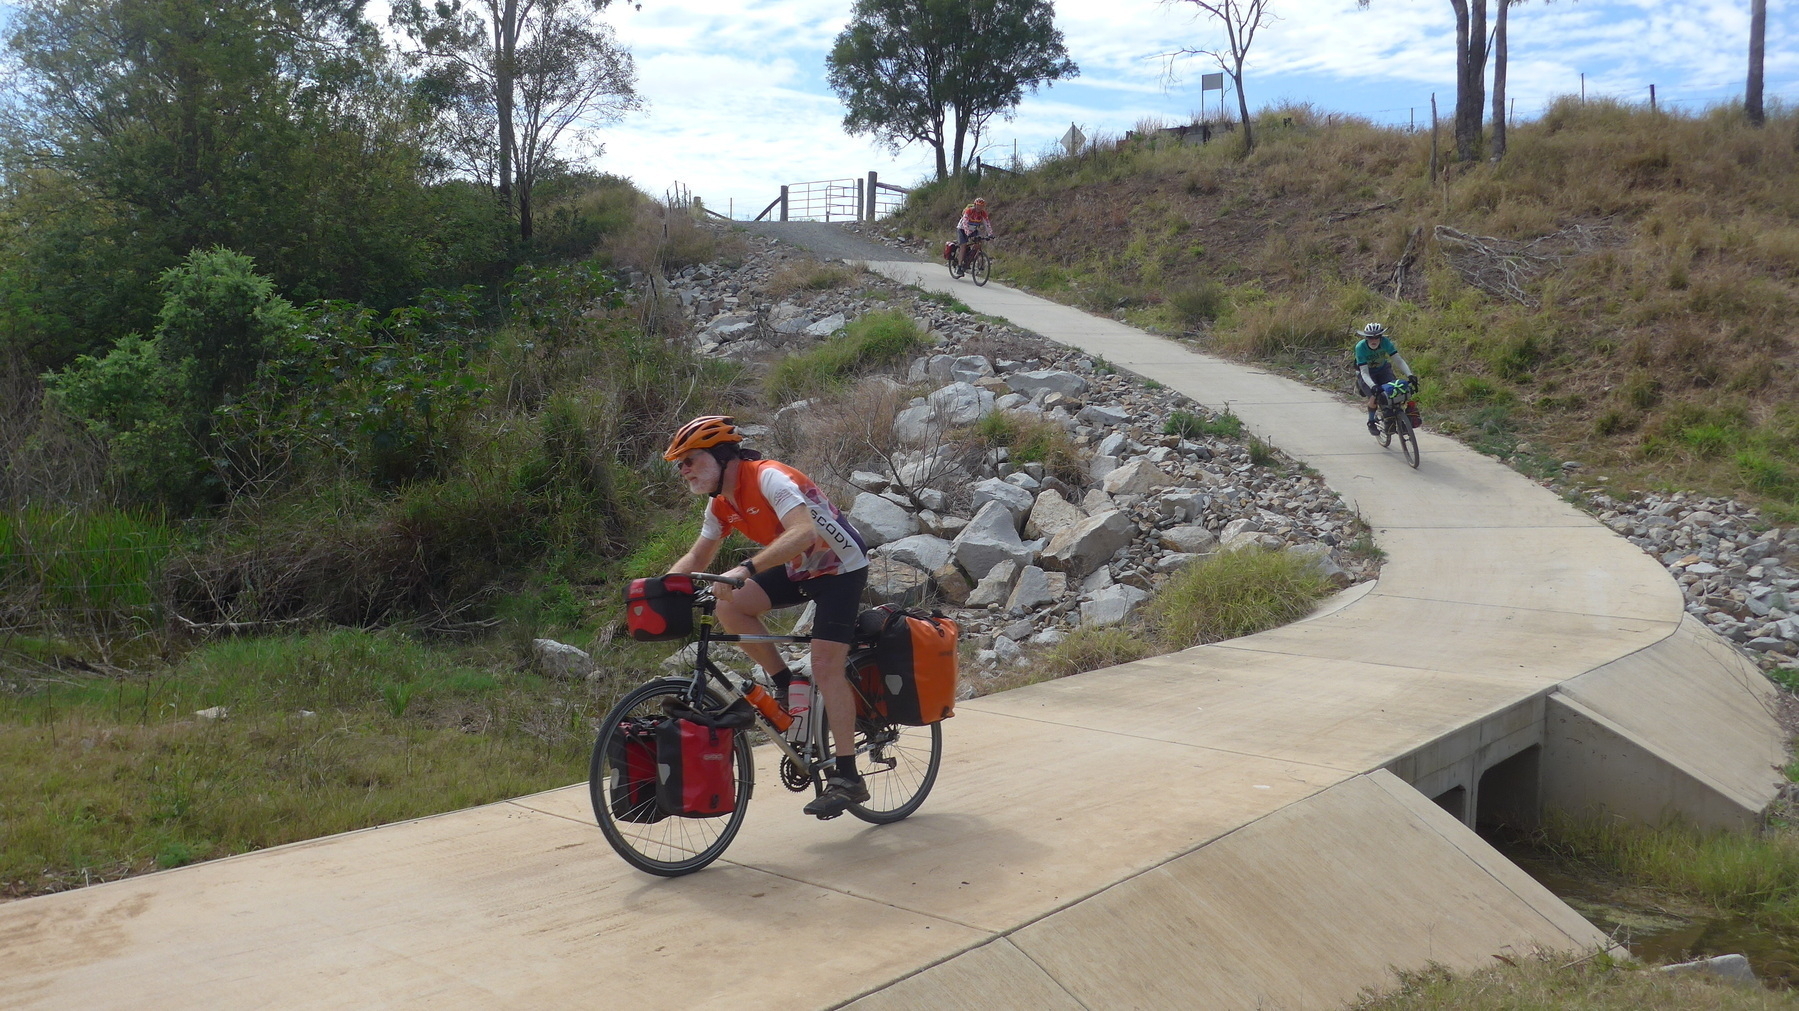
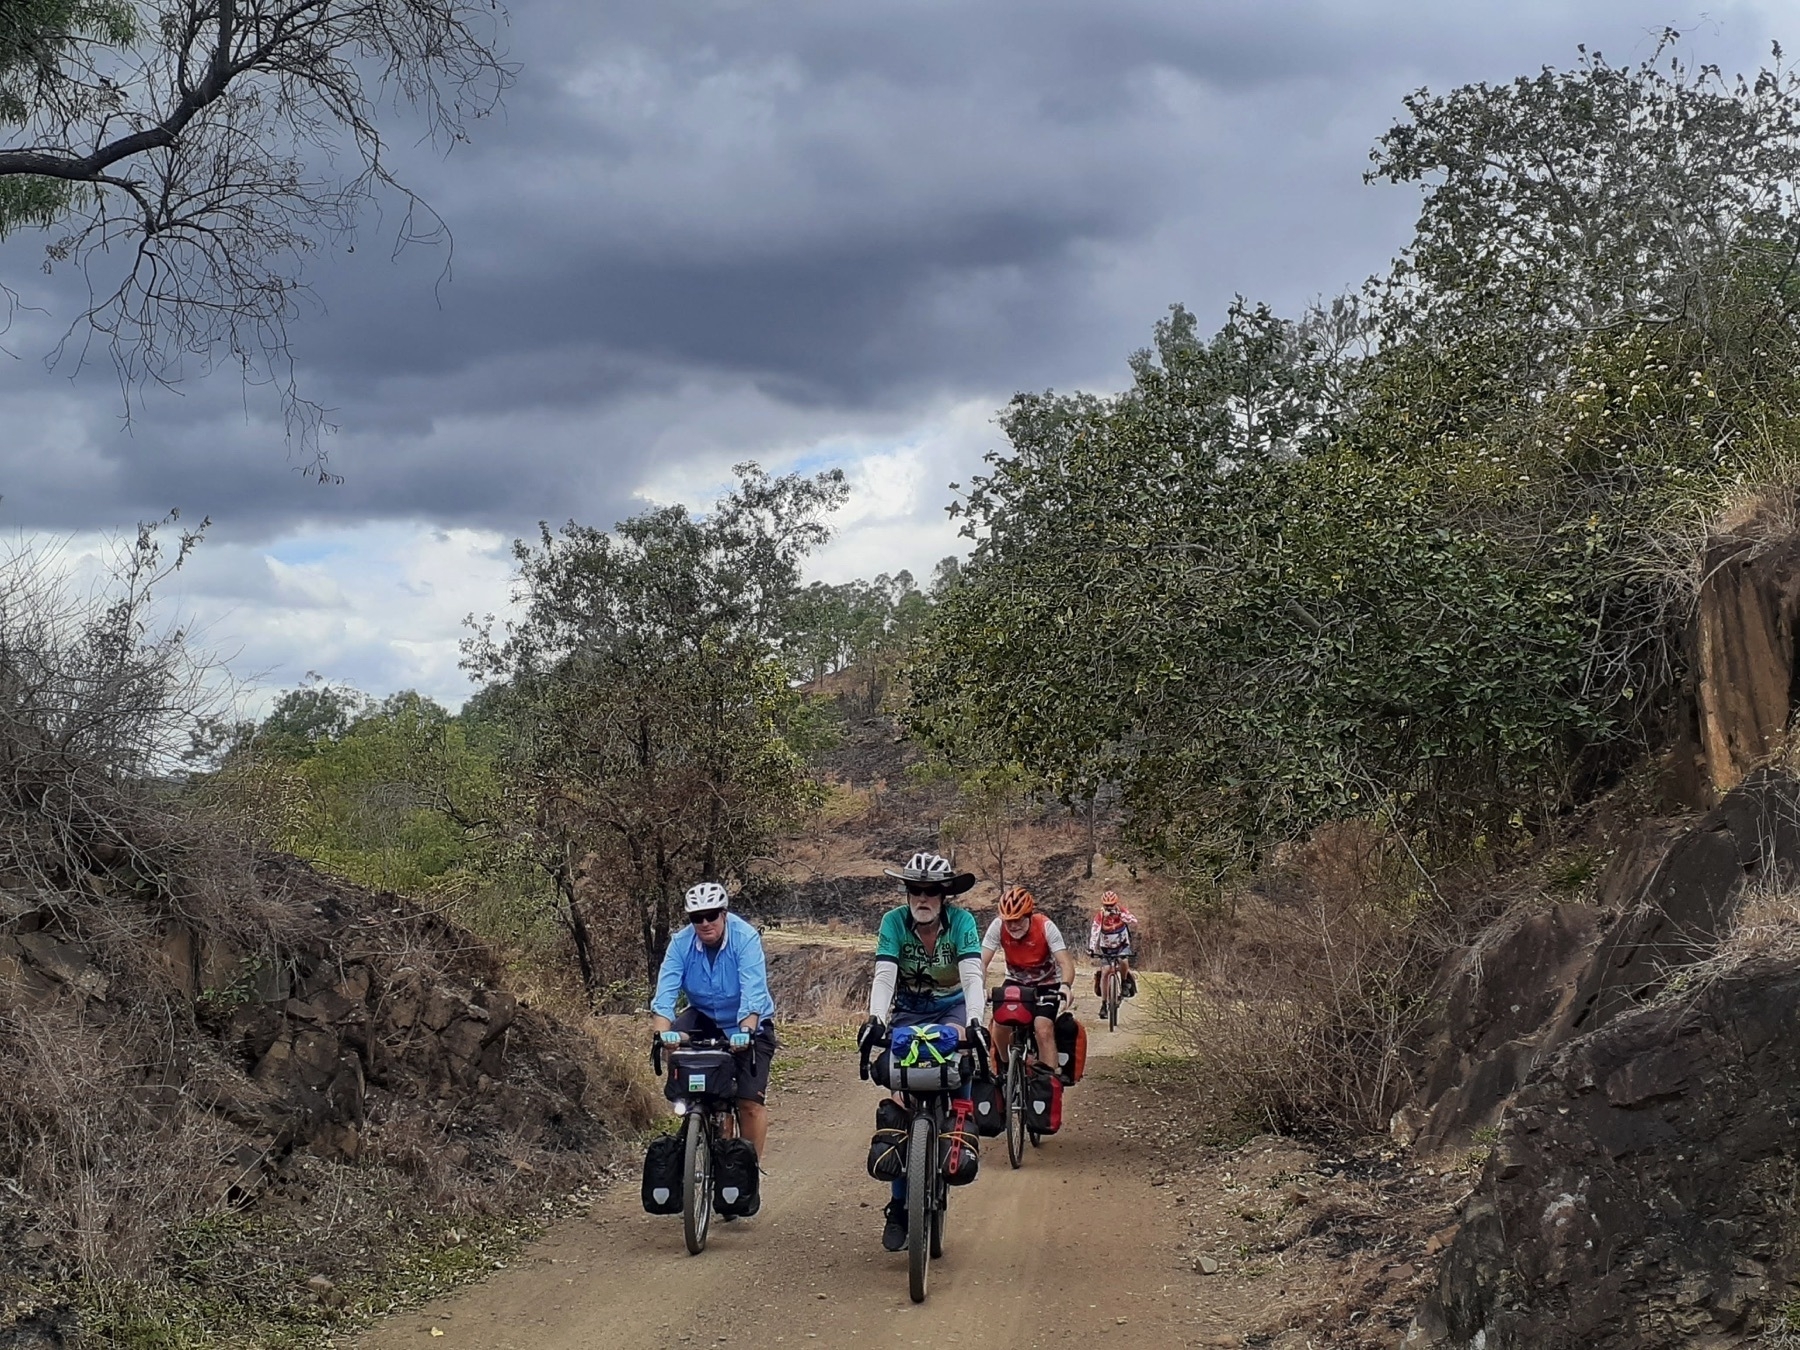
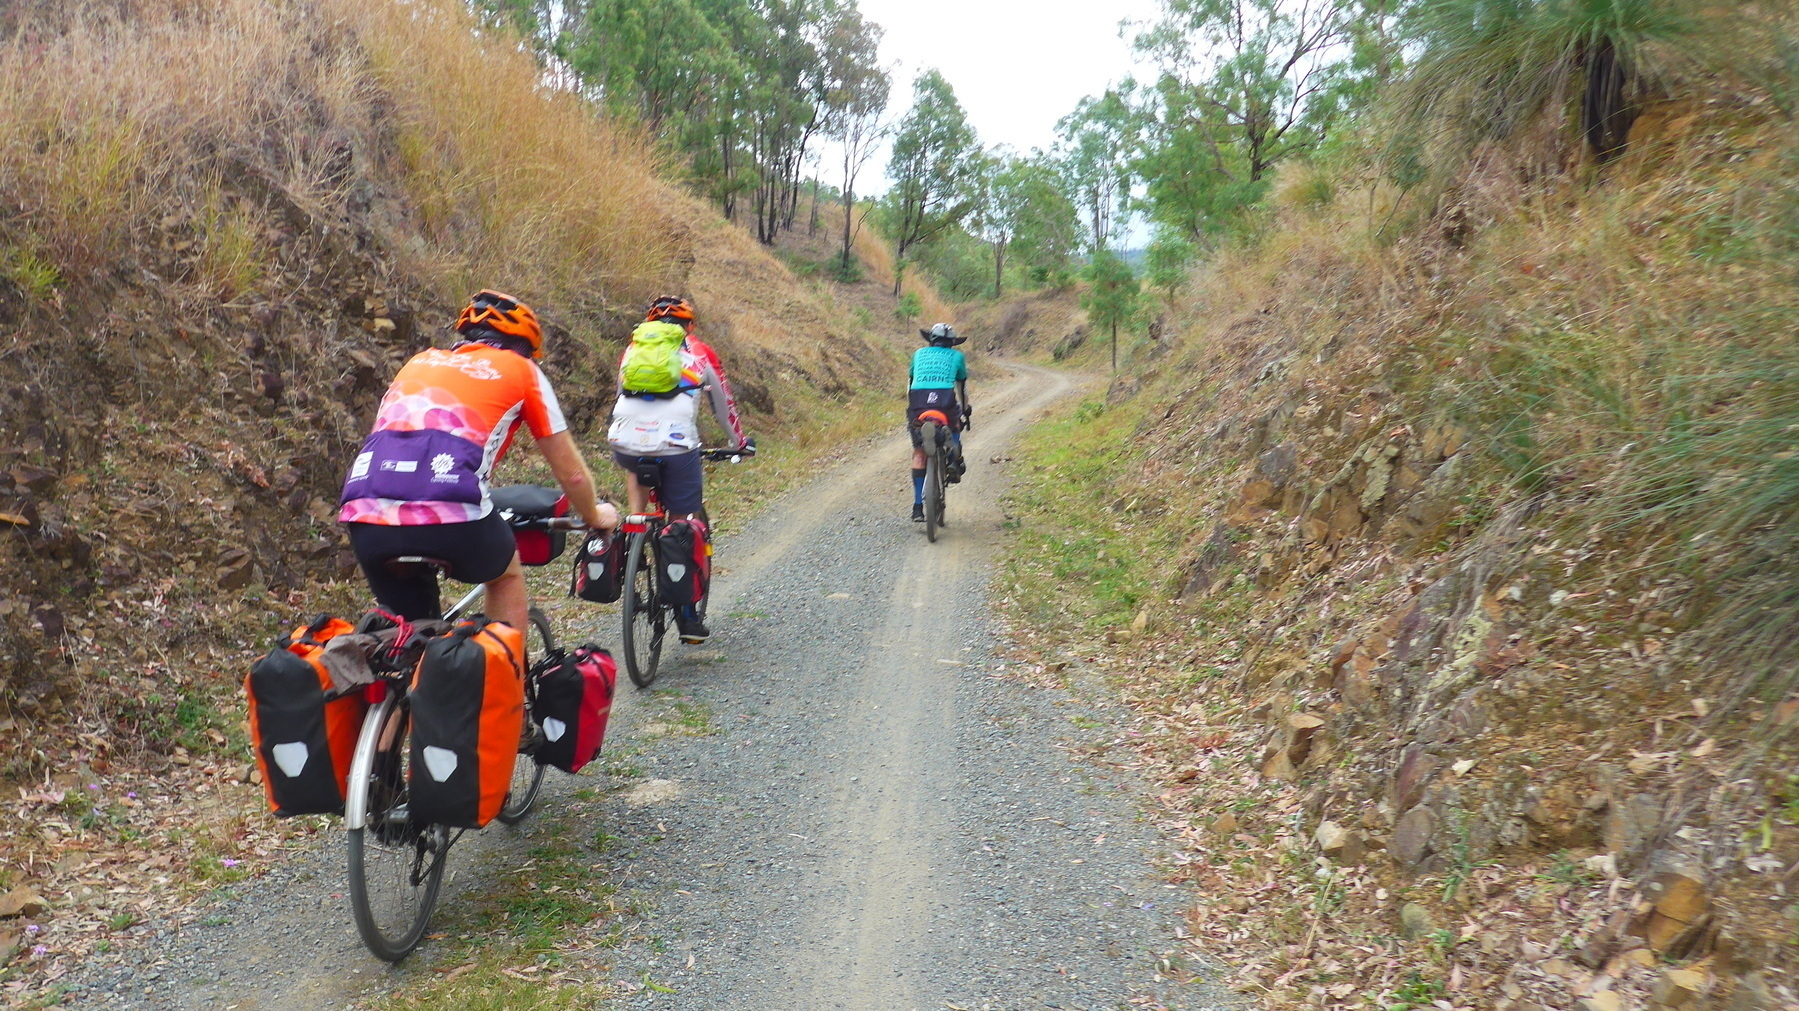
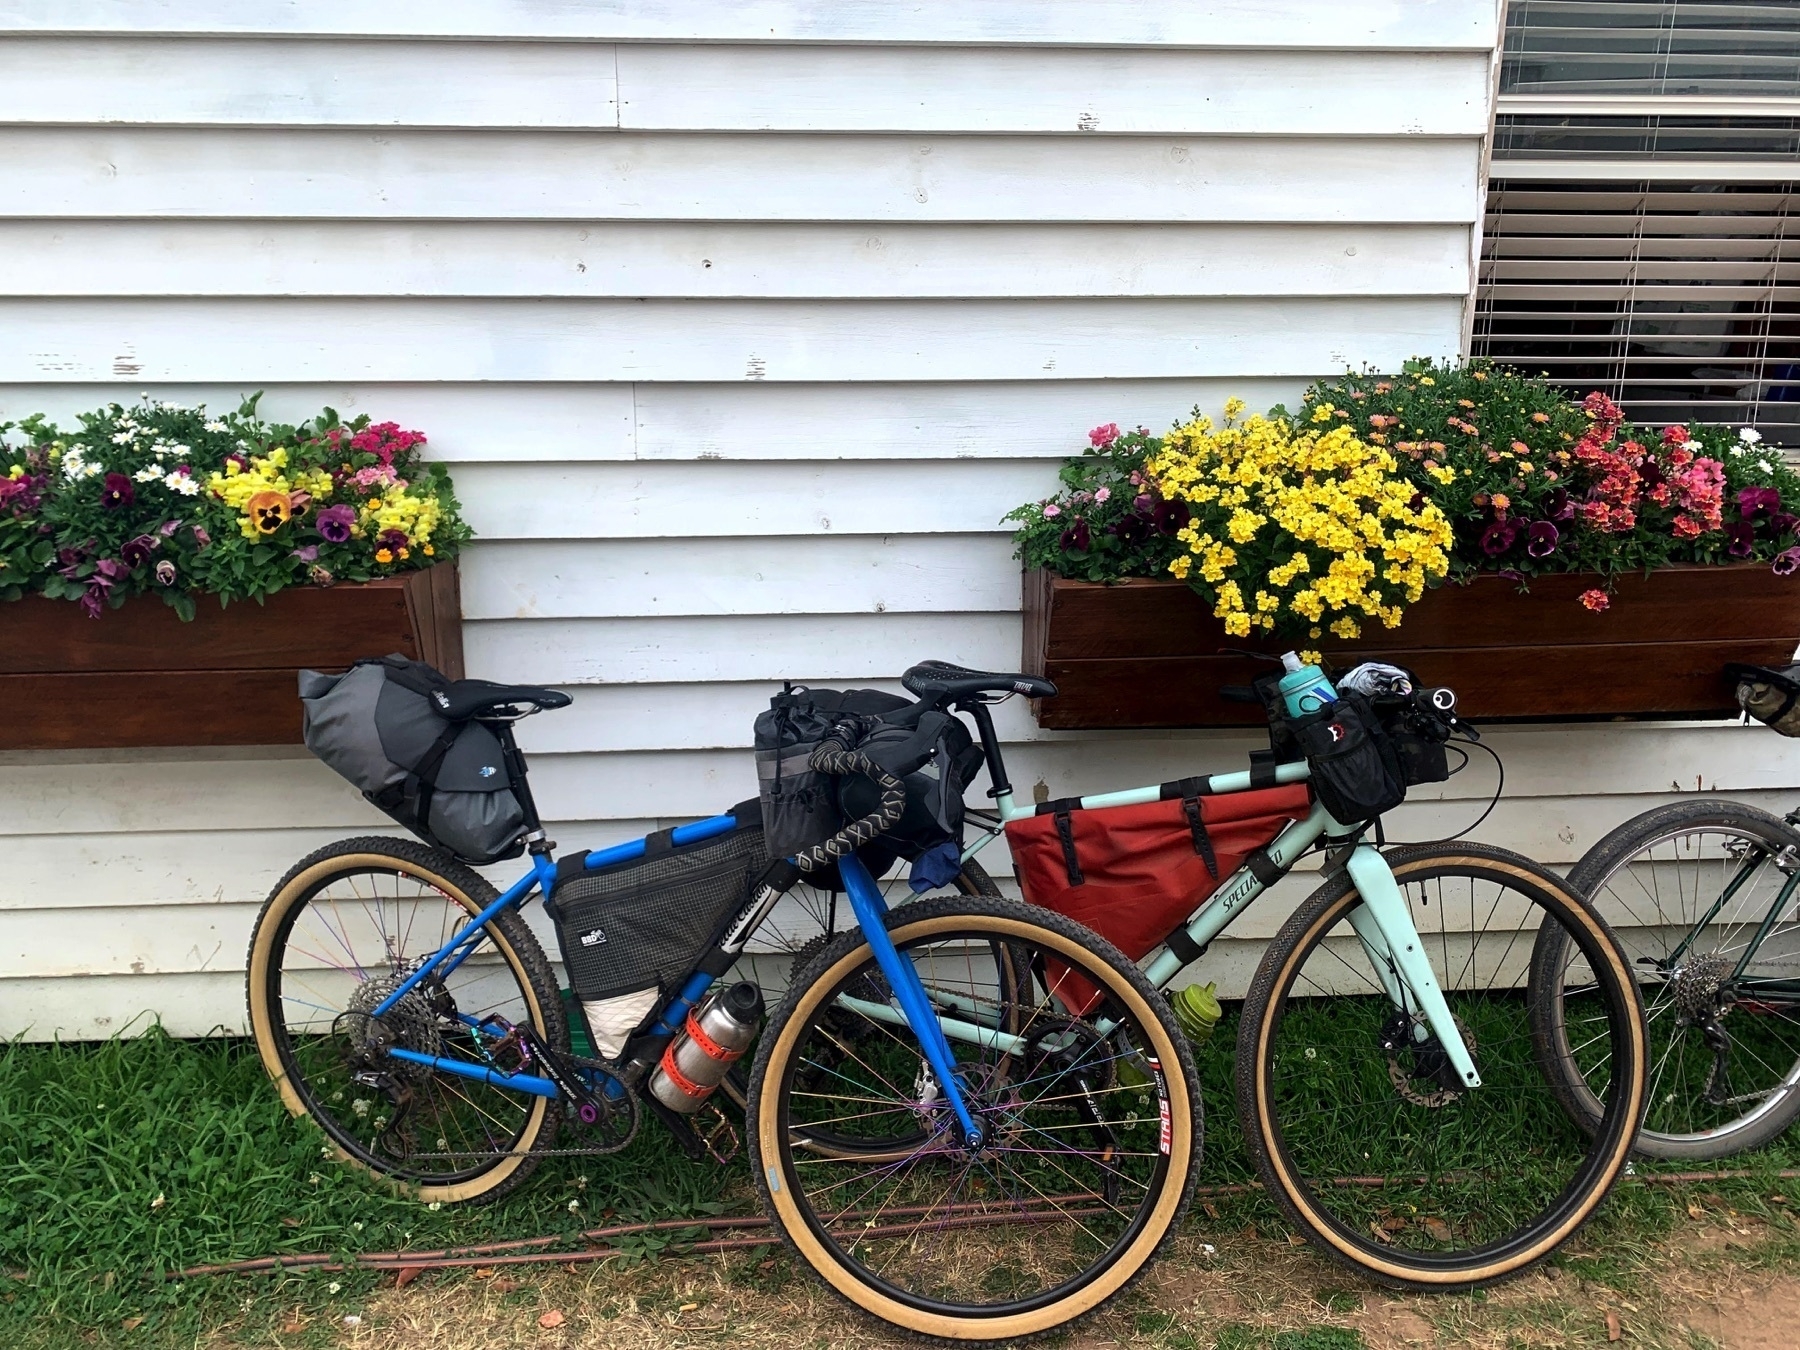
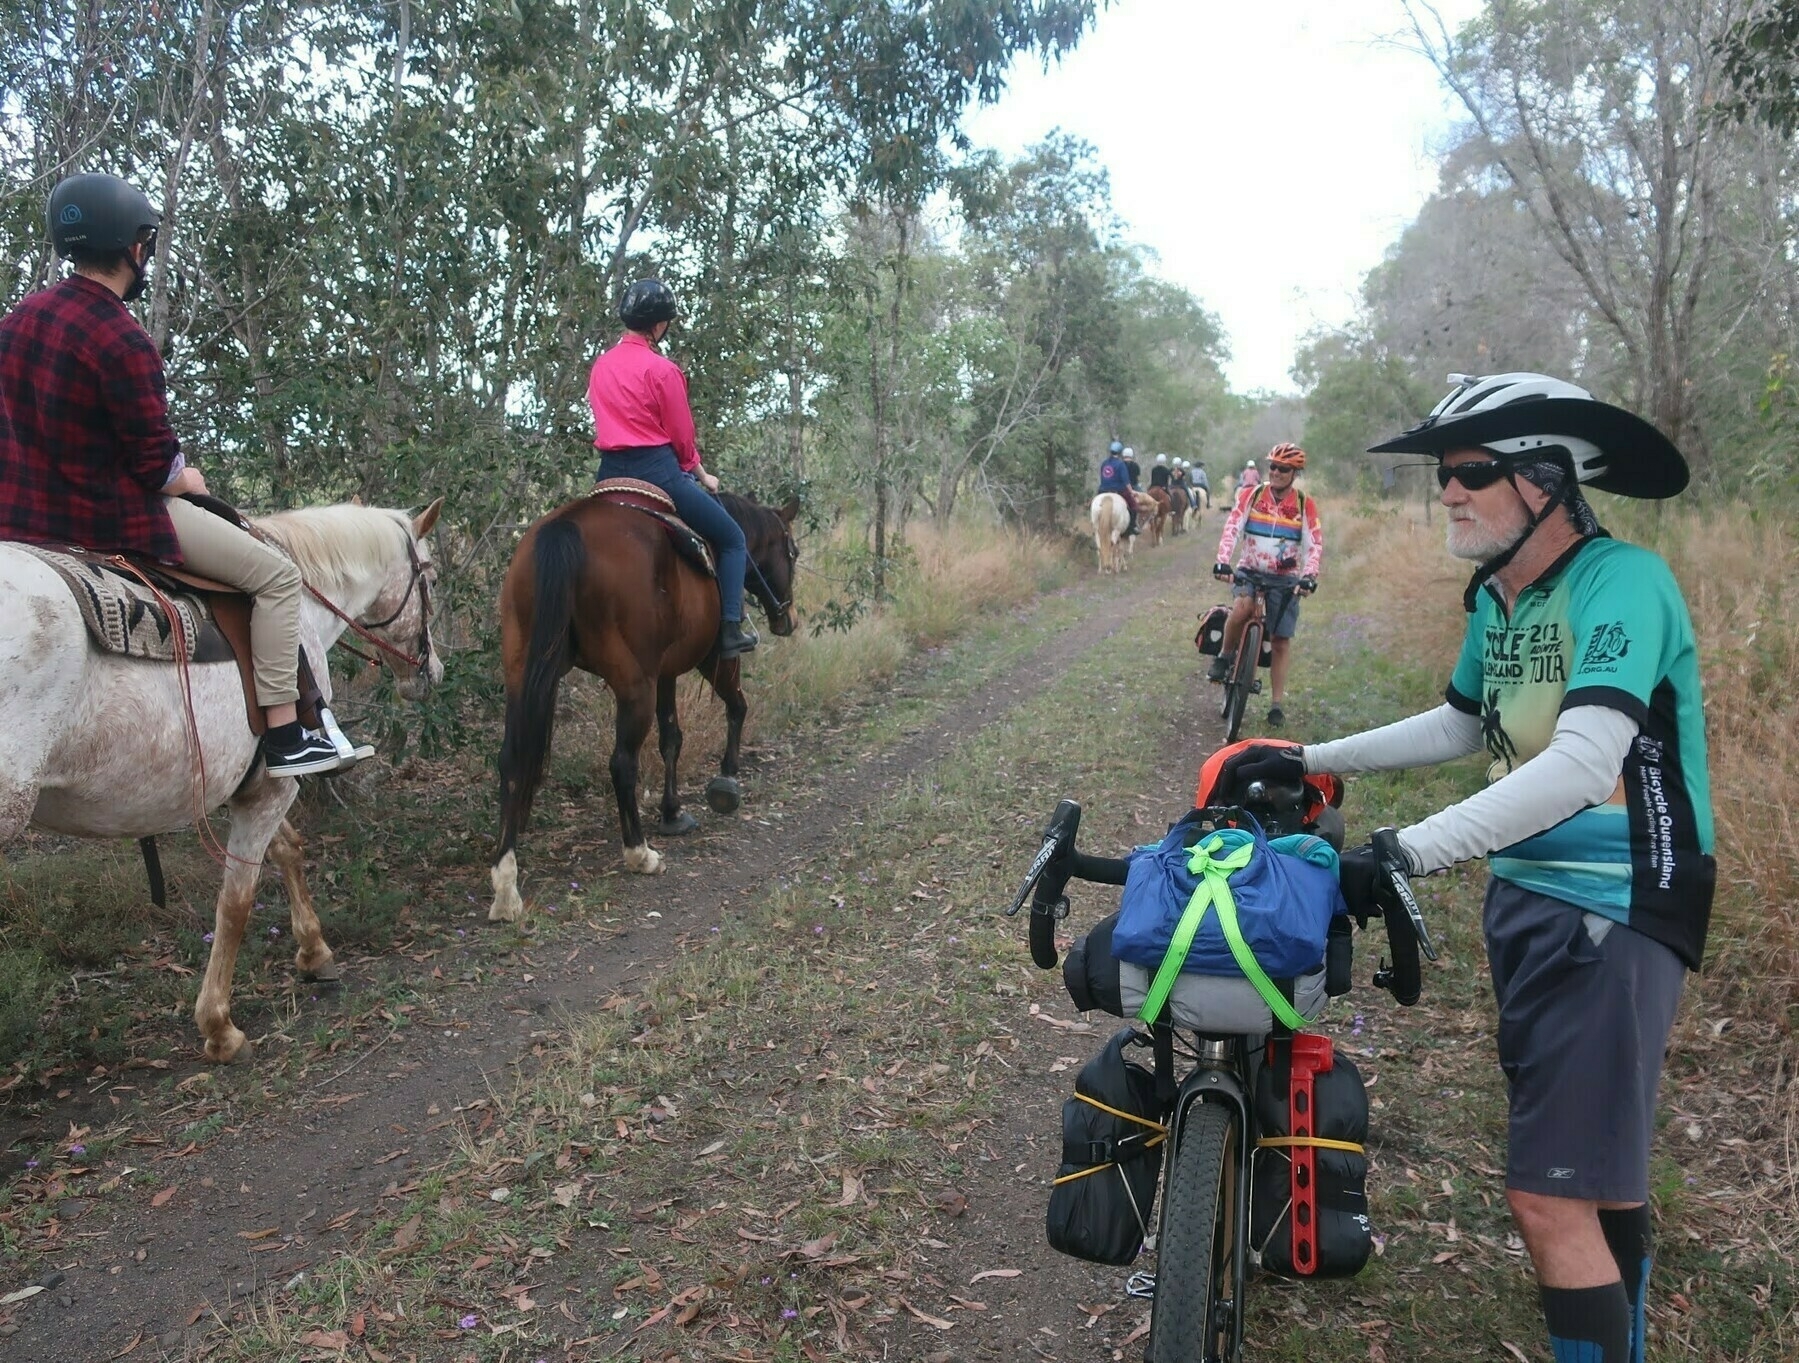
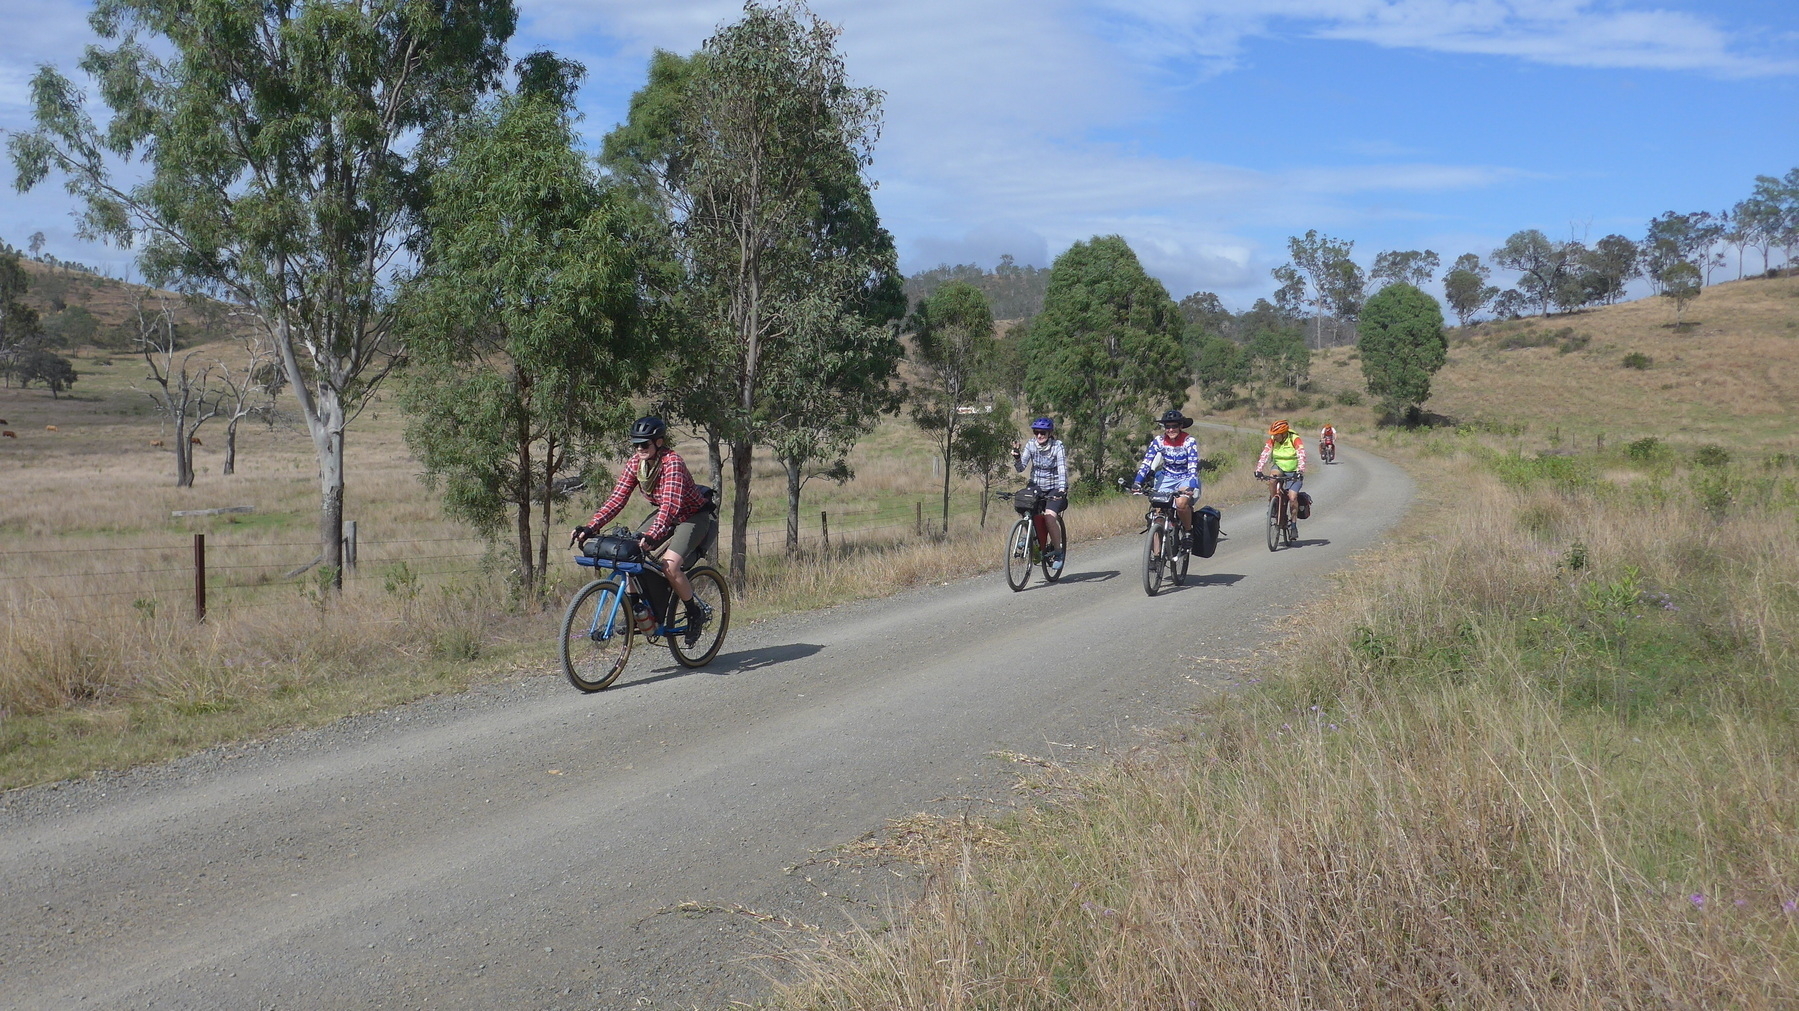
The stock route is pretty good fun. Refer to other notes about what sort of bike is best for this type of ride, but certainly those on bigger tyres had more fun on this section. The sign at either end of the rough part of the route gives adequate warning, and a gentle challenge (“cyclists dismount in areas if unsure”). I sure didn’t dismount. And I didn’t have to get off and push either.

We arrived in Nanango in time for morning tea or brunch, depending on your appetite status. We were fortunate enough to catch up with the aforementioned David Kenny, who while we sipped our coffees gave us an overview of the gravel riding routes around the area.
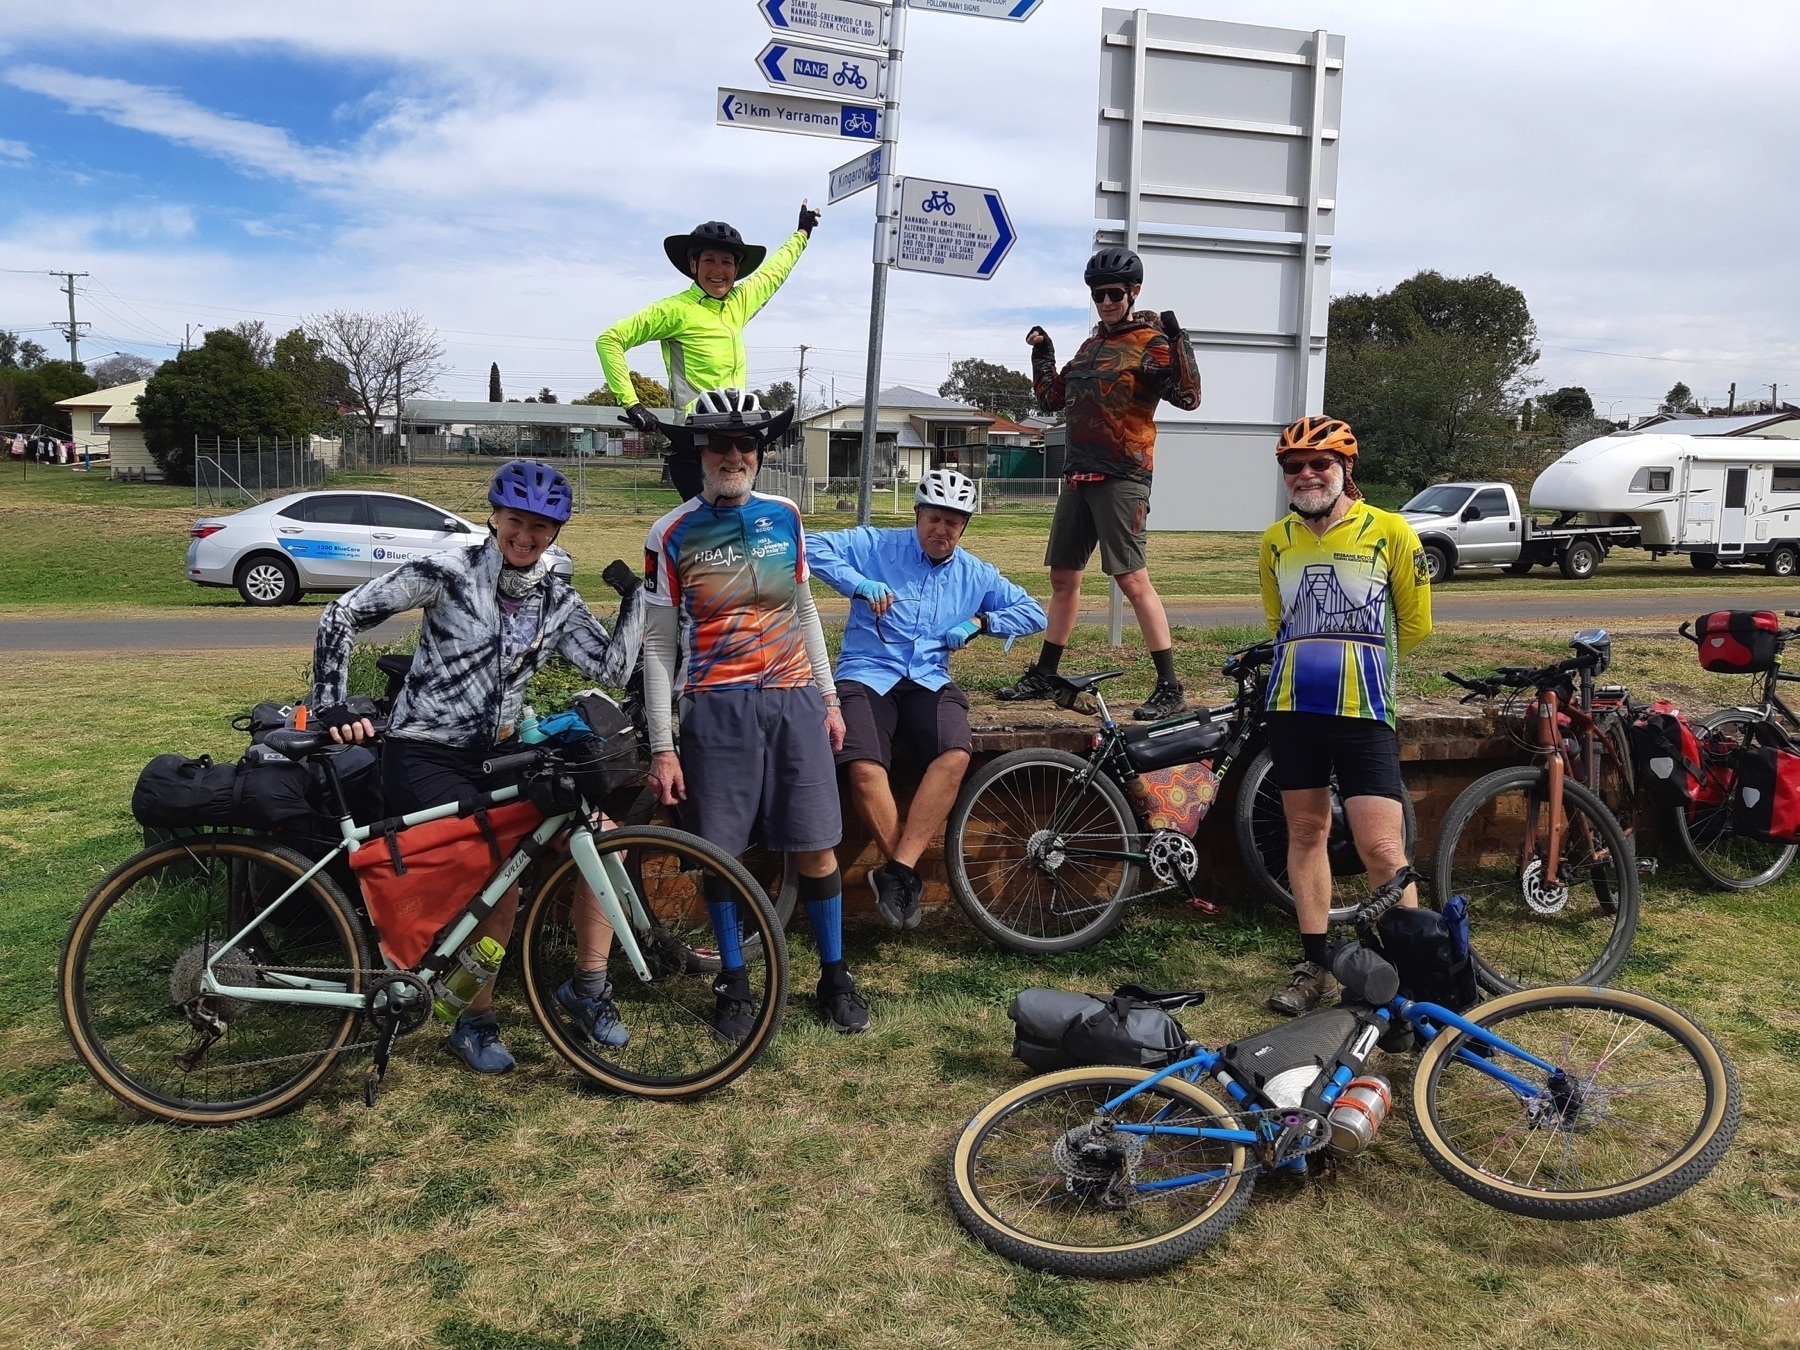
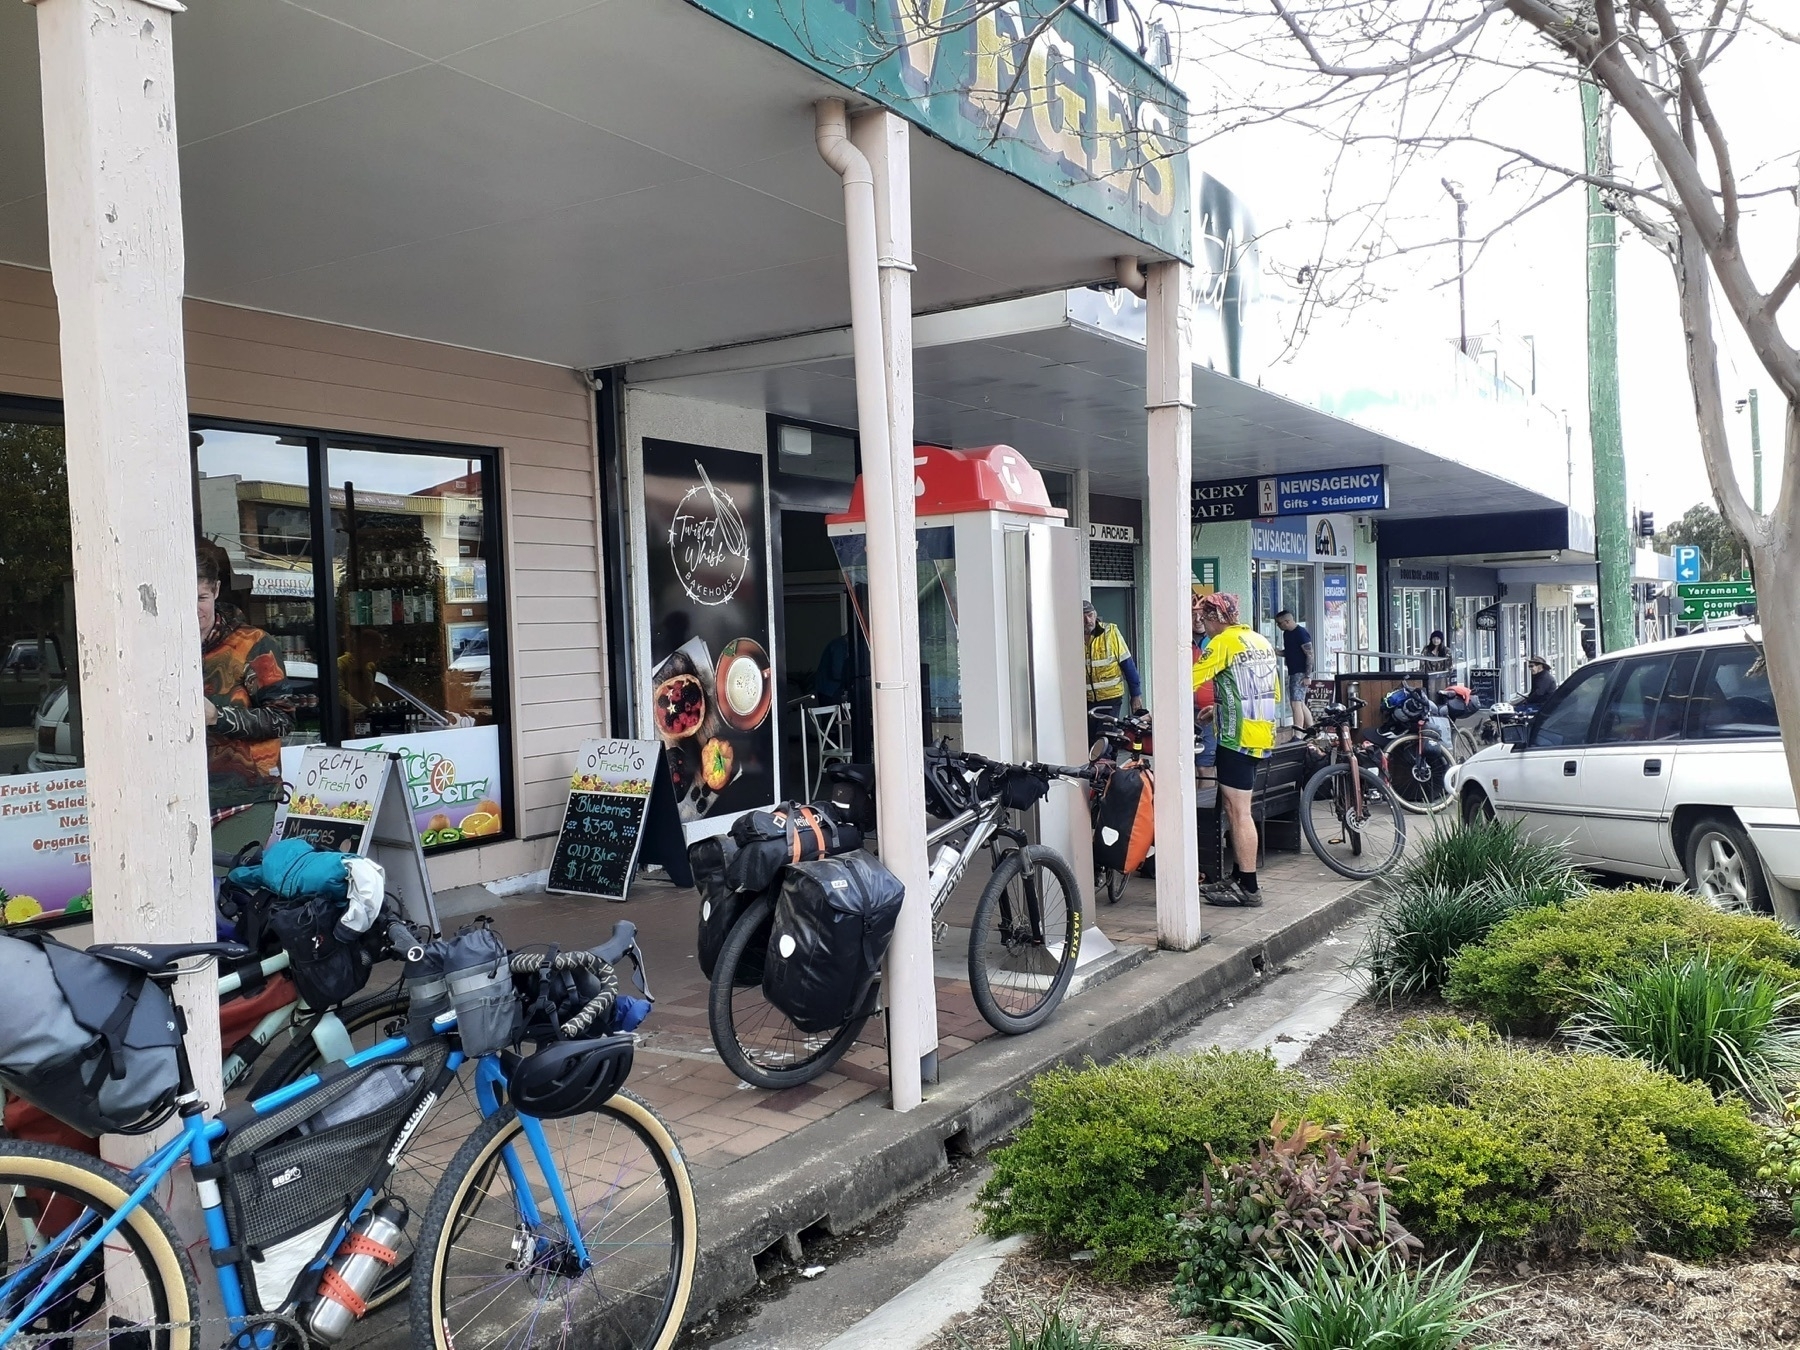
I will certainly be returning to Nanango, probably as part of a three-day ride including the NAN 1, 2 and 3 gravel loops, and a return to Linville via the upper reaches of the Brisbane River.

But on this occasion we headed north from Nanango for 5km on the Burnett Highway, before turning off on Booie Rd.

I had ridden the signed Link from Nanango to Kingaroy about two years previous, and wanted to try a different route. My memory of the Link was of big hill after big hill and I wondered if the alternate route I had mapped out might be flatter.

Reader, I was wrong. My route to the north of the D’Aguilar Highway was plenty hilly, made much worse by a navigational error I made soon after we turned onto Booie Rd. (We continued straight ahead on Smith Rd instead of staying on Booie Rd by turning right).
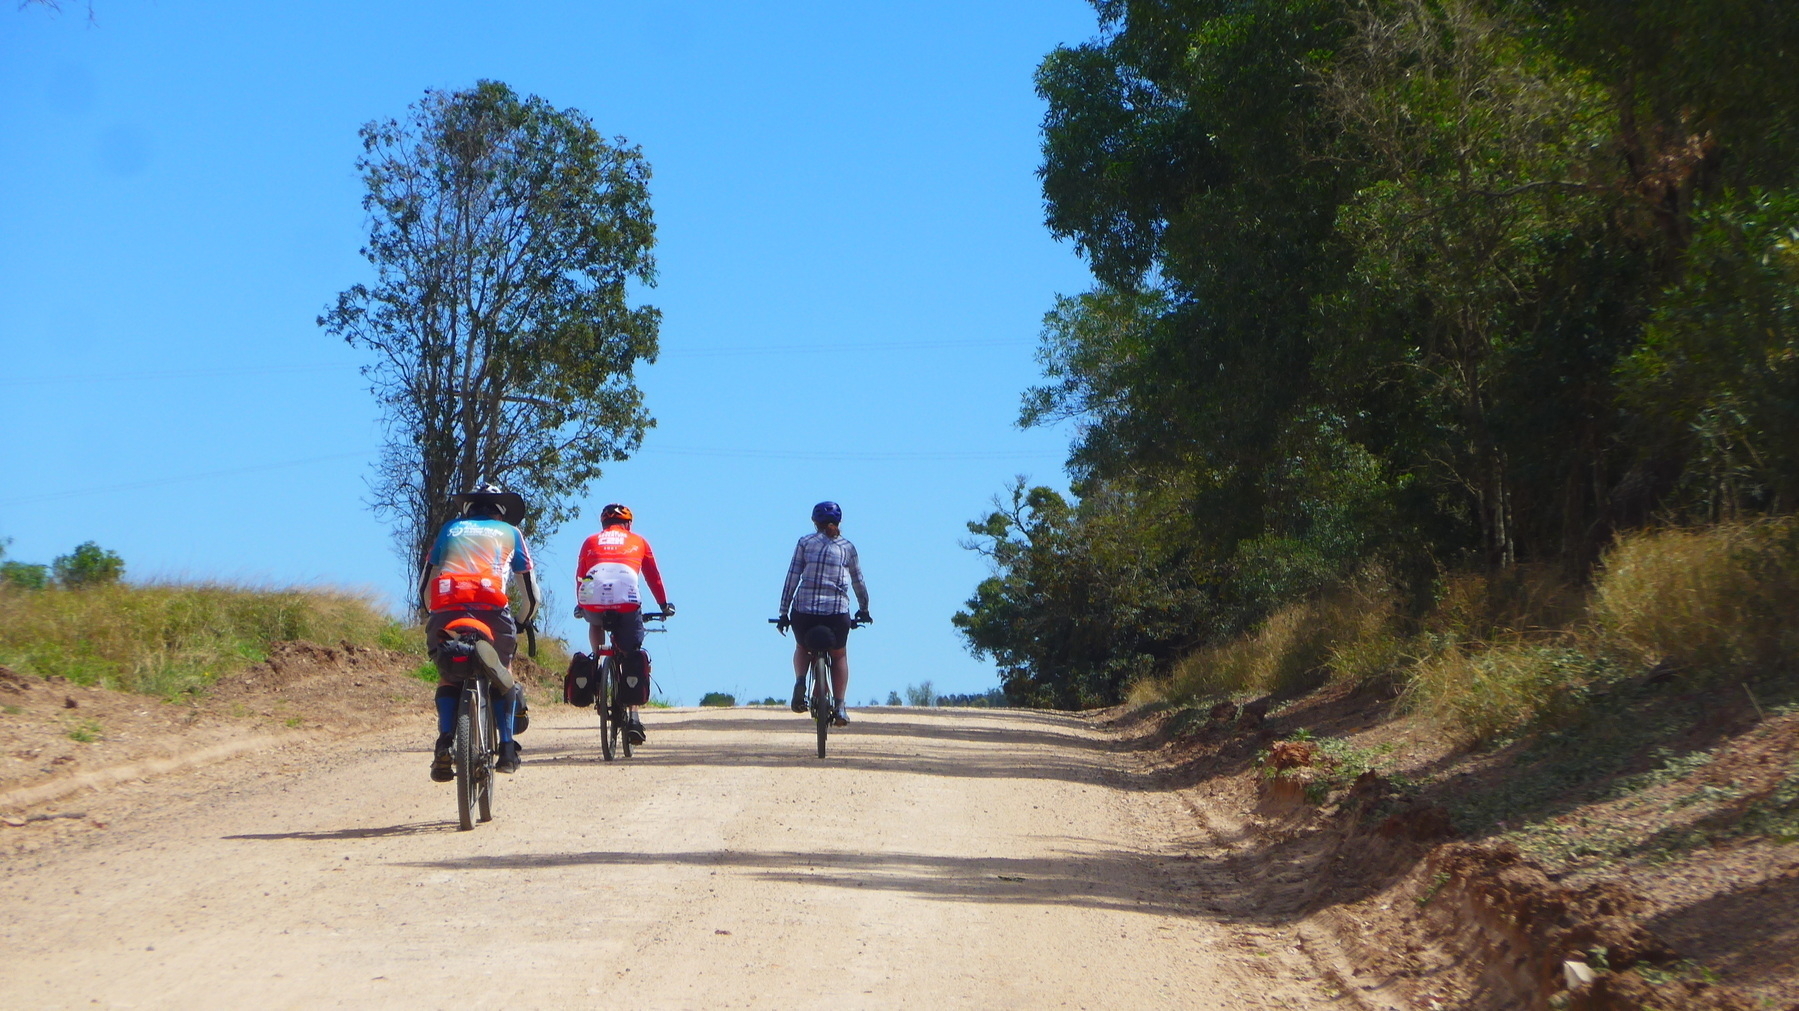
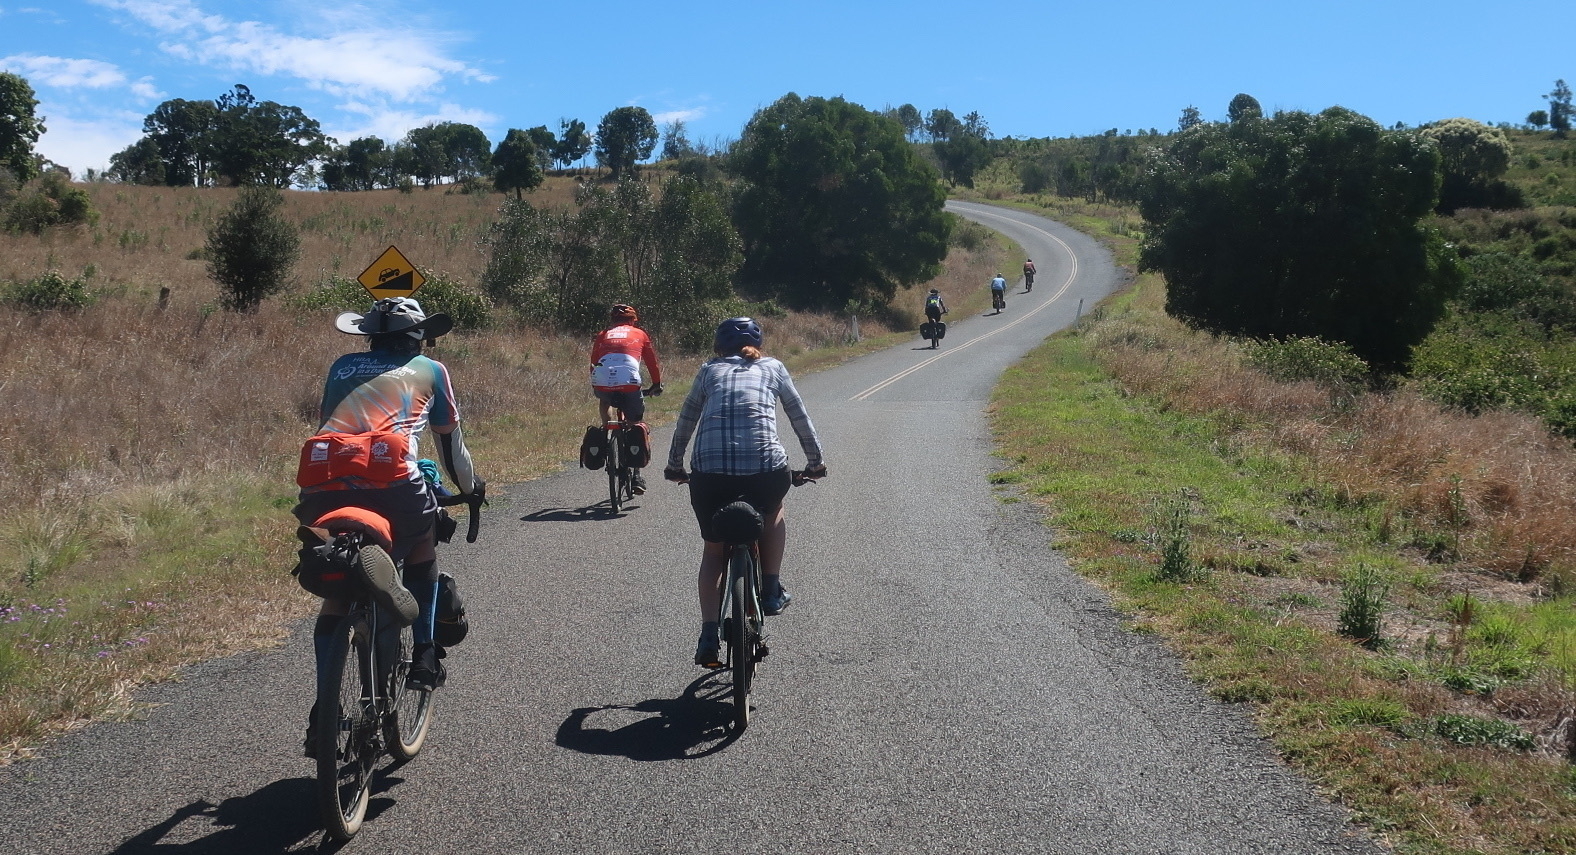
So if you compare and contrast the routes I have linked above, I would suggest that the RideWithGPS route is worth trying, and the Strava ride (which we did) is not. It did have a screaming smooth dirt road downhill on Reagon Rd which gave up 100 metres of hard-won elevation in about a minute and a half. But that’s not good.

We made it to Kingaroy for a late-ish lunch at the Glendon Street Cafe, and rolled out to the Kingaroy Showgrounds, which is a good place to camp. We had called ahead to let them know we were a group of bike riders, so the spot we were allocated was away from the caravans and RVs, and close to our own amenities block, which also included a power box to charge our electronics.

We said goodbye to Emma and Fiona, who had booked the services of Out There Cycling to get back to where they had parked their van. David and Josie are doing a great job, it’s the easiest way to organise point to point rides on the BVRT/KKRT.

Kingaroy is a large town with plenty of hotel and motel accommodation, even some AirBnBs. But if you are camping, the Showgrounds is a clear winner.

We dined at the Kingaroy RSL, where the sticky date pudding was a veritable island in a sea of butterscotch sauce. What more could you ask?

Kingaroy is well known for cool nights and mornings … it is nearly the same elevation as Yarraman and Blackbutt, about 450 metres above sea level. One of our group, who found herself a little under-insulated at Yarraman, had no trouble finding some extra warmth in the shops available at Kingaroy.
Next: Day 4: Kingaroy to Proston

GQRTA Day 2 Toogoolawah to Yarraman

Part 3 of 10

Previously: Day 1 Wulkuraka to Toogoolawah

Next: Day 3 Yarraman to Kingaroy

Strava links:

Distance: 77.1

This is one of the signature days on this ride, with the iconic ride from Linville to Blackbutt, the hero section of the BVRT in my view. But that’s still to come, let’s not get ahead of ourselves!

Our day started with breakfast at the Havachat Cafe. You should do that too. Unless you are a diehard “porridge cooked on the metho stove” type of a camper. We had a couple of those in our group. There’s nothing you can say to people who would choose instant porridge ahead of a bacon and egg burger.

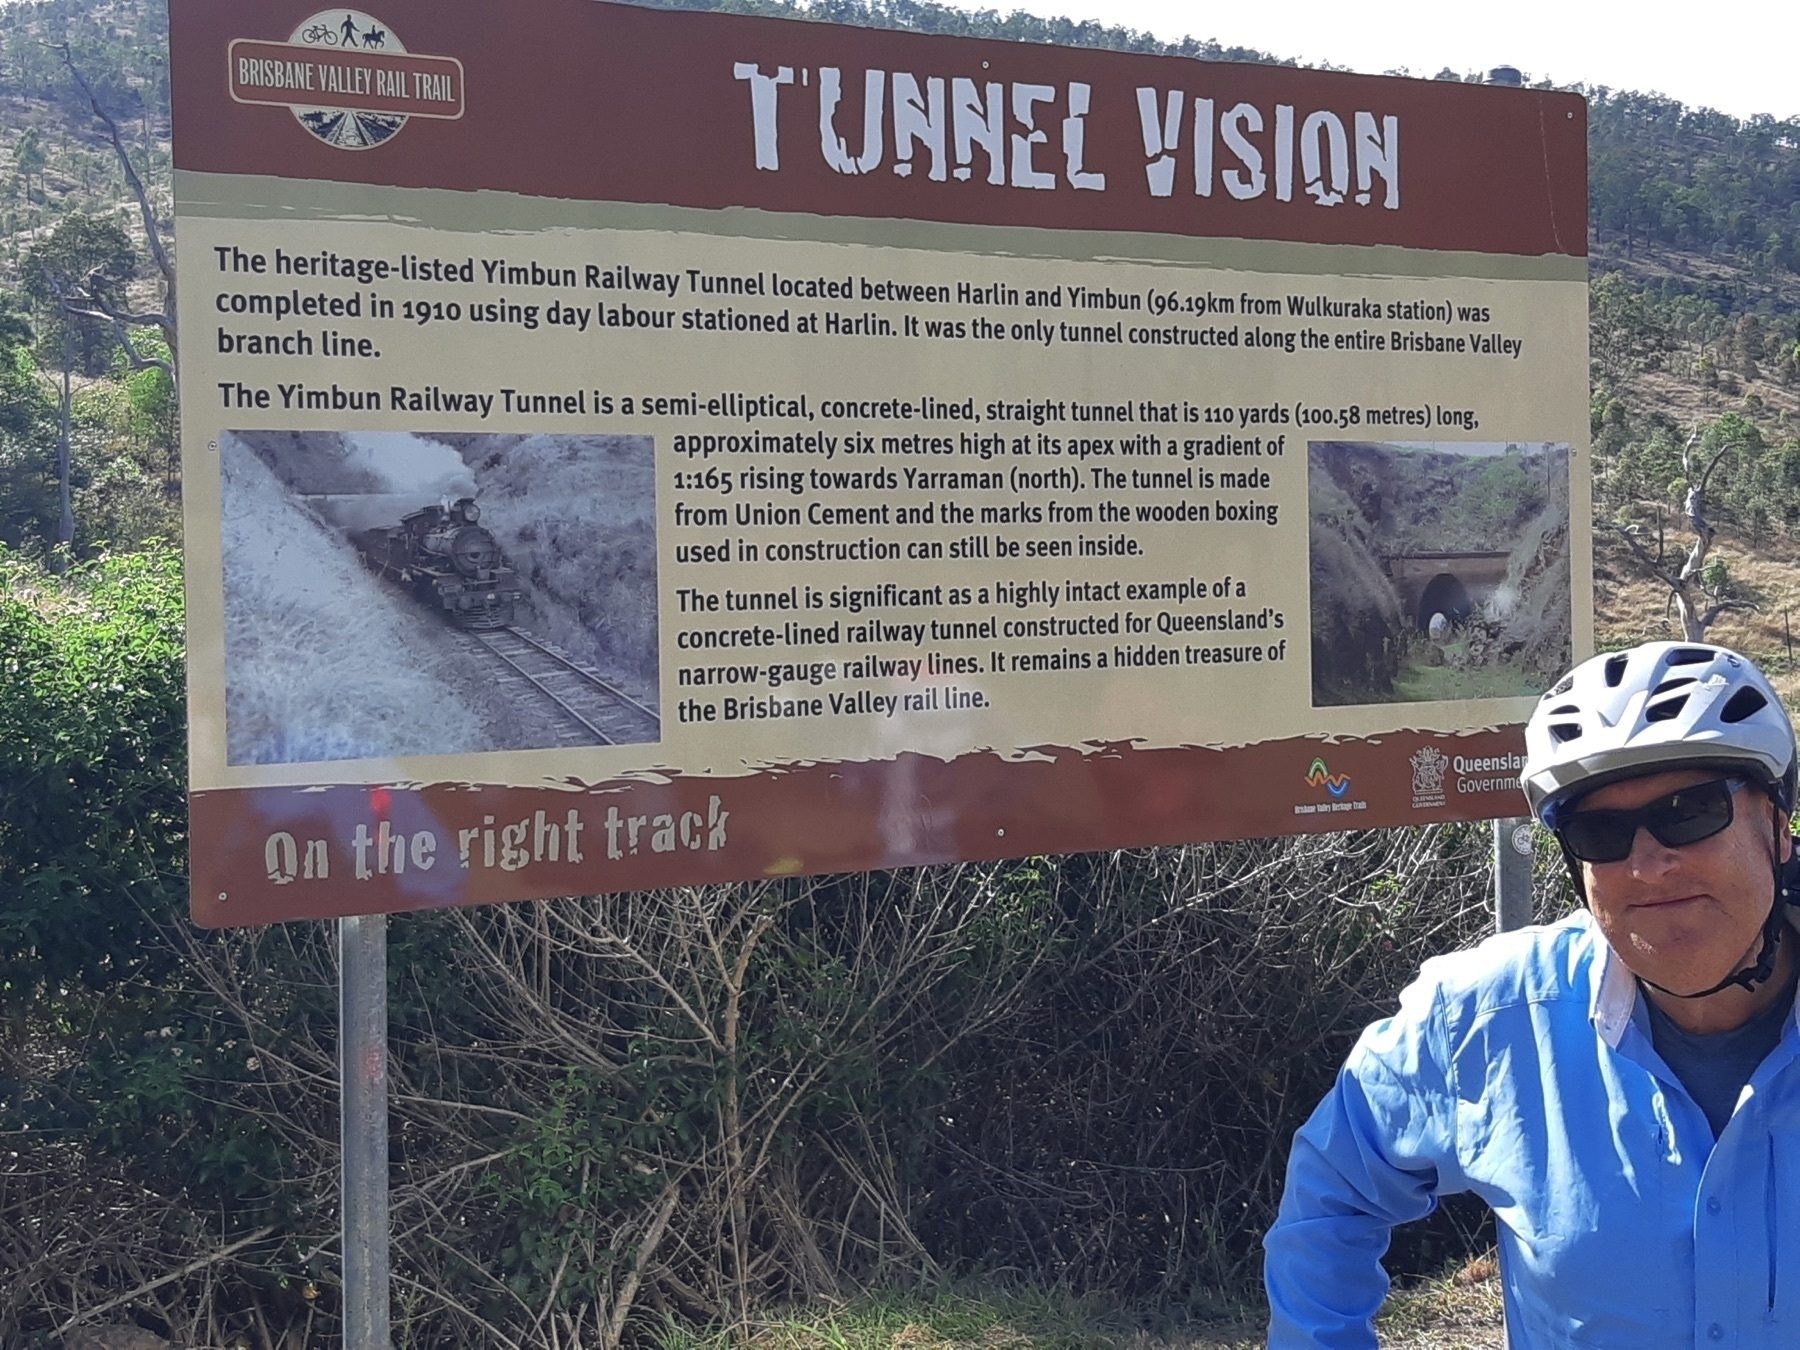
The first highlight of the ride today is the Yimbun Tunnel after 10km. This is the only tunnel on a rail trail in SEQ, so take your time as you approach, take pix, and then ride through. There’s an information panel with the history – of course there are panels and plaques galore along the trail, and I have long agreed with Roman Mars: always read the plaque.

Zoom across Ivory Creek into Harlin, which has a servo and pub, and up a short non-rail-alignment hill to a picnic spot with a view. Then there is a fun little section with a restored bridge and the old rail alignment wedged into the side of a hill, before we cross the D’Aguilar Highway for the first of three times.

Moore is an ideal location for morning tea, with 28km under our wheels. I like Kai Lounge, but other cafes are available. Toilets are in the park across the main road, so be careful of trucks and caravans once the coffee hits you and you need to go.

Fully refreshed we roll out of Moore past the magpies towards Linville, and our eventual date with the long long climb up to Benarkin. There are also a couple of little hills on the trail from Moore to Linville, because some sections of the trail here are not on the original rail alignment. But when we are on the original corridor, there is a great view over the upper reaches of the Brisbane River.

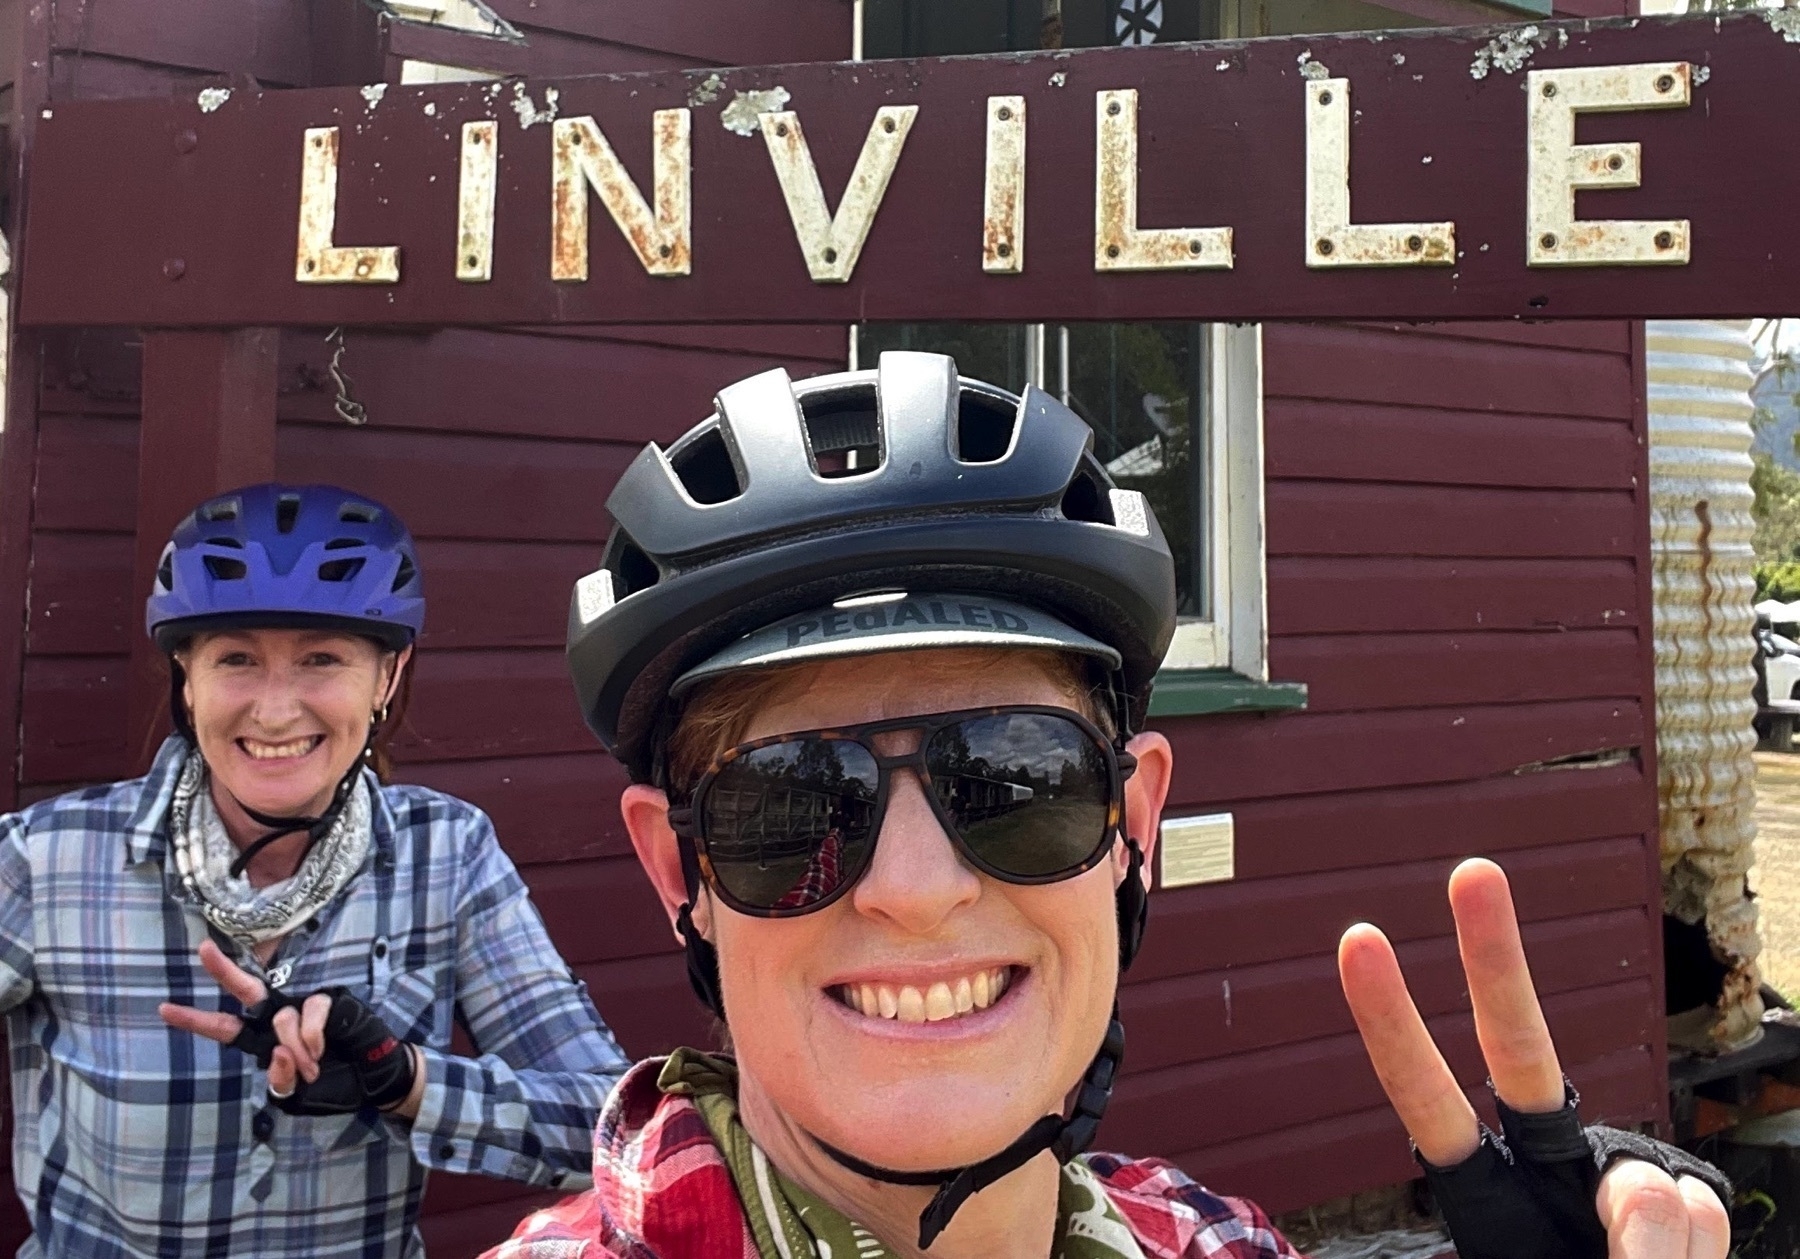
Linville is home to one of the BVRT’s big success stories: the Linville Hotel. It’s changed hands a few times in the last few years, but the current owners have transformed its look and the bike riders and grey nomads have been coming in droves ever since.

We don’t have the time today to hang out at the pub. We have a hill to climb. I may have already mentioned it.

This is the oldest section of the trail. There is an explanatory plaque somewhere along the route which gives some background about Reg McCallum and Kevin Allery, councillors on Nanango Shire Council who saw the vision of turning the disused rail line into something much more wonderful. In 2006 they kicked off the Linville to Blackbutt section, and the rest is history (mind you it did take 12 years to finish the trail). A group sprang up at Moore, the Ambassadors of the Brisbane Valley Rail Trail, and they have been looking after this section ever since.

The trail rises steadily (good old 2%) from Linville, up to McNamara’s Camp, which is a great spot for a rest break. It’s roughly halfway, and marks the point where the open valley ends and we are encased in denser forest for the second half of the rise towards Benarkin.

The second rest stop is called Fettlers Rest. It’s worth a look, for the rail trail art installation. There is also a short walking trail down to a culvert tunnel under the embankment at this location.

Eventually Benarkin (toilets, shop, free camp) hoves into view, and what follows is a gentle run into Blackbutt, with its bakery, cafe, pub and shops.

The Blackbutt Bakery is excellent. The best thing on the menu is everything savoury, followed up by everything sweet. This does sometimes lead to the problem that with 20km still to ride, you might have trouble finishing your sweet treat, but that just means wrapping up something delicious and keeping it for later on. In my case it was a wedge of peanut butter choc brownie – some serious calories!

Blackbutt also has a great low-cost place to stay: the Showgrounds. There are wonderful hot showers and you can camp there for $10.

From Blackbutt the trail tends up towards Nukku, and then a long downhill run to Harland Park, and a tricky crossing of Cooyar Creek. This crossing has large sandstone blocks, which a confident and skilled rider on wide tyres will handle easily. But those who are daunted can also jump off and walk across. There’s no advantage in getting a pinch flat, or falling off into the creek if an edge of the stone slab catches your wheel.

If you are riding across the blocks, consider your exit gear. In both directions there is a steep pinch coming out of the creek crossing.

After Cooyar Creek, the trail rises steadily past Pidna siding, with its beautiful stand of grass trees, arriving at the end of the trail at Yarraman Station park. This park is about 2 km from the current centre of Yarraman (pub and cafes and shops) which is on the main road.

We camped at Yarraman Weir, which is about 1km from the station park, but in the “wrong” direction, i.e. further away from the town centre. So when we headed in for dinner at the Royal Hotel, having lights on our bikes was vital. The Weir campground is free for rail trailers, and it has toilets and water (but only a small tank) and a picnic shelter, but no shower.

Places to stay at Yarraman:

Next: Day 3 Yarraman to Kingaroy

GQRTA Day 1 Wulkuraka to Toogoolawah

Part 2 of 10

Previously: Overview

Next: Day 2 Toogoolawah to Yarraman

Strava links for this post:

Distance: 86.8km.

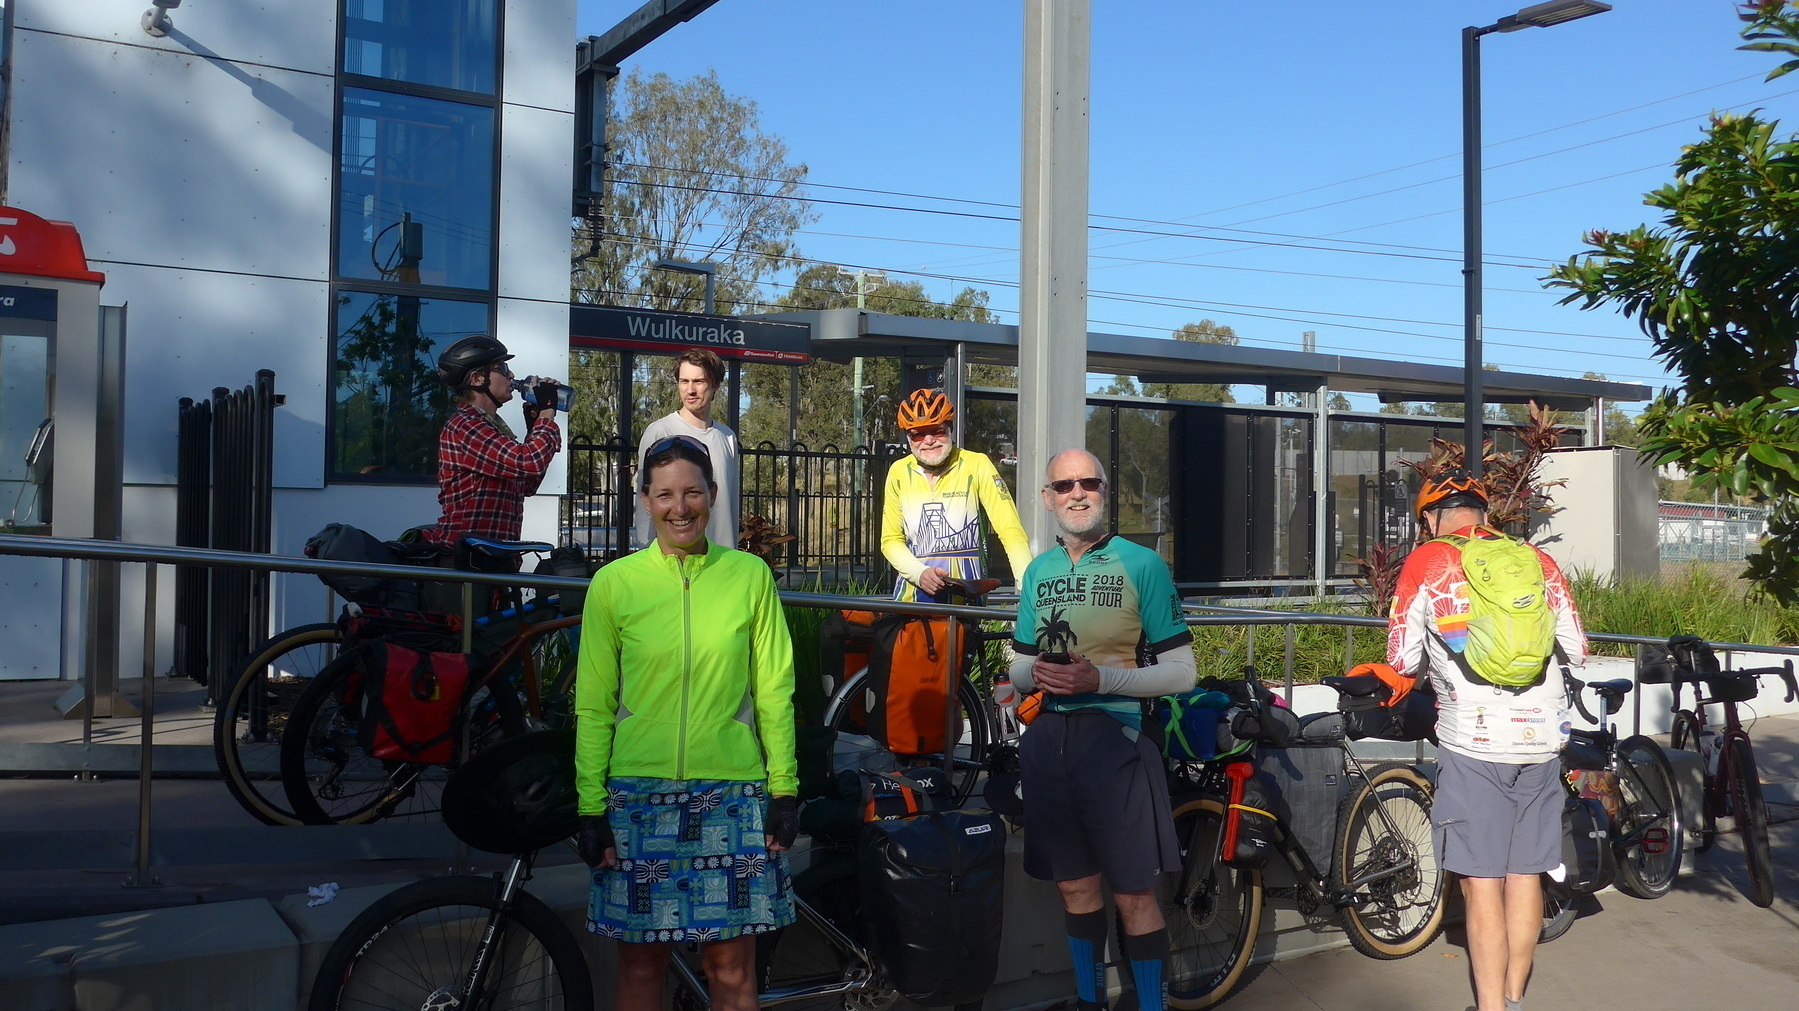
The ride starts from Wulkuraka Station, and rolls along a concrete bike path for the first 5km through suburban Ipswich. Once we pass under the Warrego Highway we get onto the dirt and start to get into the rhythms of the Brisbane Valley Rail Trail.

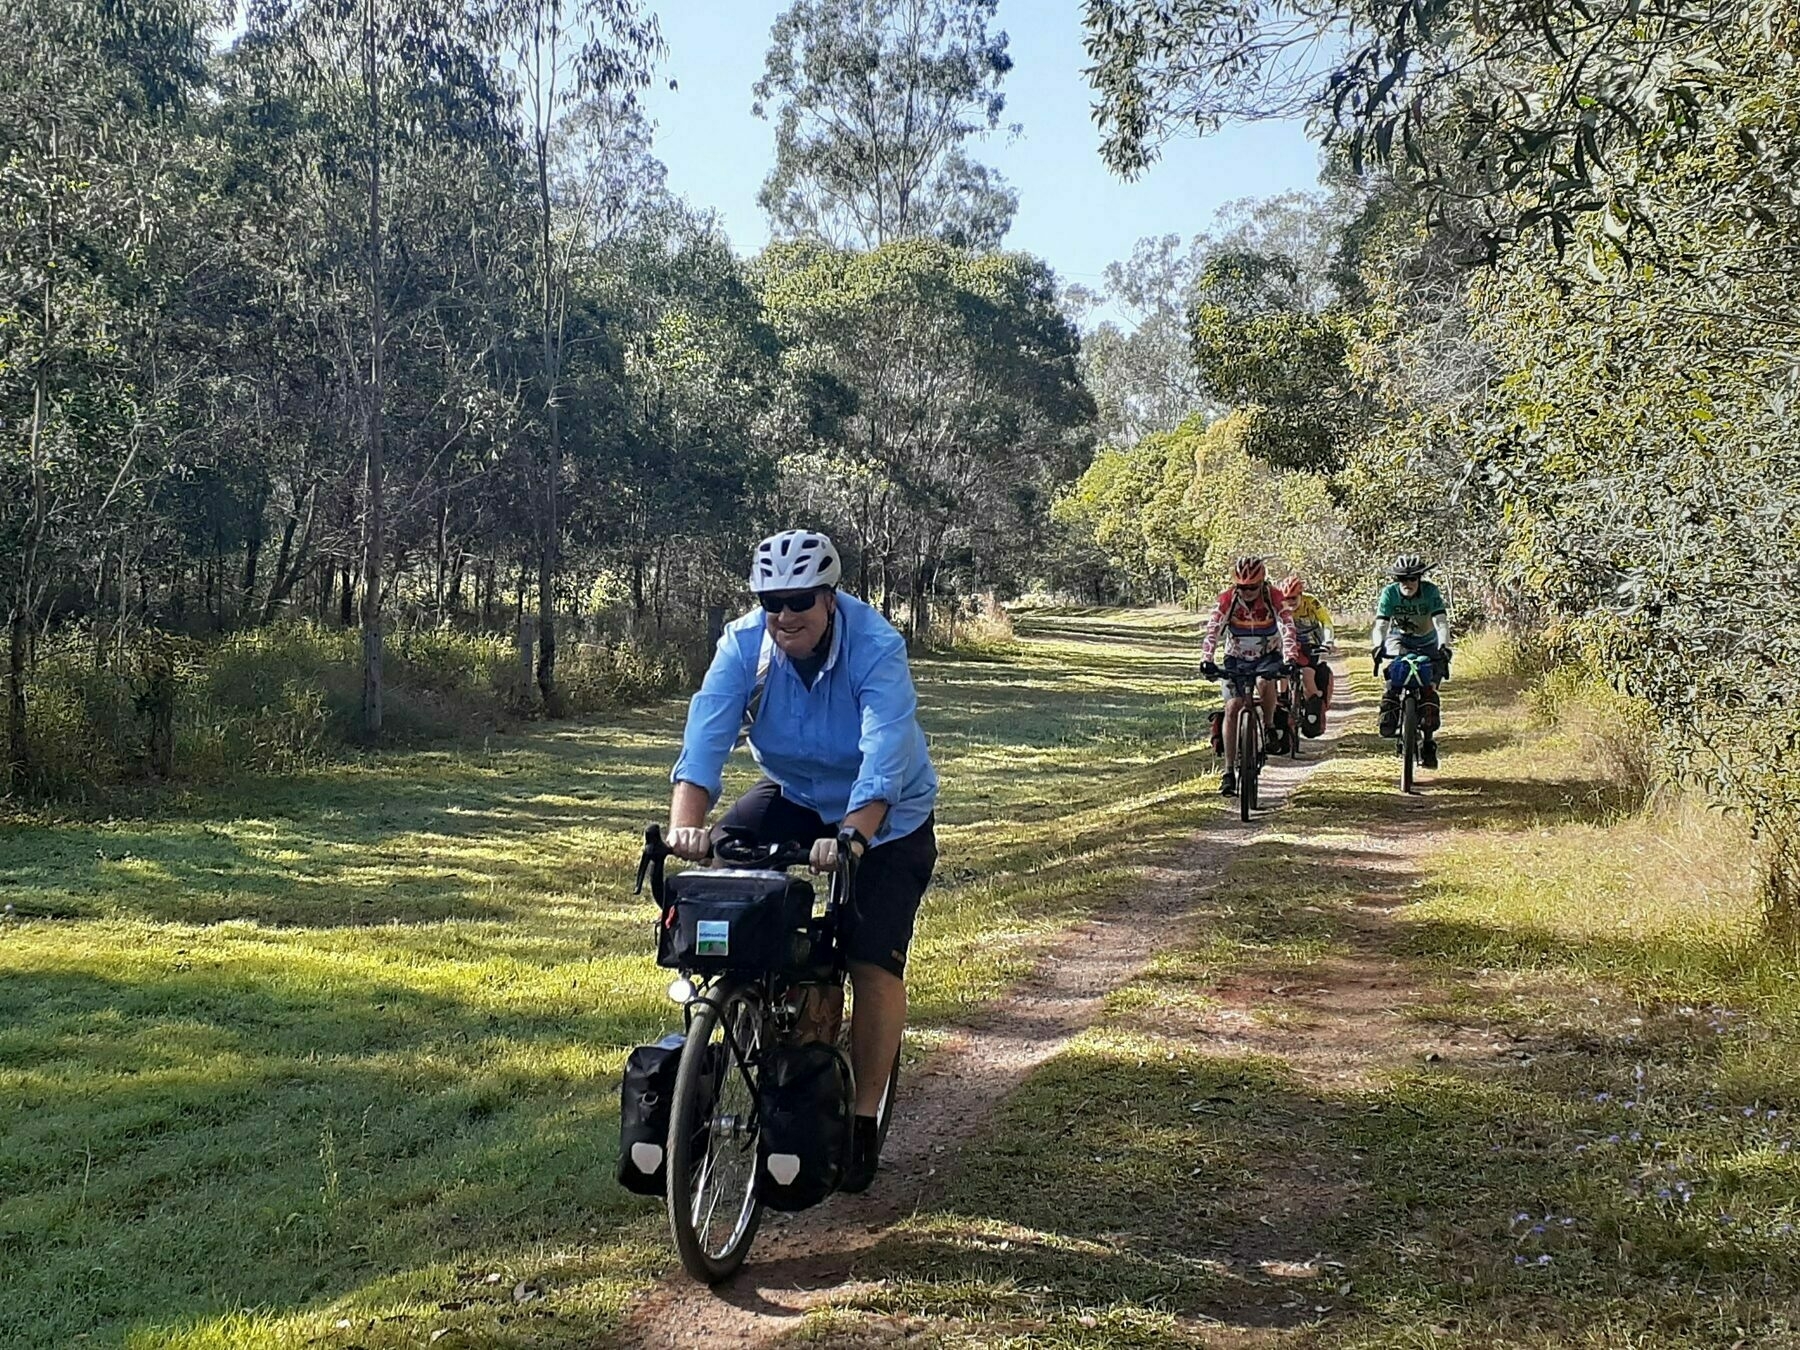
The BVRT has become much busier in the past few years, and you will certainly encounter bike riders travelling in both directions. Further along the trail you may also encounter riders on horses. Both walkers and horse riders have right of way over bike riders, so be nice and share the trail!

Fernvale is the first opportunity for a coffee or a snack, after 22km. But before you get there, take care as you cross the Brisbane Valley Highway at Lloyds Road after 14km. The crossing of Fairney Brook on a concrete causeway is a little treat about 4km later.

No shortage of food and drink outlets in bustling Fernvale. Once again, be careful crossing the Brisbane Valley Highway … even in town the cars, trucks and motorcycles roar past with great enthusiasm.

I like and recommend the Tree Change Cafe (corner of Banks Creek Rd and the highway).

Back on the trail for one of the original sections of the BVRT, Fernvale to Lowood, which undulates gently alongside Forest Hill Fernvale Rd for most of its 9km. Lowood also has cafes multiple and bakery singular, and quite a lovely garden beside the trail as you head off past the golf course.

Cross Clarendon Rd and marvel/wince at the “bicycle fence”.

Lockyer Creek bridge is another chance for a photo, this time for a beautifully restored rail bridge. More like this please!

The run into Coominya from here is straight and imperceptibly uphill. Good thing there’s a shop and a pub at Coominya if you need them.

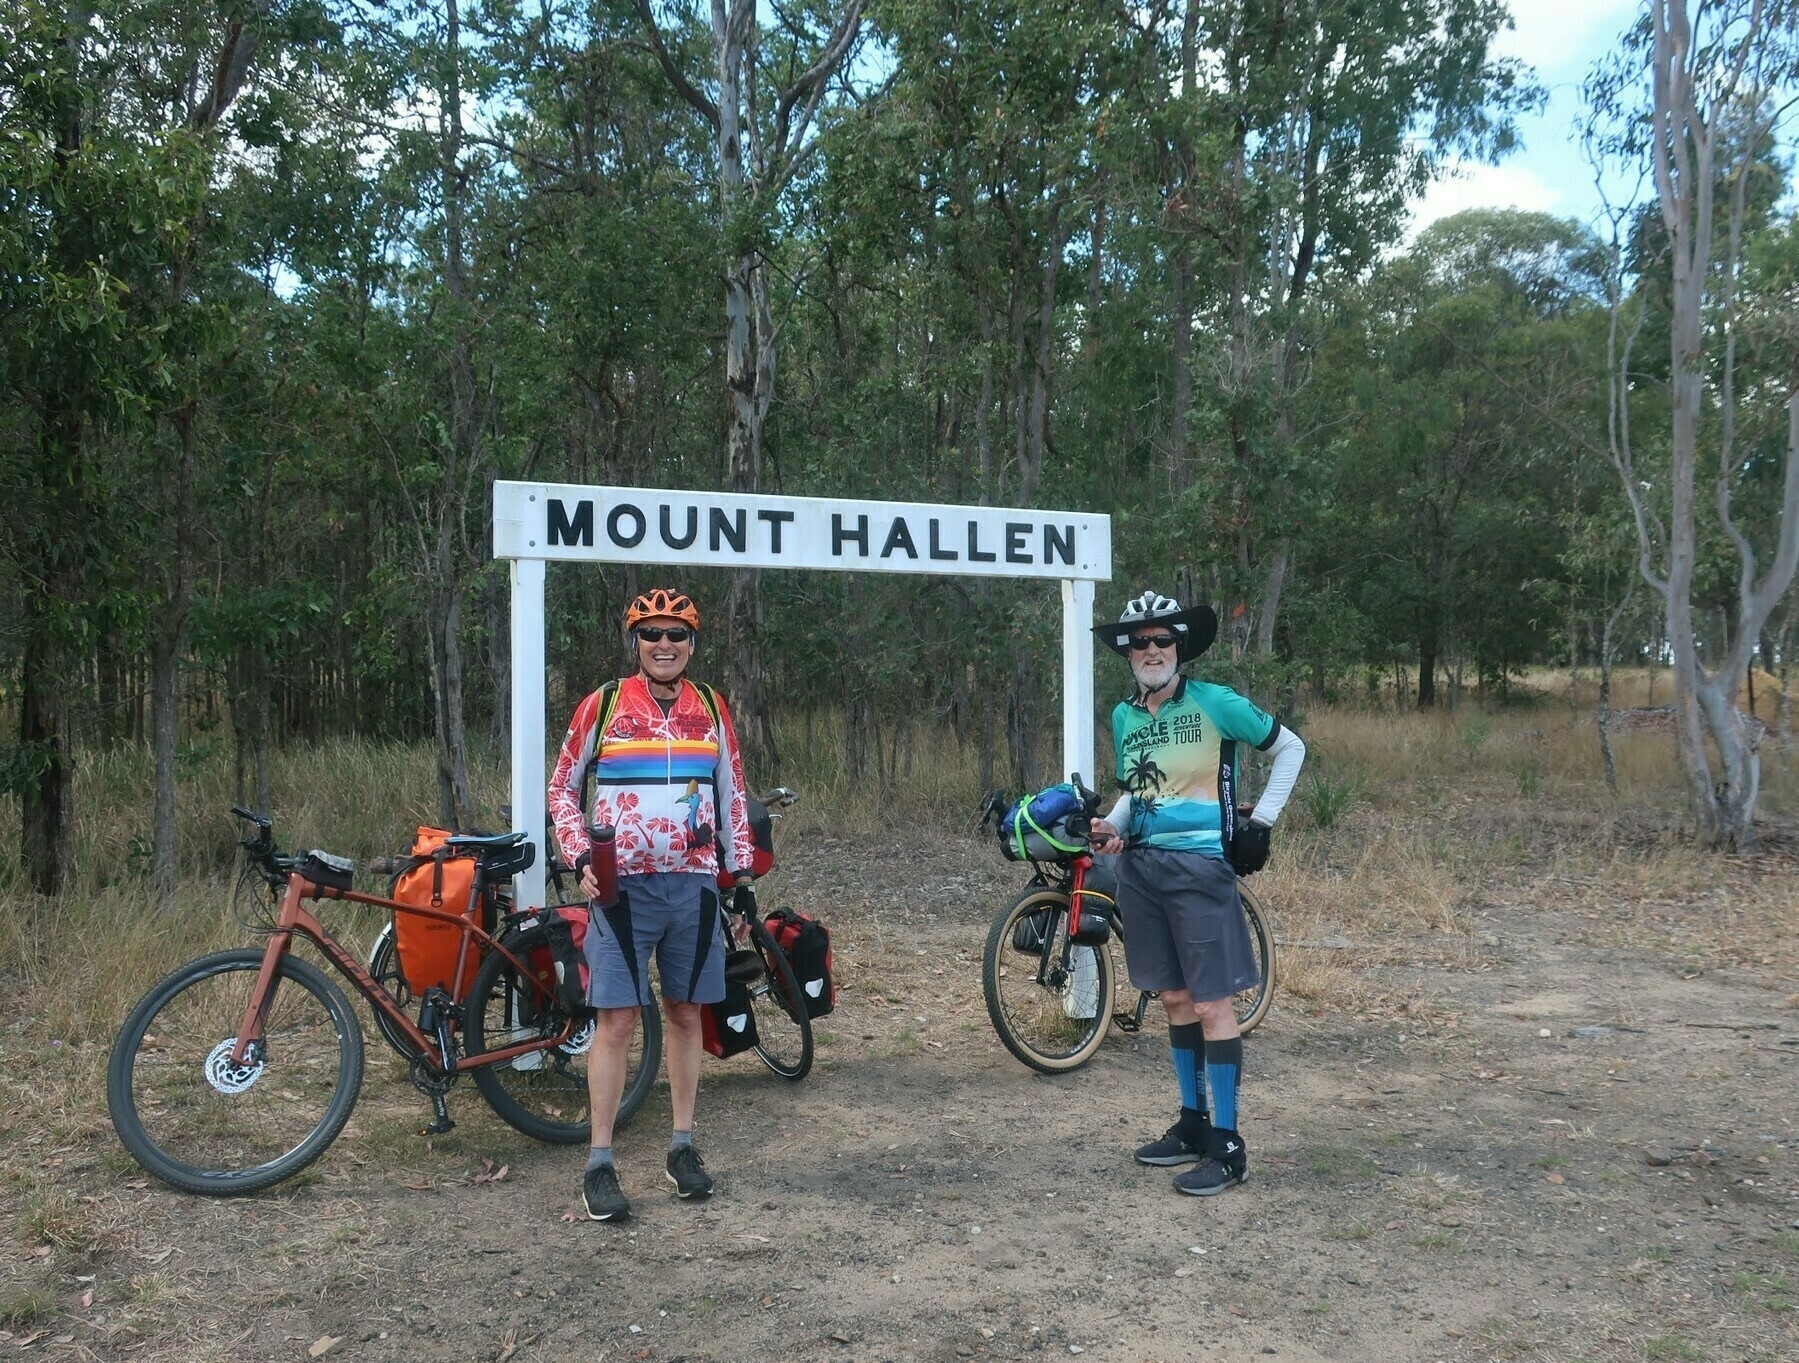
The next 15km up to Mount Hallen are mostly uphill, on that steady railway 2% gradient.

*Catching up with friends you see on the trail.* *Made it to Mount Hallen!*
But that’s OK because it means that the following 10km into Esk are “downhill”. In both instances you will still need to pedal.

Esk nestles beside Sandy Creek in the shelter of Mount Glen Rock, where it is proposed to build a mountain bike trail network. And it has accommodation and refueling options too many to name.

Sadly the Red Deer Cafe is closed because of a fire, so my next favourite eating spot in Esk is the Grand Hotel, which has a pleasant beer garden in back. Our group included some vegetarians, who rated the vegie pizza as a winner. As might be expected, meat eaters have a much larger selection to choose from, not just in Esk, but for this whole 9-day route.

After lunch we had about 19km left for the day, over one more hill at Ottaba. The bridge at Coal Creek is slated for the restoration treatment, so soon enough it will be one less time you have to make the decision of whether to find a super-low gear and attempt to power-spin your way up the pinch out of the gully, or admit defeat and push your heavy-laden bike.

Watch out for magpies, camels and llamas in this section of the trail. No prizes for seeing or interacting with any or all of these creatures. The camels are in a paddock, the magpies are on the wing in spring, but the llamas are a tourist attraction, so maybe you could take one for a walk.

After Ottaba is another long pedally gently downhill run to Toogoolawah, home of the Condensery art gallery, and Ramblers skydiving centre.

My group was tempted by neither art nor plummeting, and instead took some victory snaps at Toogoolawah station and then reconvened for drinks at the Exchange Hotel.

Where to stay in Toogoolawah:

There are two other hotels – the Club, now called Peddlers Rest, and the Toogoolawah Hotel. I haven’t been to either one, and can’t even find a link to add.

Next: Day 2 Toogoolawah to Yarraman

Overview: The Great Queensland Rail Trail Adventure

Part 1 of a 10-part series describing a bike touring route by Andrew Demack, from Ipswich (Wulkuraka) to Gladstone, the “Great Queensland Rail Trail Adventure”.

Next: Day 1 Wulkuraka to Toogoolawah

Background

I visited the two developing sections of the Boyne Burnett Inland Rail Trail in June 2020, and met up with Mike in Gayndah, and Desley O’Grady at Kalpowar, and was impressed with their vision and enthusiasm and commitment to this great project.

So when the news came that the Kalpowar section was going to be opened in September, I thought, “why not ride there, and promote the idea of linking up Queensland’s three major rail trails”.

This 9-day ride uses the Brisbane Valley Rail Trail, the Kilkivan to Kingaroy Rail Trail (in part), and the new sections of the Boyne Burnett Rail Trail, linked up by back roads, and some main roads.

Resources

What do I need to know?

Bikes and tyres

The rail trail adventure covers a mix of surfaces but never gets into singletrack that would be suited only to a mountain bike.

Rail trails don’t have long steep climbs – after all, they follow a corridor which used to be a railway line. Some Queensland rail trails have short steep climbs out of gullies where the trail routes around rail bridges which are no longer in service.

And there are some long climbs, such as from Linville to Benarkin on the BVRT, or Wondai to Wooroolin on the KKRT. But those climbs are usually at a very rideable 2% gradient.

The surface of these trails is quite variable. There are certainly plenty of opinions about what the right sort of bike is for Queensland’s rail trails, which with one exception are all gravel surfaces.

Our group mostly had tyres of 42 mm or wider, with perhaps the “average” tyre being 650x48 or 700x40-42. My view is that a tyre width of approximately 50 mm is the sweet spot on rail trails. Any bigger and you are wasting energy dragging around more tyre than you need. Any less and you will dig in on the sandy sections, and be bounced around on the rougher sections.

Carrying your stuff

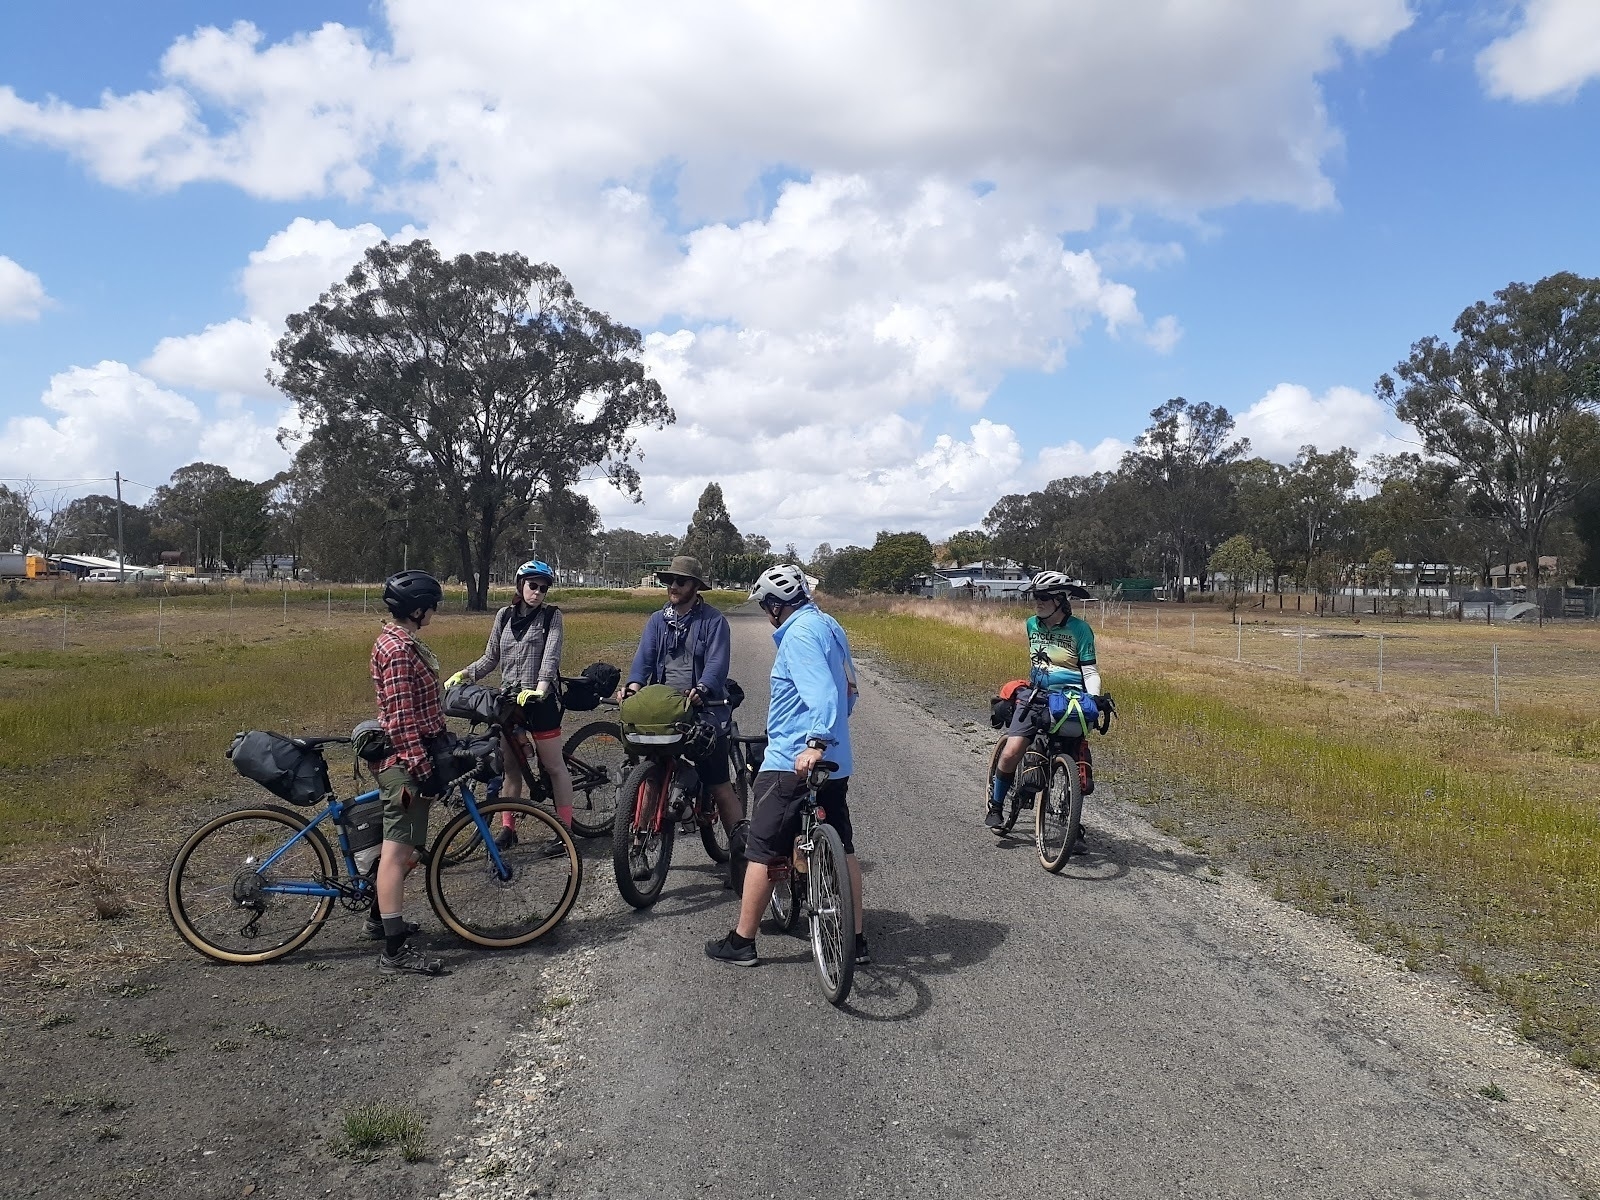
You will also see in our photos that there isn’t one correct way to set up your bike for rail trail / gravel road touring. We did a mix of camping and staying in pubs, so almost all of us were carrying camping kit.

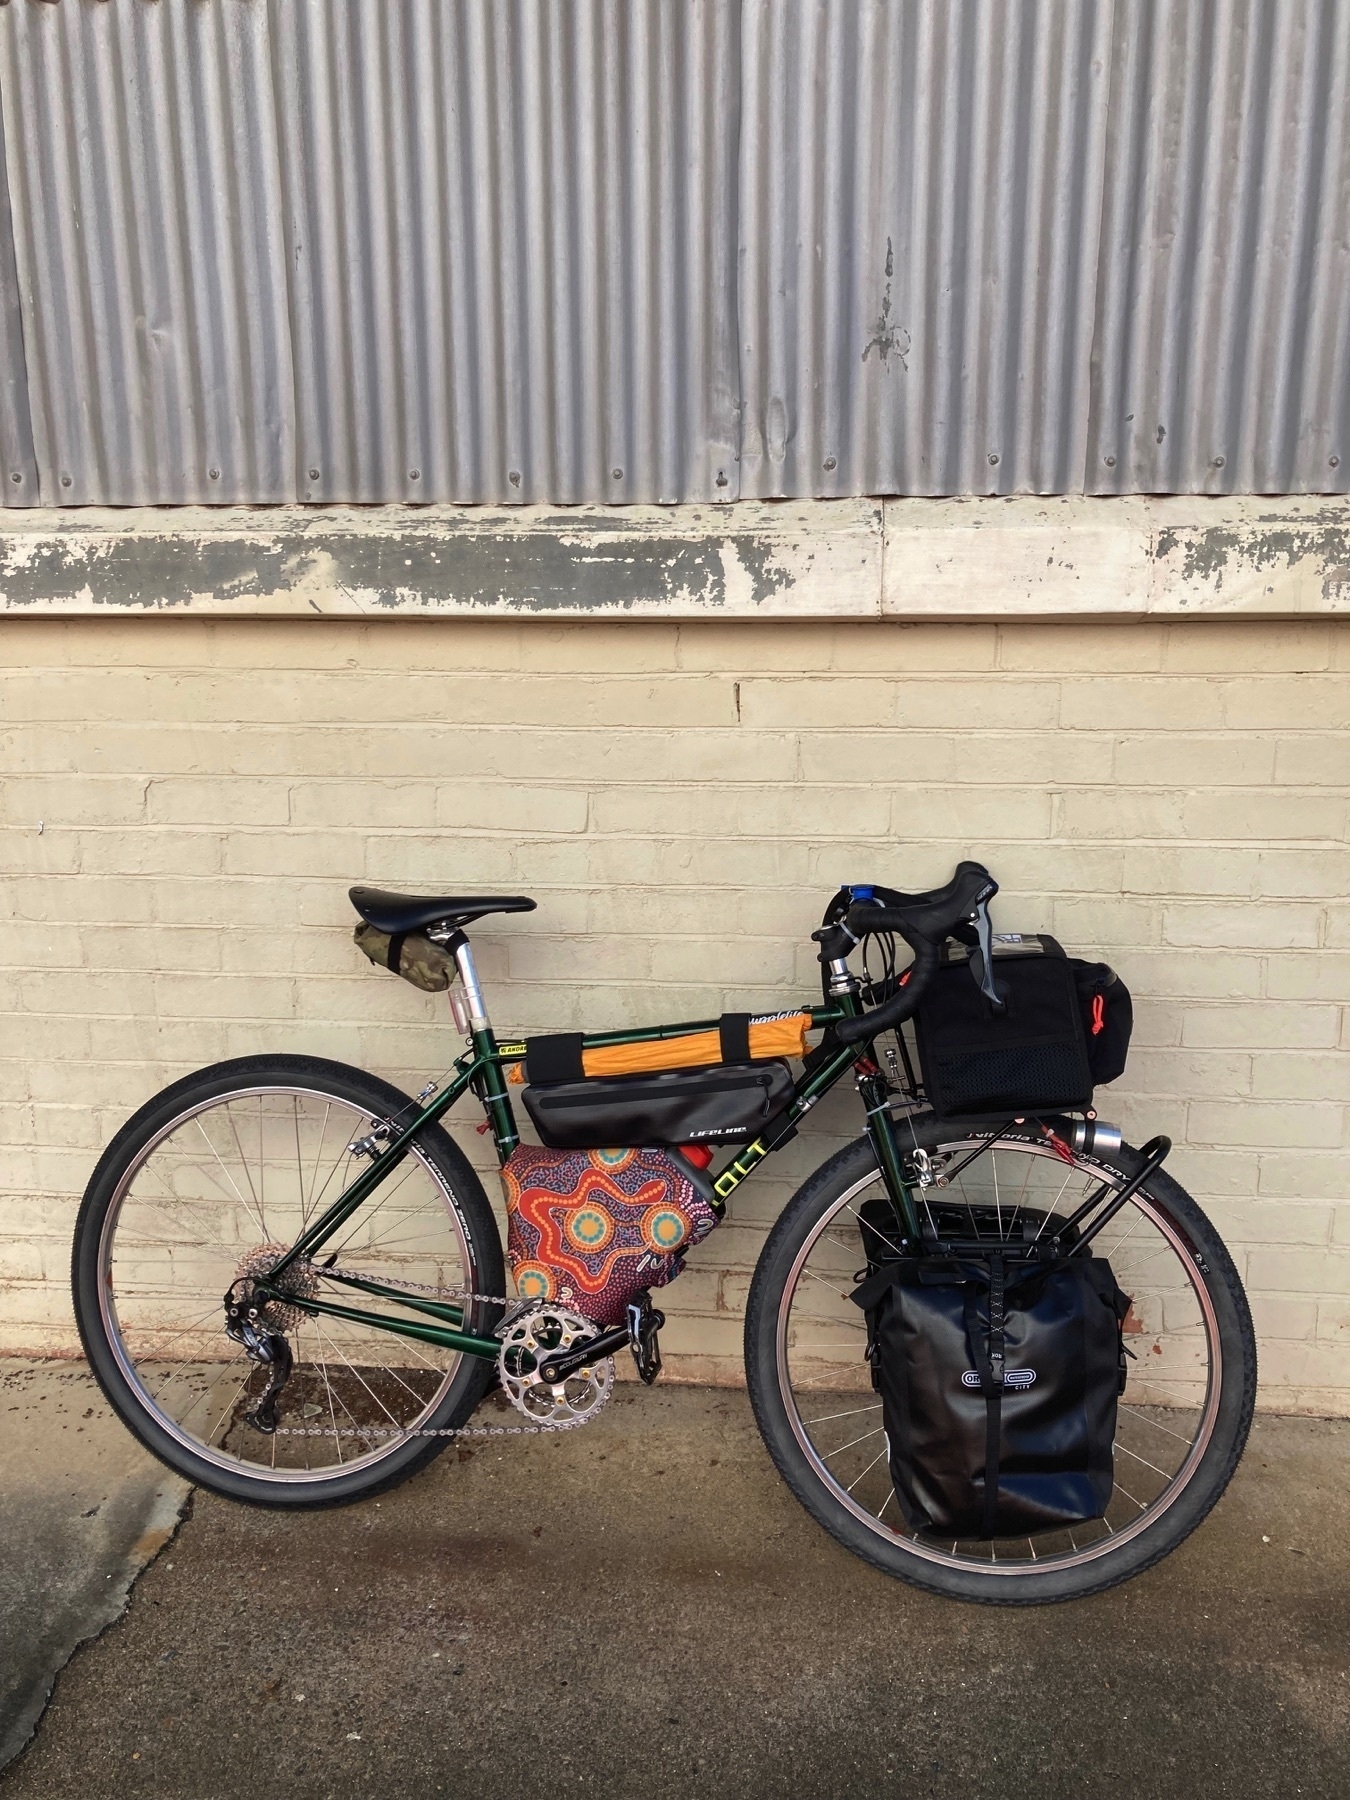
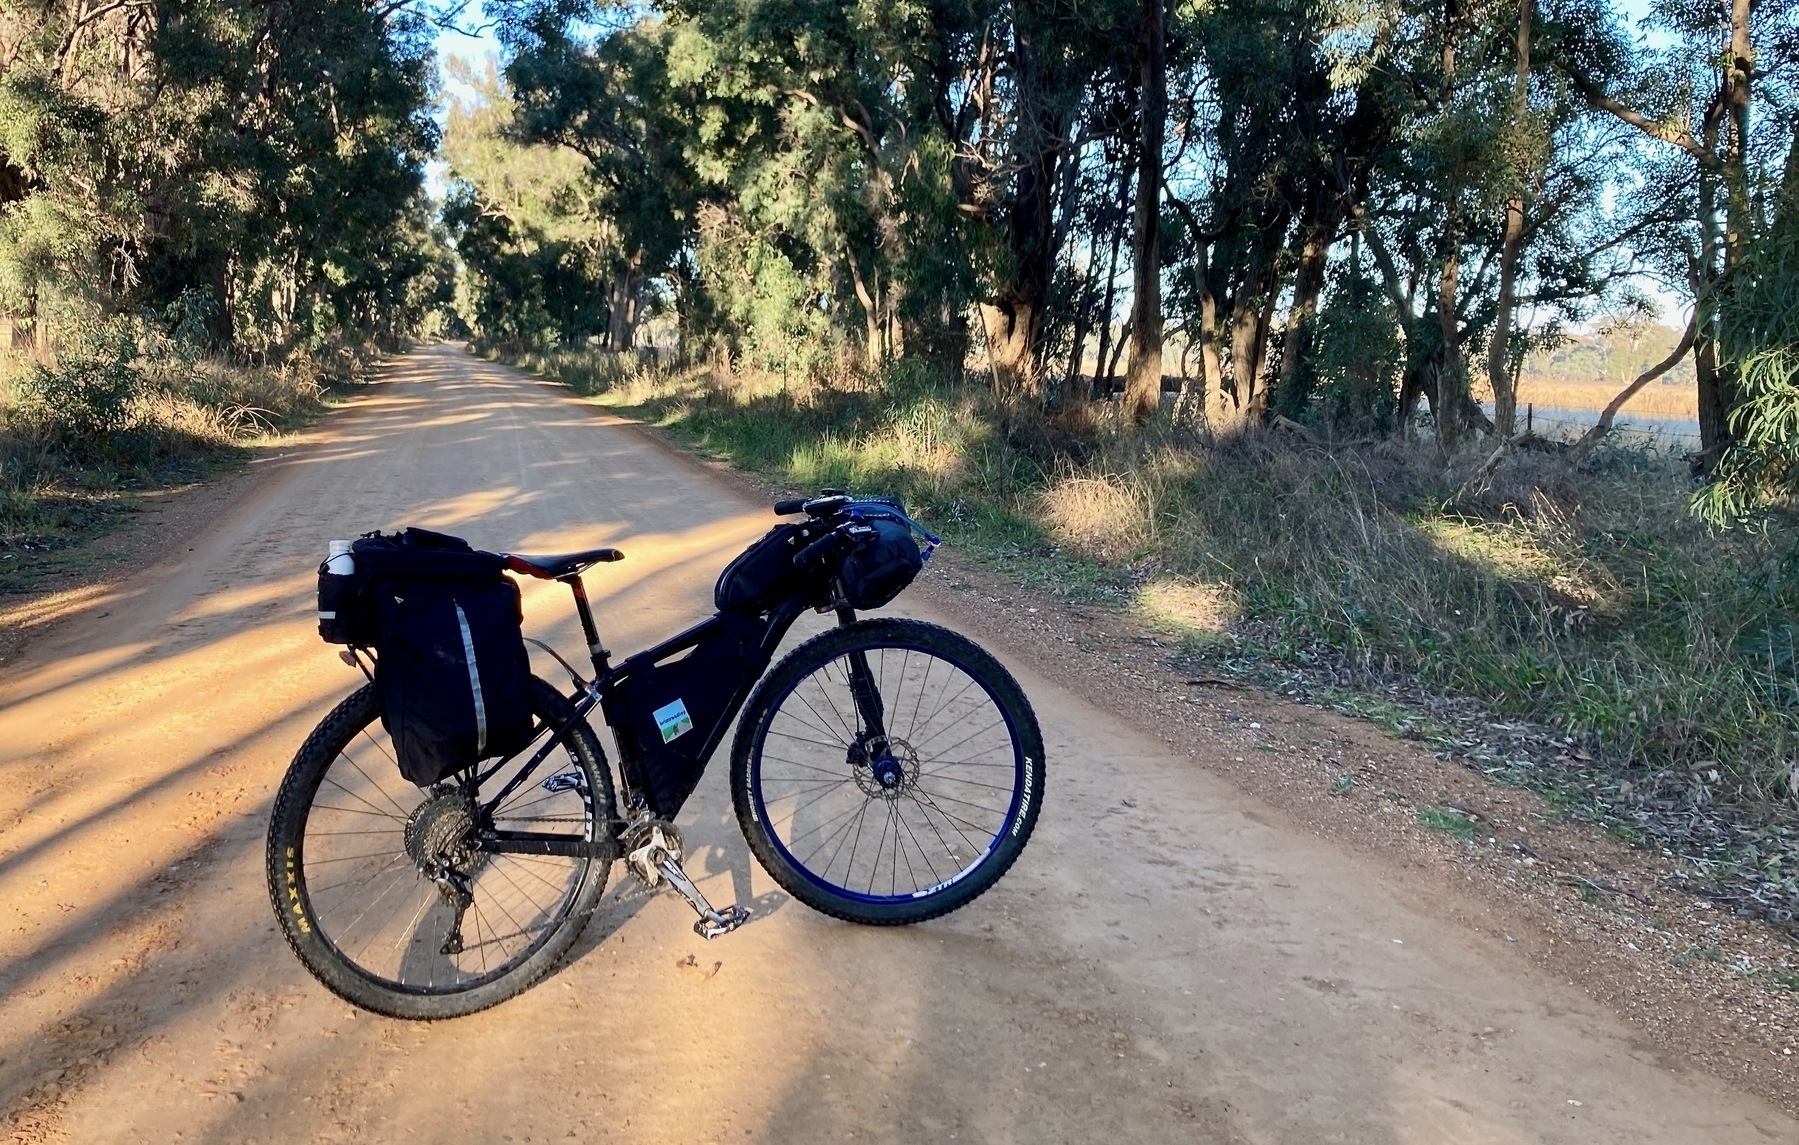
If you see a setup in the photos on these pages that you are interested in, get in touch, and I can give more details. Here’s my bike for this trip, but I also have toured on rail trails on a mountain bike, and can offer some tips and tricks on what to bring and how to bring it.

Weather and wind

The best time of year for bike touring in Queensland is winter into early spring. We rode in early September 2021, and the weather was superb. We had a couple of cool nights (Kingaroy, Yarraman) with overnight lows down to about 3 degrees Celsius.

Riding south to north makes sense in Queensland, especially near the coast where the prevailing breeze is a south-easterly. In late winter / early spring, there is always the chance of a gusty westerly wind. We only experienced mild breezes, and didn’t notice a headwind of any sort until the second last day.

Mobile phone service

Telstra is so far ahead of Optus once you leave the south-east corner that it is not even funny. Those of us with Optus phones found them mostly useless on the nights we stayed in Proston, Eidsvold, Mungungo and Ubobo.

Next: Day 1 Wulkuraka to Toogoolawah

Gravel-packing with panniers

A big part of the bike-packing style of bike touring that really took off in the last 10 years was strapping bags directly to your bike, whether on the handlebars or seatpost, or within the main frame triangle.
For touring routes that have a high proportion of rough off-road tracks, or even some single track, this approach can be really good. It mean that most of your load stays within the usual dimensions of the bike.

This post was sparked by a promotional article by Tailfin, who make lightweight racks and luggage, which were originally focused on adding luggage capacity to road bikes. They have now worked out that their market is mostly your “bikepackers”, hence “Do pannier bags have any place in modern bikepacking?".

I broadly agree with the Tailfin crew, even though they are touting their new product. Panniers are a great way to store stuff, if you can get them mounted securely. Yes, they do have a place.

On my Sholto touring bike, I have a lowrider front rack. It is the one universally regarded as the market leader by long-distance tourists, the Tubus Tara.

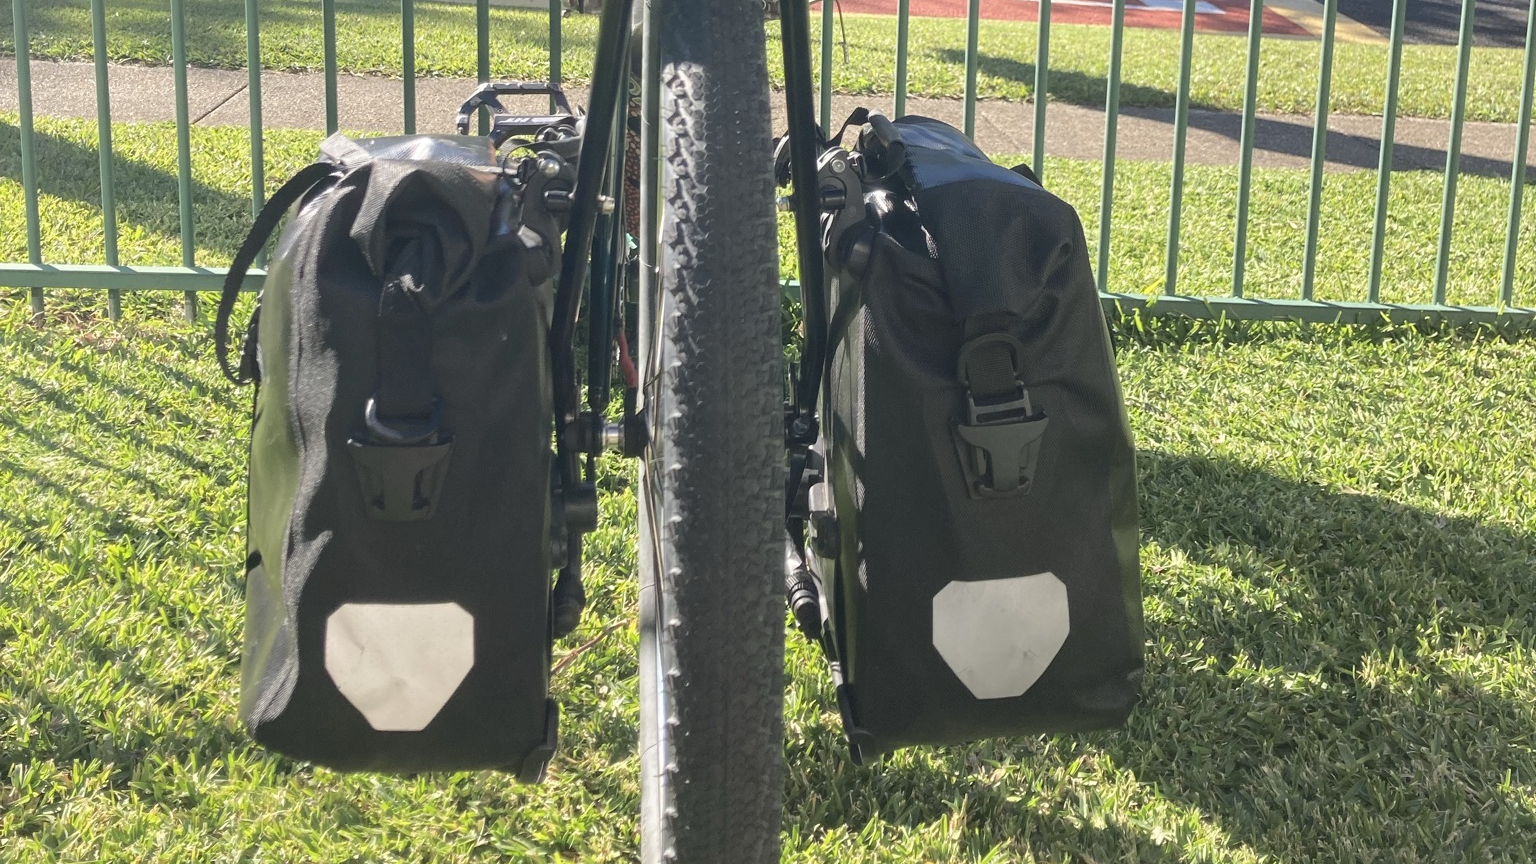
And the panniers that everyone uses on the Tubus Tara are Ortlieb Front Rollers (there are about four or five different models, I have the cheapest ones with no bells and whistles).

All Ortlieb panniers have a very secure mounting system onto the top rail of the Tubus rack. So they aren’t going to bounce off (despite what Tailfin says).

But the lower plastic hook(s) that provides added stability is admittedly a rattly kind of system. My first attempt at silencing the rattle was quite successful. Rokstraps are a kind of bungee on steroids. I attached the stretchy part to the top rail of the rack, and the webbing half to the bottom attachment point, and held the pannier by strap lengthwise from top to bottom.

The only downside was that the strap stayed on the rack when the pannier was removed, and at that point it flapped around and got in the way. So mounting and unmounting the panniers was a bit of a faff because the straps had to be put on the rack each time.

The next iteration was to attach the Rokstrap to the panniers rather than the rack. This involved unscrewing the attachment rails at the back of the Ortliebs, and sanding away a section of the plastic rail to make space for the Rokstrap to wrap around. So now they are attached to the panniers, and the mounting/unmounting is a breeze.

The panniers are now nearly silent on even the roughest gravel road. The downside is that I’ve modified/hacked/damaged them, so I suppose I’ve reduced their resale value. Probably not a big deal for panniers that cost $110 for the pair.

And the answer to the question: ‘Do panniers have a place in modern bikepacking?’

Well I don’t know what ‘modern bikepacking’ is, or why I should care if I’m doing it, so I might not be the right person to answer. But I think I’ve solved to my satisfaction the question: How do I carry touring gear on my bike on rough roads?

And to Tailfin: so many straw men in your article. The idea that small panniers are some sort of revolution just cos you can also buy large panniers is laughable.

See also:

Our favourite bicycle YouTuber Russ Roca had the same issue, but solved it in a different way.

Airtable is awesome

I like to plan bike tours. The two tools I use most are Airtable and RideWithGPS.

Airtable is a fantastic tool for planning anything. It is a combination of simple database and simple spreadsheet, coupled with calendars and to-dos.

The basic level is free, and you can do plenty with the basic version.

Every tour I have ridden for the last four years has an Airtable as part of the pre-ride planning.

I have even planned a tour that I did not ride – Lands End to John O’Groats in 2020. I was all set for six weeks in the UK in May-June 2020, but not even Airtable can overcome a global pandemic.

For most tours, the route comes first. I plan my routes in RideWithGPS. I plan out routes for each day’s ride, and join them up as an “event” in RideWithGPS.

My Airtable bike-tour planning template then takes over.

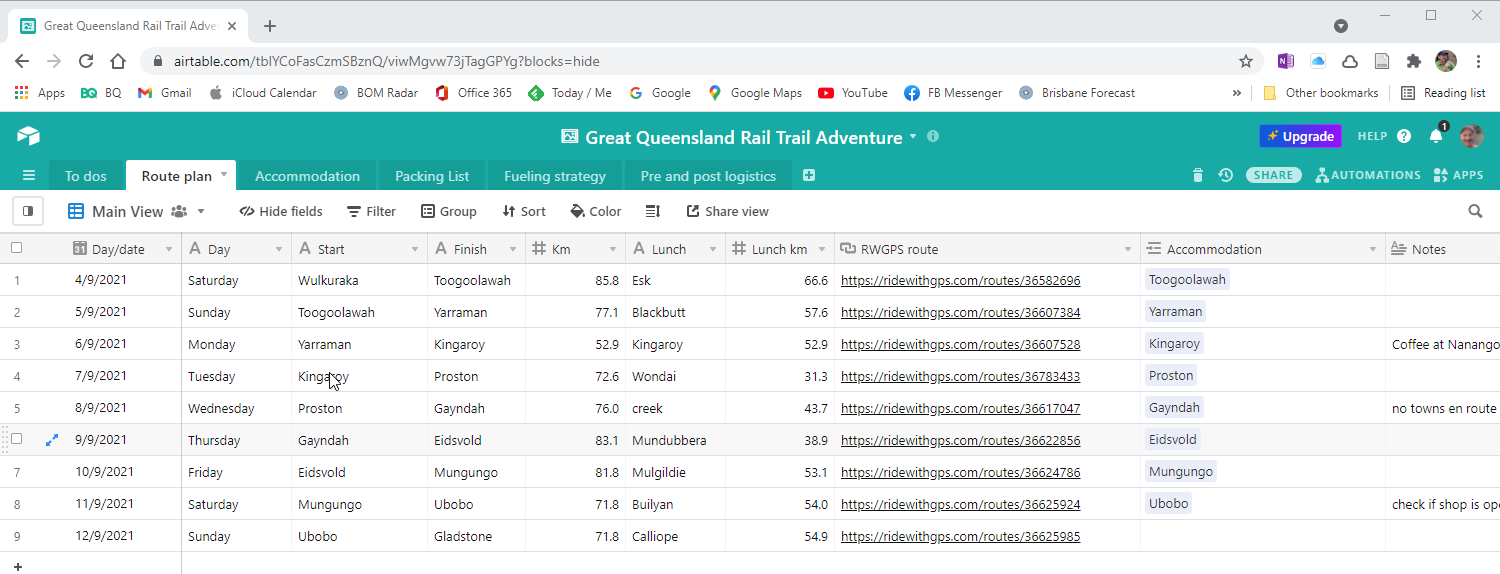
The most important table is the route plan – it is your bike tour at a glance. It takes the day-by-day routes from RideWithGPS, and presents them in a table with date, day, start and finish locations, daily distance, lunch location and distance, and links to the accommodation table. The table also tallies your total distance for the tour.

The accommodation table is a deep dive into your accommodation options. You can put in multiple options for each town or location, and link to the URL, note the tariff and whether you have booked.

Grouping by town is a good way of comparing options if there are several to choose from.

The packing list table is one that I have refined over many years. It helps me work out what’s important to take on this specific tour. I group the items by ‘location’, which in this context means where is an item stored on my bike.

The “locations” listed will change depending on which bike I am taking on this adventure: my 650B touring bike or my 29er hardtail touring mtb. And as I consider which items to take, and where there might be room to store them, I get a feeling for the set-up I will need.

Am I camping? Am I taking my stove? Am I taking an Aeropress for a delicious coffee each morning, or will there be somewhere to buy a coffee?

If I’m camping in remote locations (i.e. not in towns), am I taking a tarp or a tent? What are the predicted minimum overnight temperatures for this time of year in these places? If we are staying in towns, is it camping or pubs?

What is the mix of roads and trails that comprise this tour? My most recent five-day outing on the Central West Cycle Trail I took my 29er hard tail mountain bike, and I was happy with the choice, especially on the last day through some rough, rutted and bumpy forestry trails through the Goonoo Forest near Mendooran.

The mountain bike has different luggage carrying options than my touring bike (the Sholto). And for my next mini-adventure I’ve decided that the Sholto will do the trick. The gnarliest piece of road or trail that I expect to ride is the crossing of Yarraman Creek on Old Yarraman Rd, and If there is a little bit of hike-a-bike coming up from the creek bed that will be fine.

But with more than 200km of bitumen road as part of the tour, the Sholto bike is a clear winner over the 29er, because of the more road-oriented position, and smaller tyres. And of course this means that when sorting through my packing list, I have in mind the low-rider panniers and front bag system on the Sholto, rather than the bike-packing style luggage on the mtb.

So if one of the barriers to getting started in bike touring is a lack of expertise or experience … l invite you to grab my Airtable template, and just see where it takes you. Any questions, just ask.

Loaded up and trucking

I recently posted some photos of my touring bike, all set up for the Great Queensland Rail Trail Adventure. And people asked questions, or expressed opinions, about the bike and the luggage setup.

So let’s get nerdy. Here’s a deep-ish dive into the shallow water of what I know about setting up your bike and equipment to go touring.

The bike now known as ‘the Sholto’ started out as a Shogun Alpine GT. I bought it in 1993, so the frame is now 28 years old.

Most of the components are much newer than that. The seatpost is the only other original component.

The Shogun Alpine GT was a touring bicycle, with a triple chainring at the front, and 700x35 tyres. Mine was a medium size, ordered from St Kilda Cycles, and put together for me by Andrew Pritchard at Flashing Pedals, Acacia Ridge.

After several other incarnations (flat-bar singlespeed hack bike, ghetto cyclocross/gravel grinder, mustache-bar rail-trail tourer), the bike was re-born as a 650B touring and commuting bike about three years ago, and re-named in honour of my late friend Sholto Douglas.

Here’s the current spec, in more detail than anyone could ever want.

  • Frame: Shogun Templite 4130 Chromoly steel, made in Taiwan. Fork was custom made by Joe Cosgrove (of Frezoni fame), as part of the conversion to 650B. It is a “low-trail” design, to improve handling with a front load.
  • Wheels: Pacenti Brevet (front) and Grand Bois Papillon (rear) 650B rims. Front hub SP PV8 dynamo hub, rear hub Shimano Tiagra. 32 spokes front and rear. Tyres: Grand Bois Hetres, 42-584. NB: I had a Pacenti Brevet rear rim become unusably soft, so had to get the rear wheel relaced with the Grand Bois Papillon. Finding good quality reliable but lightweight 65) rim brake rims is no small matter. Kumo Cycles has the Papillon, which is now my go-to.
  • Cockpit: Shimano Sora 9-speed shifters, Ritchey Logic 46cm handlebars. Profile Design quill stem adapter, BBB stem.
  • Pedals: HT ANS10 Supreme flats (thanks Emma). Update: When I’m not touring, I’ve swapped out these pedals for MKS Sylvan Gorditos, which have a less aggressive pins and plates.
  • Drivetrain: Middleburn cranks, 42-30 chainrings (TA). 11-34 9 speed Shimano cassette, derailleurs are Shimano Alivio.
  • Brakes: Tektro CR720 cantilevers.
  • Saddle: Brooks C17 Cambium with cutout.

Luggage, water etc

My camping kit

  • Tent: 3F UL Lanshan Pro 2 Requires poles because it’s intended for use by hikers who carry walking poles. Also, buy better/sturdier pegs than the standard ones.
  • Mattress: Sea to Summit Ultralight Insulated Sleeping Mat.
  • Sleep: Drop.com down quilt, Sea to Summit Thermolite Reactor sleeping bag liner, Zempire Chill Pill pillow
  • Stove: Jetboil (decided not to take it on this trip, we’re camping in towns so there’s always somewhere to eat).
  • Resmed Airmini travel CPAP machine. Has changed my camping experience remarkably! Previously I would wake multiple times a night, and often on a cold evening have to get up to relieve myself. Now I can sleep through the night, and I feel like I’ve found a kind of magic formula for comfy camping. A good night’s sleep, who knew that would be helpful?

Wanna go for a ride?

I like to do mildly adventurous bike tours. Sometimes when I post pix of what I’m up to, friends say “I wish I had known you were going to do that, I would have liked to come along.”

OK folks, here’s your chance.

The Barrimoon Tunnels section of the Boyne-Burnett Inland Rail Trail is going to open on Saturday 11 September, and I am planning to attend the opening celebration. My plan is to ride there, leaving from Wulkuraka station on the morning of Saturday 4 September.

In my head it’s called the Great Queensland Rail Trail adventure. Bob Webley has probably already done it, I’m certainly not claiming that this will be the first ride of this route.

But the plan is to ride sections of the Brisbane Valley Rail Trail, the Kingaroy to Kilkivan Rail Trail, and the Boyne Burnett Inland Rail Trail, connected by the most minor roads I can find on the way.

My version of this ride will be 9 days riding, with a combination of camping, and pubs/motels.

Here’s the rough idea: Wulkuraka / Toogoolawah / Blackbutt / Kingaroy / Proston / Gayndah / Eidsvold / Monto or Mungungo / Ubobo / Gladstone (fly home again).

4-12 September. It’s a little bit less than 700km. About 200km of rail trails, about 300km of sealed roads, about 200km of gravel road. This is a self-supported ride. I am providing you with nothing, other than a friendly smile and a hello each morning.

If that sounds like your sort of adventure, let me know.

Information